I had purchased this Commodore PET (Personal Electronic Transactor) CBM 8032, in the United States, and had arrived in my collection at the end of 2021. This 8-bit computer, produced in the early 80s, had caught my attention for its square design, but once it arrived, some difficulties had arisen. The first was to power it: in fact, it works at 110V. The second difficulty was related to... the keyboard not working. No button was working! In this article, we see the repair of the Commodore PET keyboard.

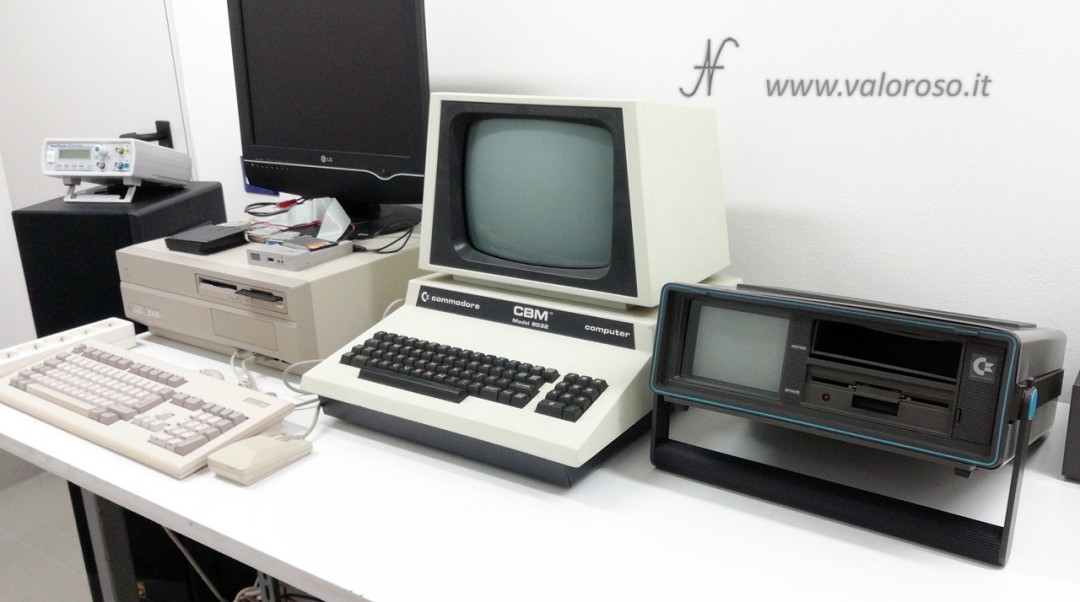
Initially I thought it was some integrated circuit to be replaced on the motherboard, but, trying to manually close some contacts of the keyboard connector, the letters appeared on the screen. So the problem was right in the keyboard.
Despite the fascination of this computer, which pushed me to have it working, I had not yet had the opportunity to repair the keyboard of the CBM 8032. Now, finally, I have been able to devote myself to the complete repair of the keyboard.
If you also have a Commodore PET with keyboard problems, this detailed guide can help you solve them.
Opening the Commodore PET CBM 8032
The repair begins with the opening of the PET case. Of course, care must be taken to disconnect the power plug. In addition, I recommend not touching the upper board, that of the monitor, because it could remain charged with very high voltages, even hours after turning off. We unscrew the screws that secure the case and gently lift the top to access the keyboard and other internal components.

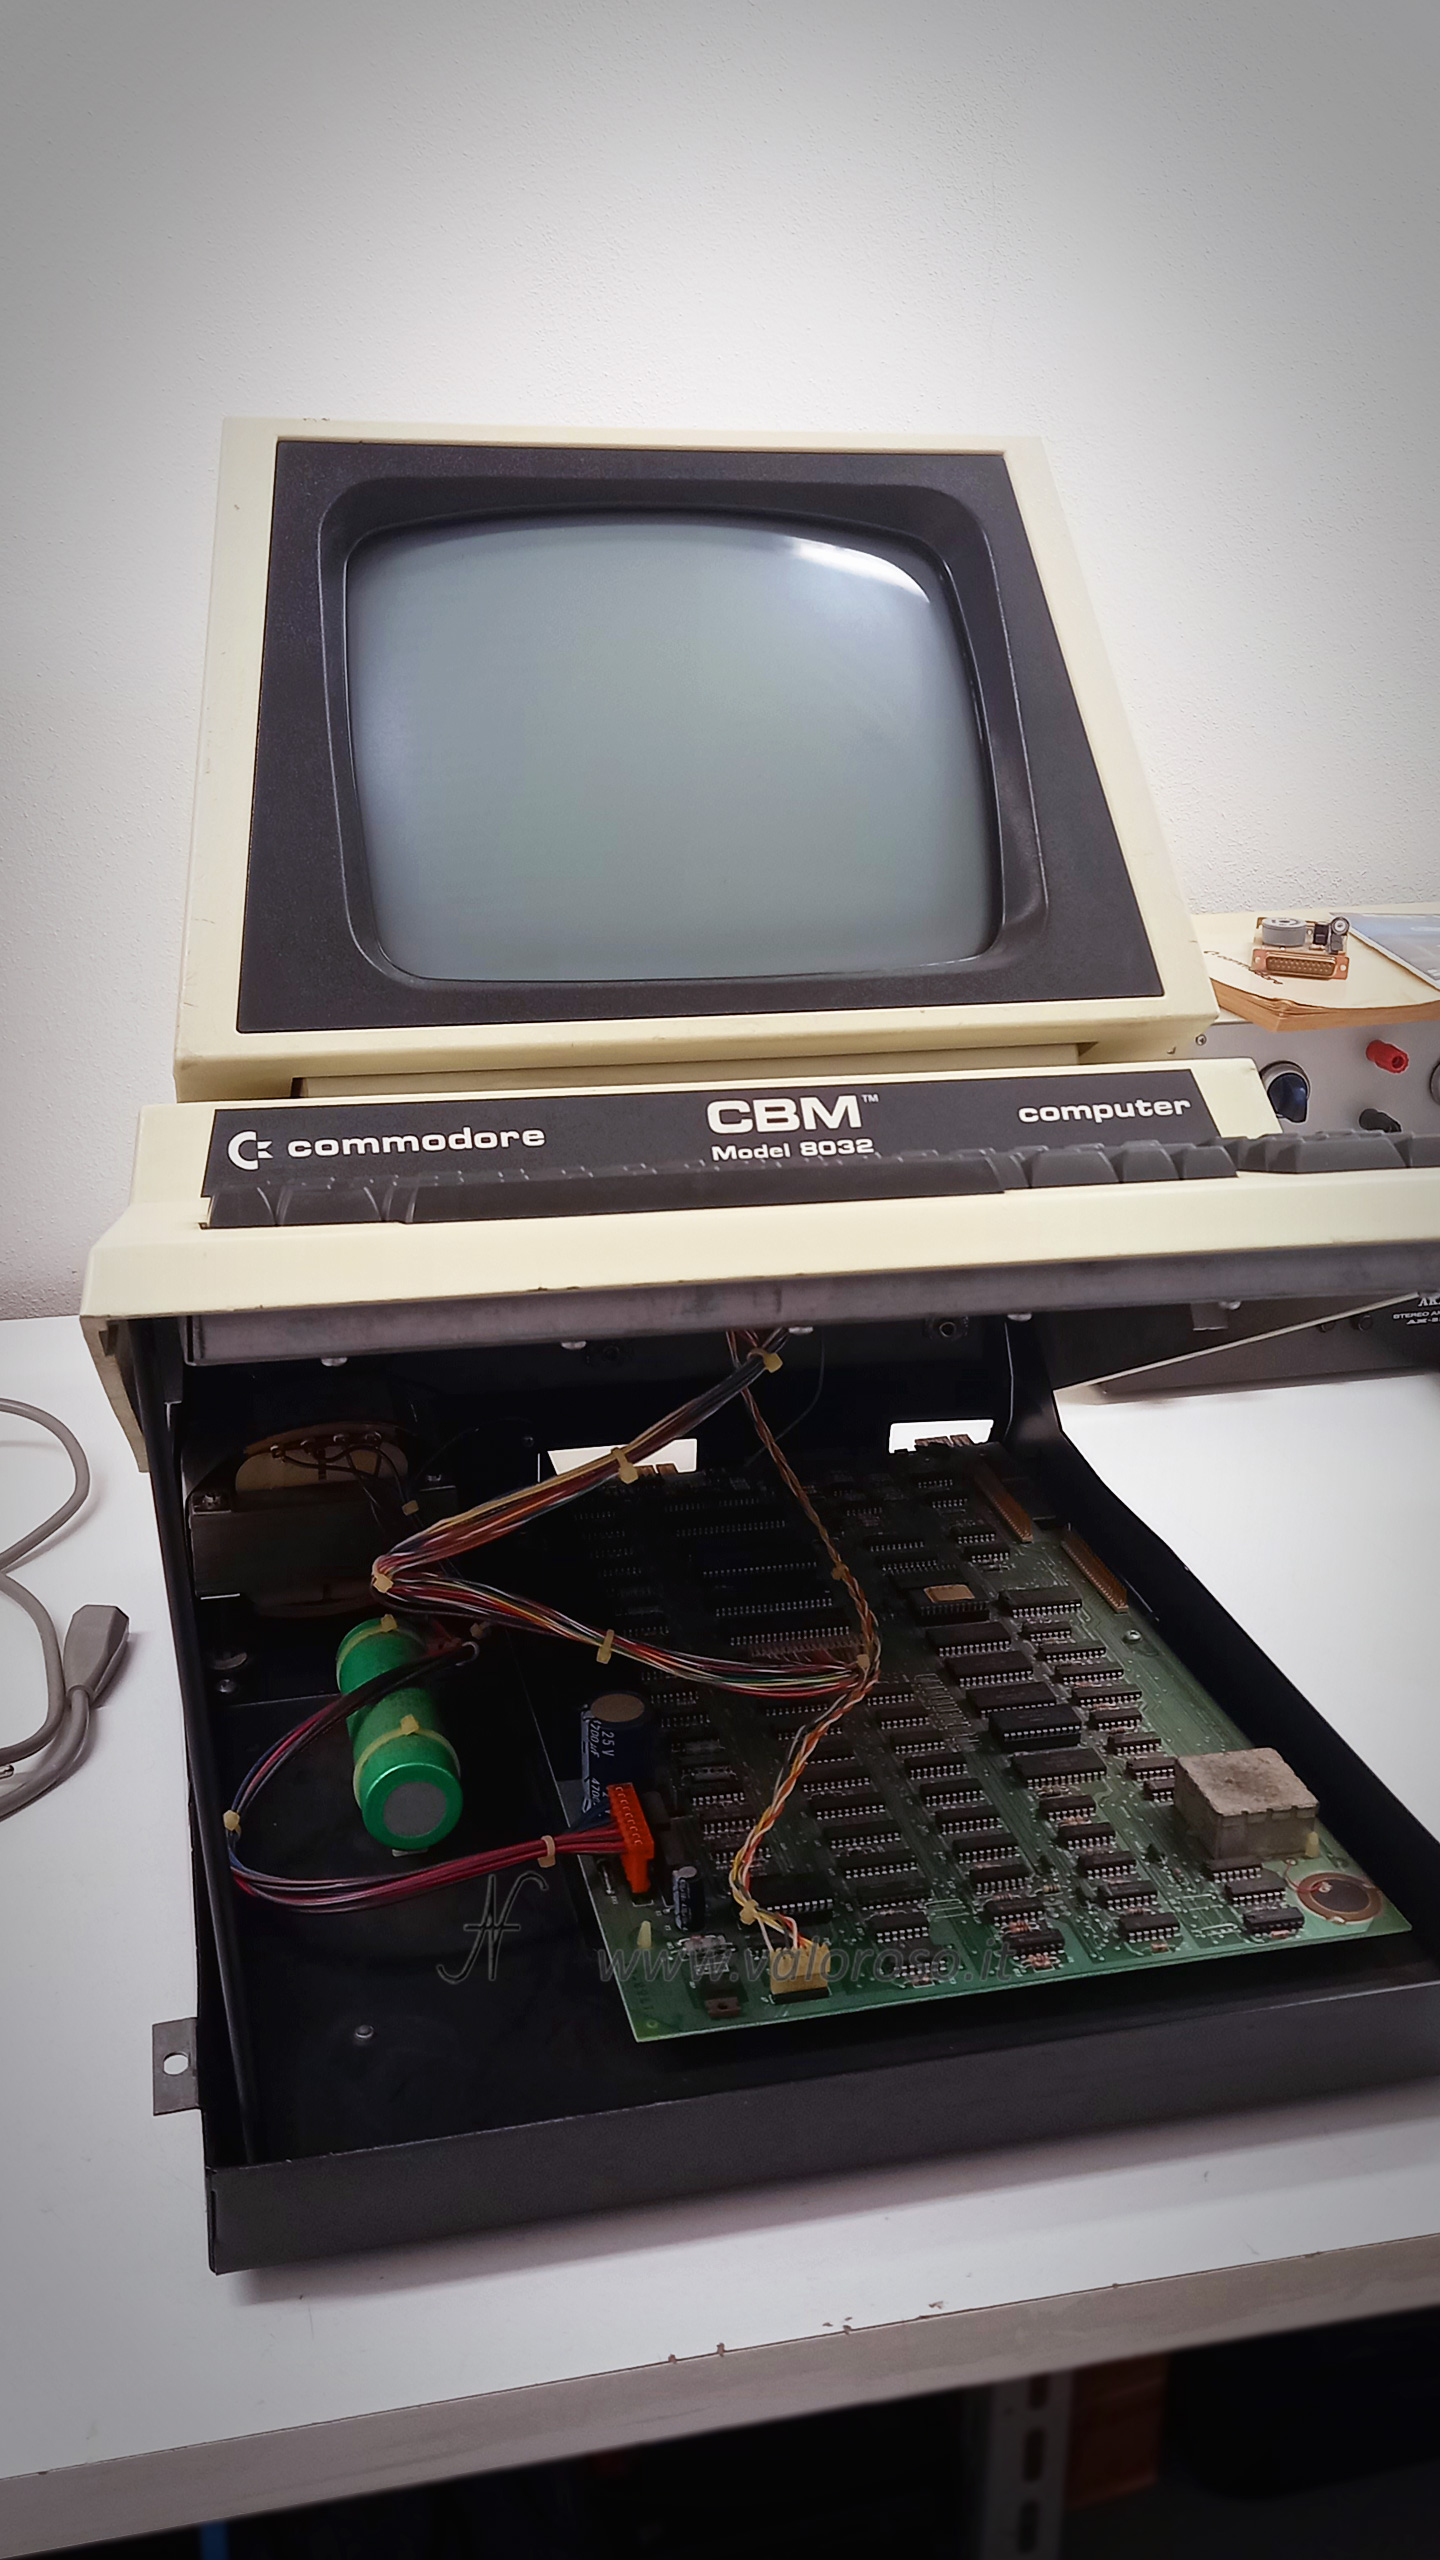
The opening system of the Commodore PET, CBM 8032, is very nice. It feels like opening the hood of a car!
Removing the keyboard
After opening the case, you need to remove the keyboard, which is secured with several screws. In the photo, you can see the process of unscrewing the screws.
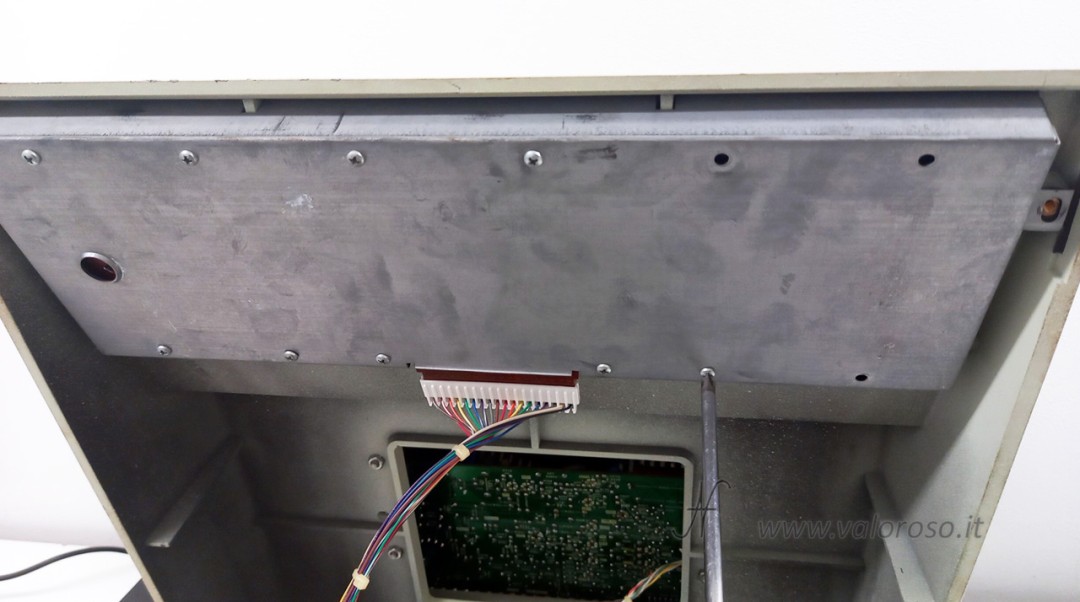
Once the screws are removed, the keyboard can be removed from the case, along with its metal casing.
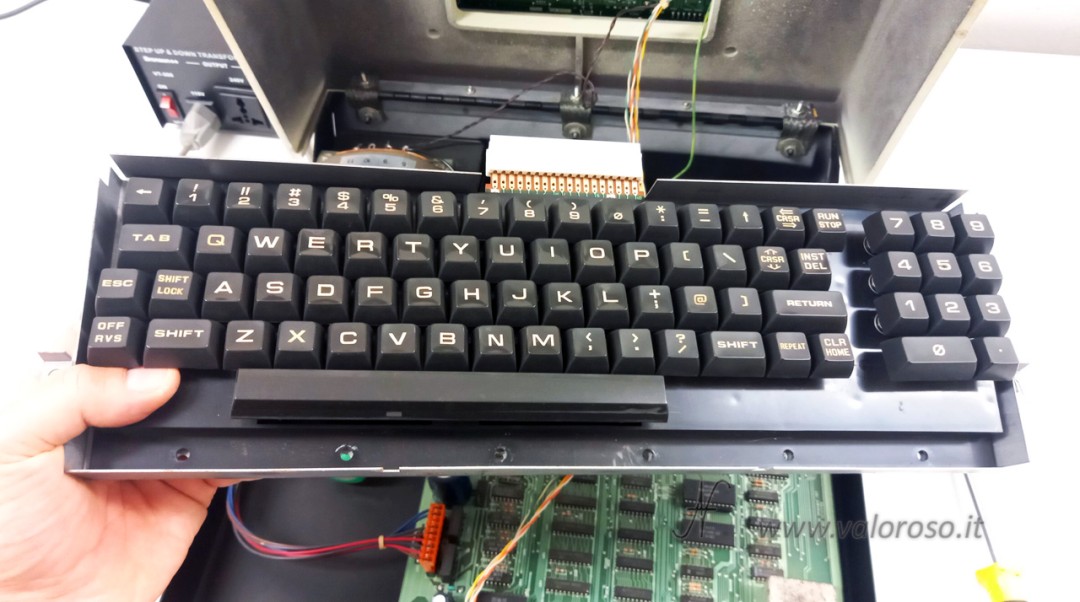
Slide off the keyboard connector
Before continuing, you need to disconnect the connector from the printed circuit board (PCB) of the keyboard. This step is delicate, as you must avoid damaging the pins and the printout. The connector must be removed in a direction parallel to the PCB, without bending it.

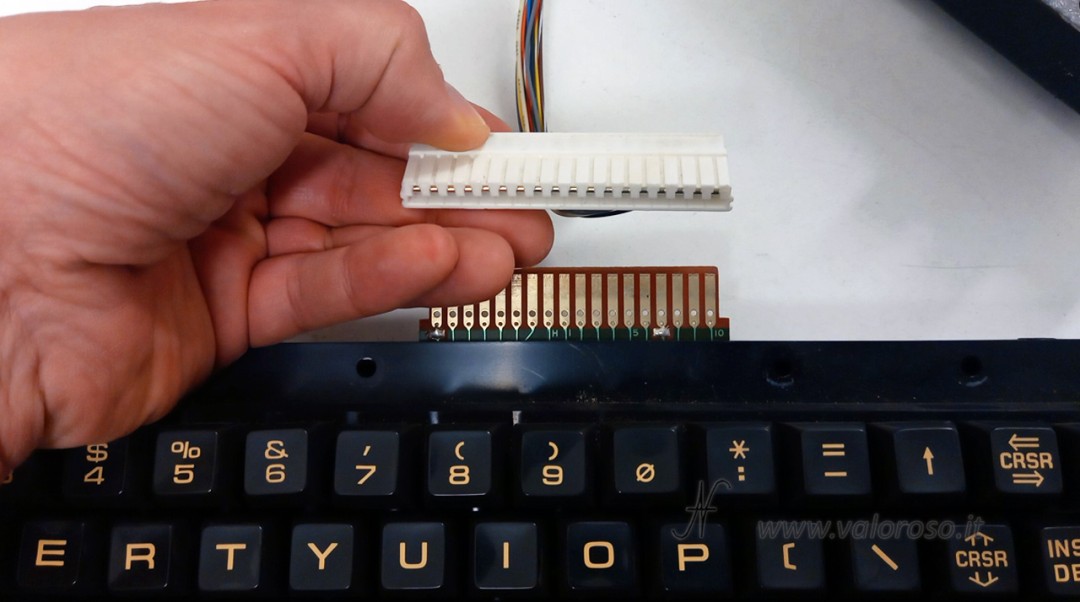
On the other side, the keyboard cable can remain connected to the motherboard of the CBM 8032.
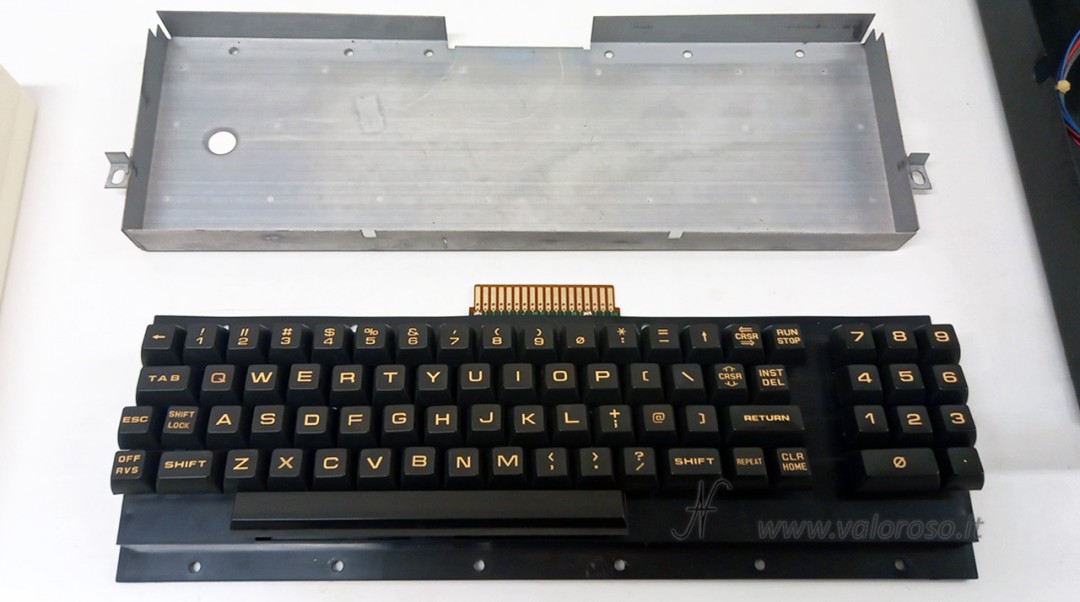
Let's take a look at the Mitsumi keyboard
The CBM 8032 uses a Mitsumi keyboard, encased in a metal case.
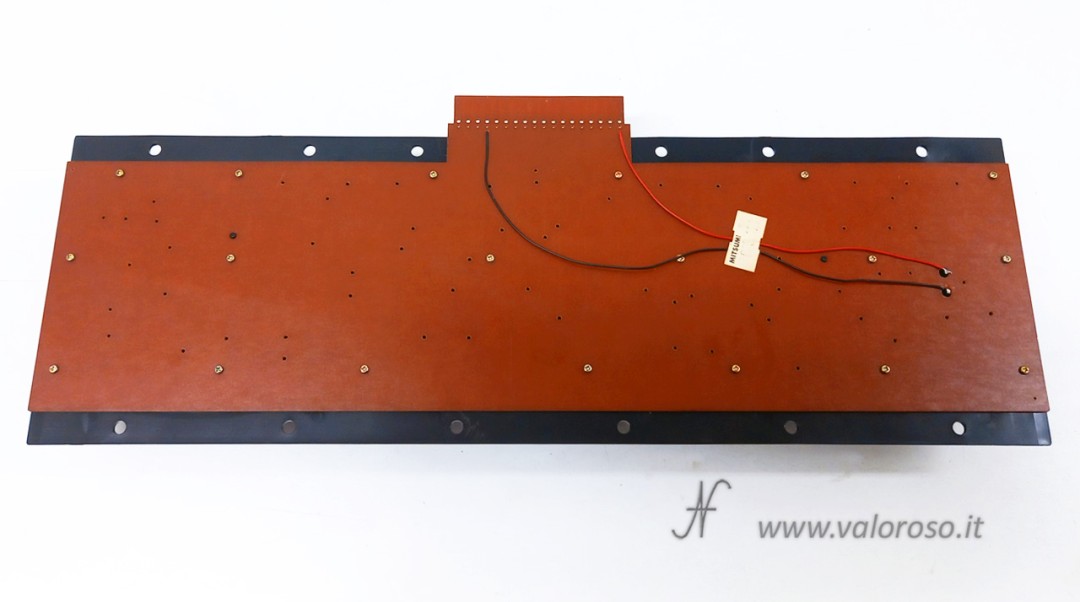
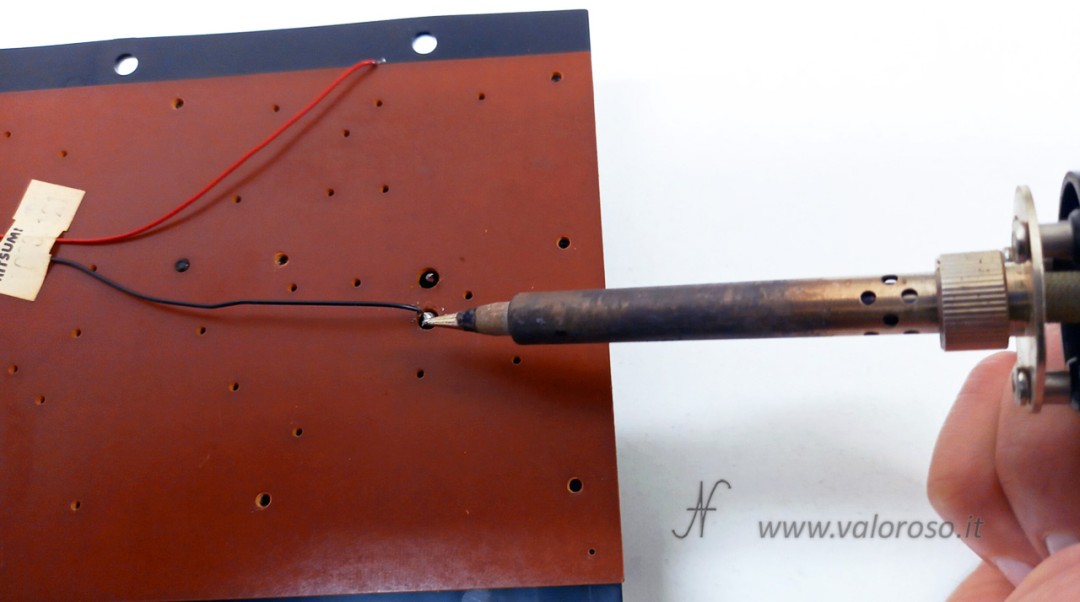
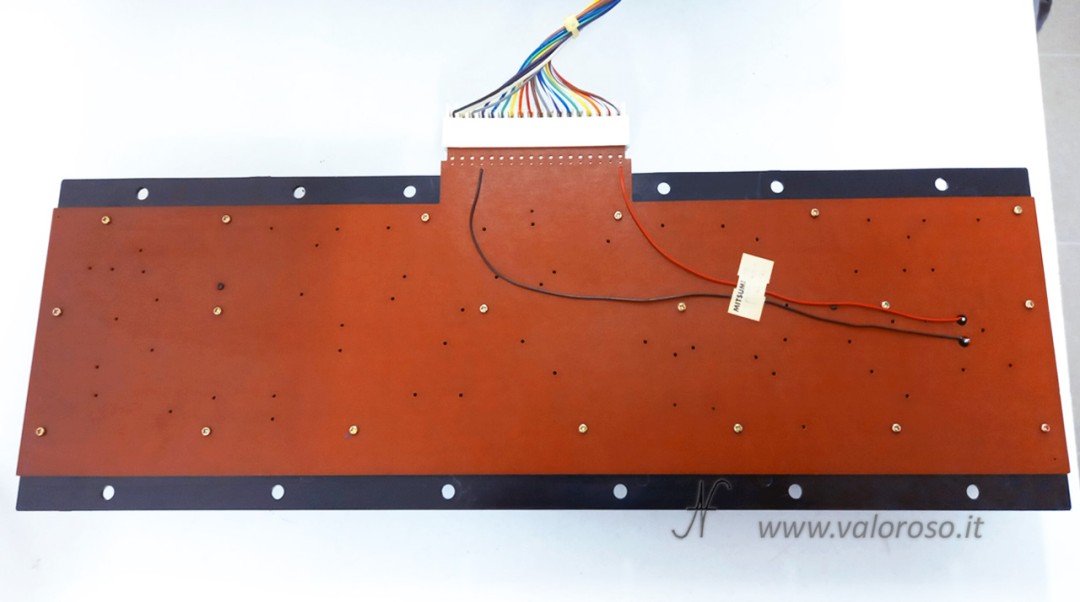
The back of the keyboard shows the printed circuit board (PCB), with the wires connected in shift-lock key.
Disassembling the keyboard
To access the inside of the keyboard, you have to remove the small screws and unsolder the wires of the shift-lock key.

There are so many screws, so as not to lose them I recommend putting them in a bag.
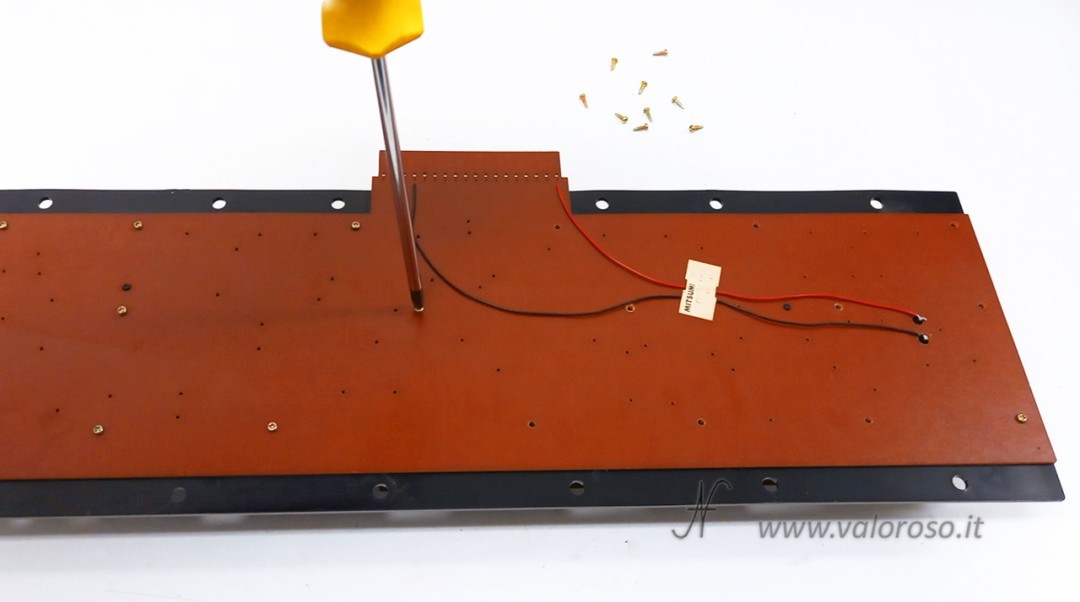
Only after you have unsoldered the two wires of the shift-lock key, you will be able to separate the printed circuit board (PCB) from the rest of the Mitsumi keyboard.
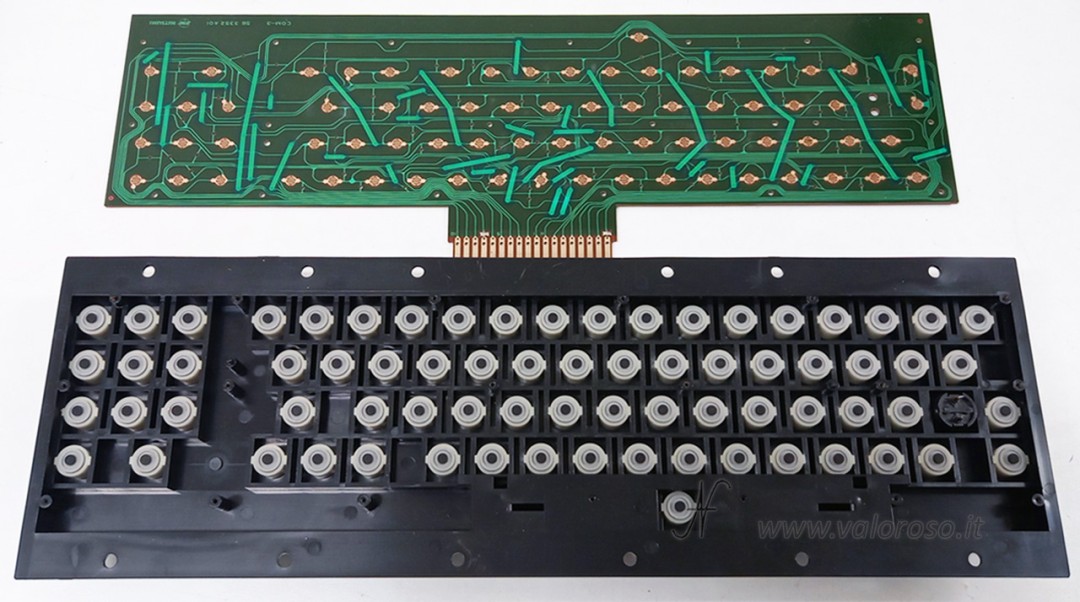
We can admire how the keyboard is made inside: the printed circuit board on the contact side and the keys on the contact side made of conductive rubber.
Circuit Board Cleaning
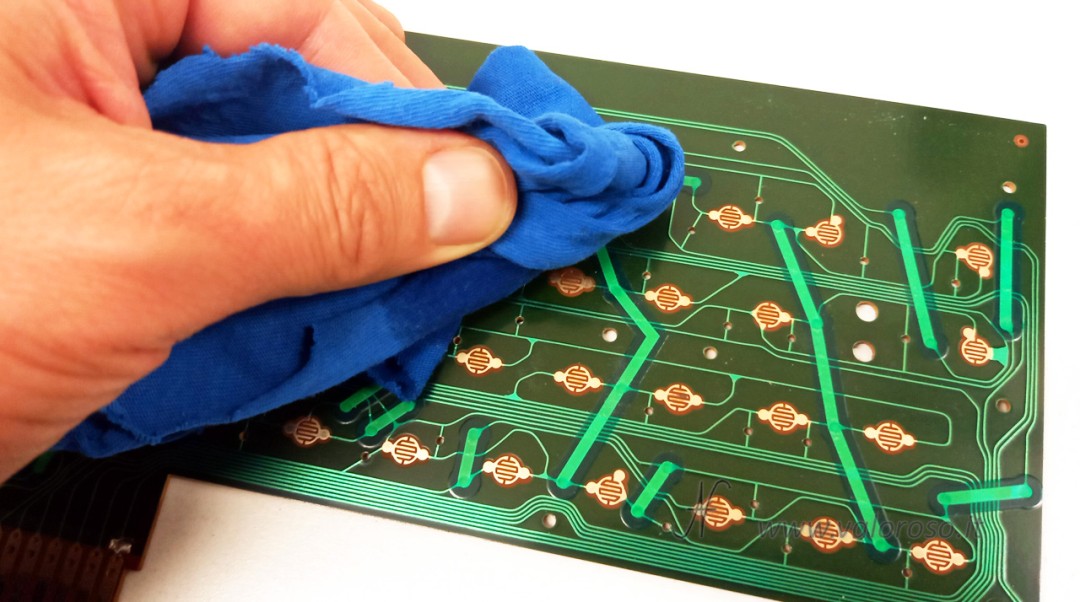
With the keyboard open, you can clean the circuit board, which may be dirty or oxidized. We use isopropyl alcohol and a rag to clean the tracks and contacts.
Circuit Board Testing, Commodore PET Keyboard Repair
The next step is to test the circuit board. To hurry up and not follow all the tracks with the multimeter (an operation that can still be done), we can reconnect the connector keyboard, obviously following the correct direction.
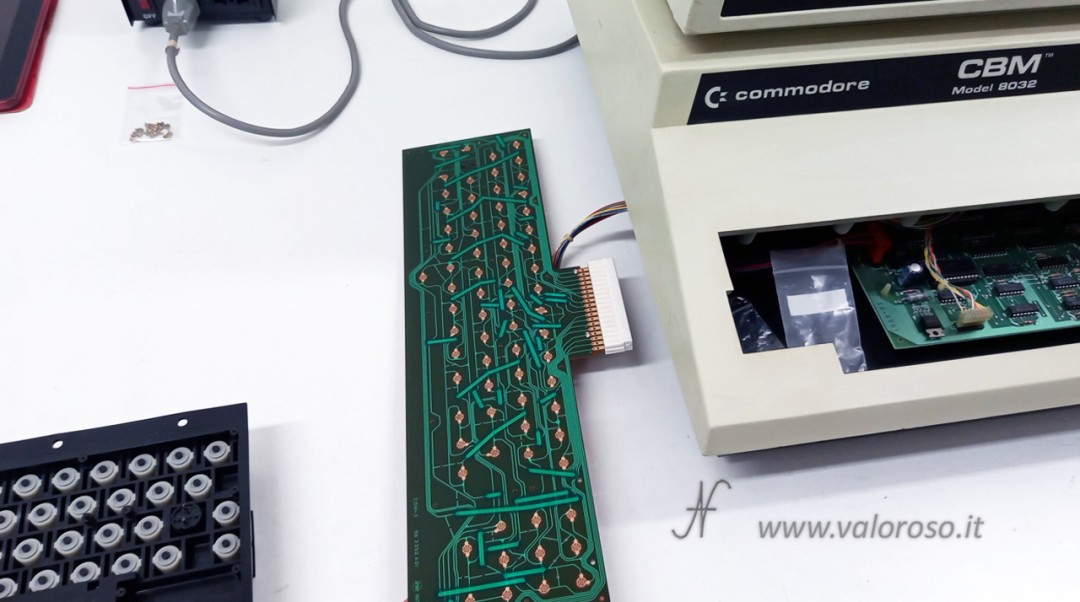
Let's close the various contacts on the keyboard one by one. If you look closely, the contacts are composed of two closely spaced combs of conductive copper. It is sufficient to close the combs together with a metal screwdriver or other conductive object, taking care not to short-circuit and not to discharge your electrostatic energy on the circuit.
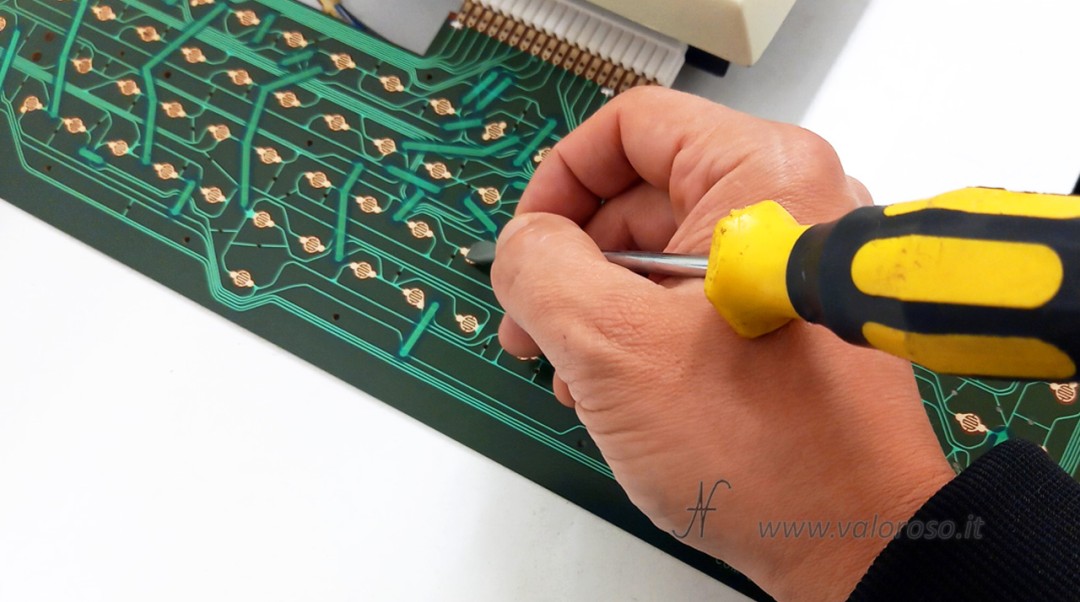
As I anticipated, the keyboard contacts, and also the motherboard, work. For this reason, we can proceed with the remaining steps of the keyboard repair. If there were other problems, the solution could be different.
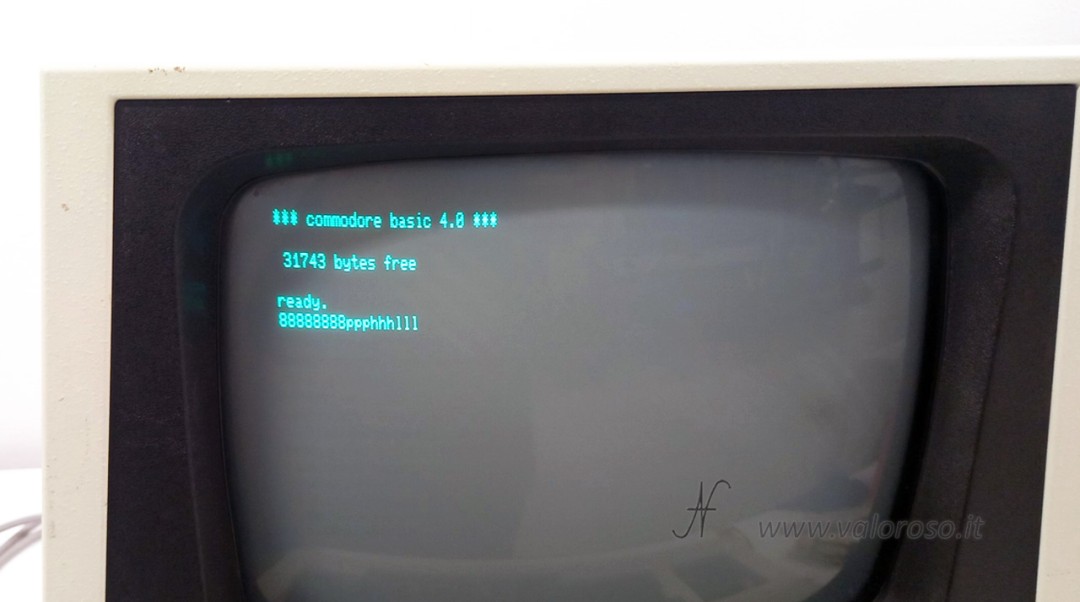
Cleaning the conductive rubber of the keys
Another important aspect of the repair concerns the conductive rubber pads of the keys. These small components wear out over time, dry out, and are less conductive, reducing the response of the keyboard, or, as in my case, no longer fully functional. Clean the back of the keyboard and all the rubber pads well, with a rag and isopropyl alcohol.
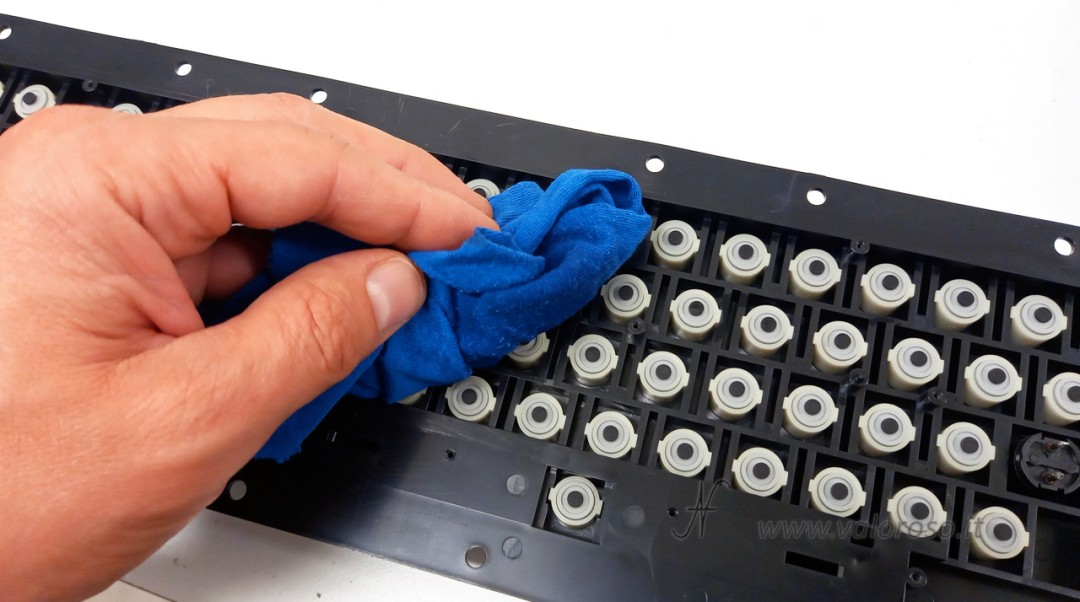
Restoring conductivity with graphite, Commodore PET keyboard repair
Measuring the resistivity of each conductive rubber with the tester, from quadrant to quadrant, before applying the graphite I found about 200 ohms.
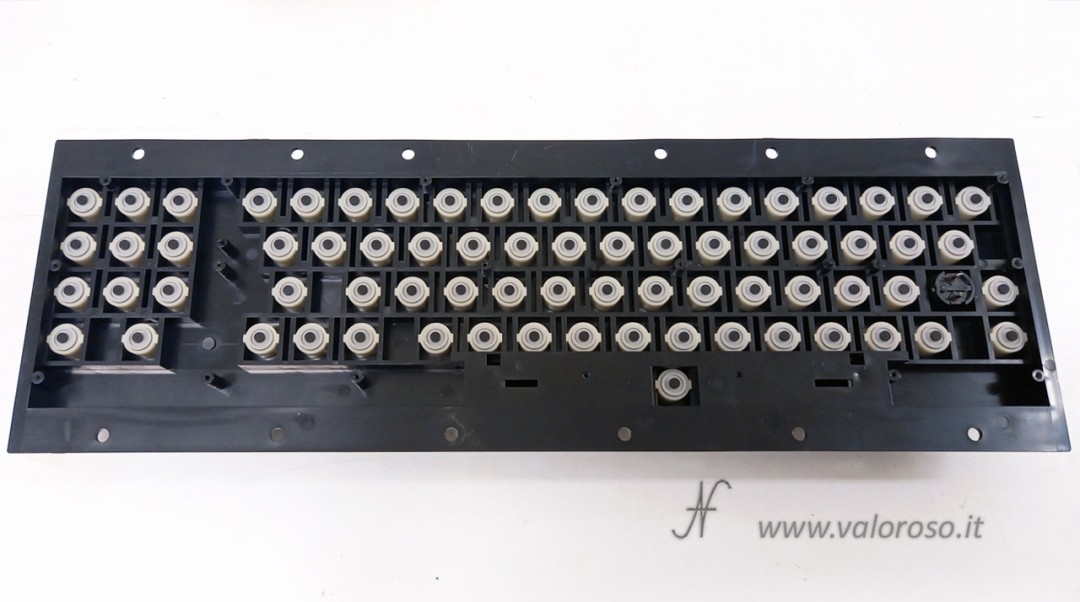
To reduce conductivity and improve key response, I apply graphite to the individual ear tips.
First, you need to get graphite-based lock lubricant. This comes in powder, which is conductive.
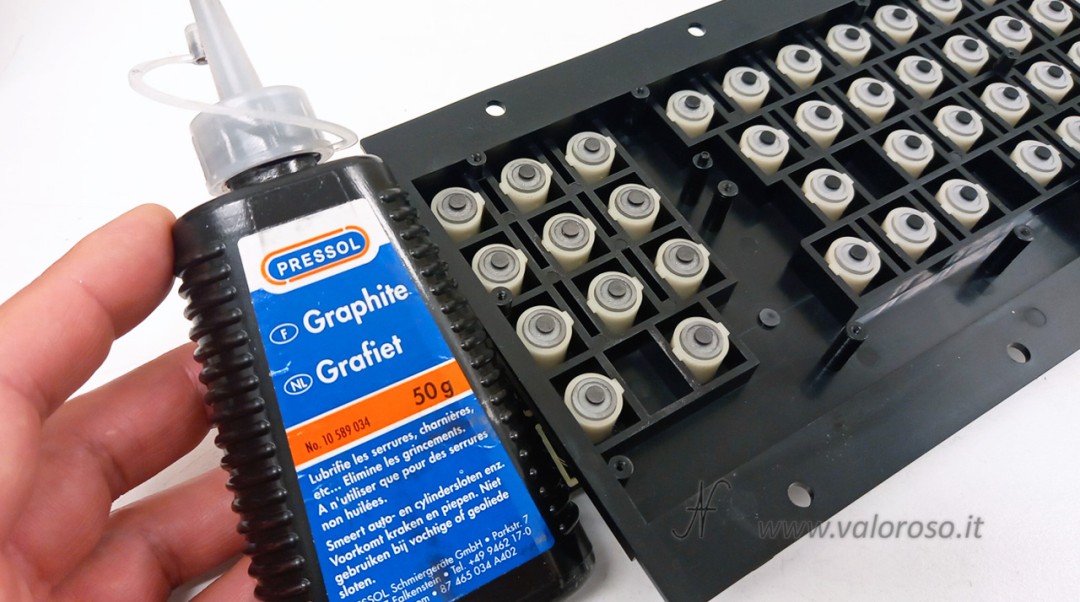
I mixed the lubricant with a little water on a soft cloth, which I then used to apply graphite to each rubber grommet: what a chore!
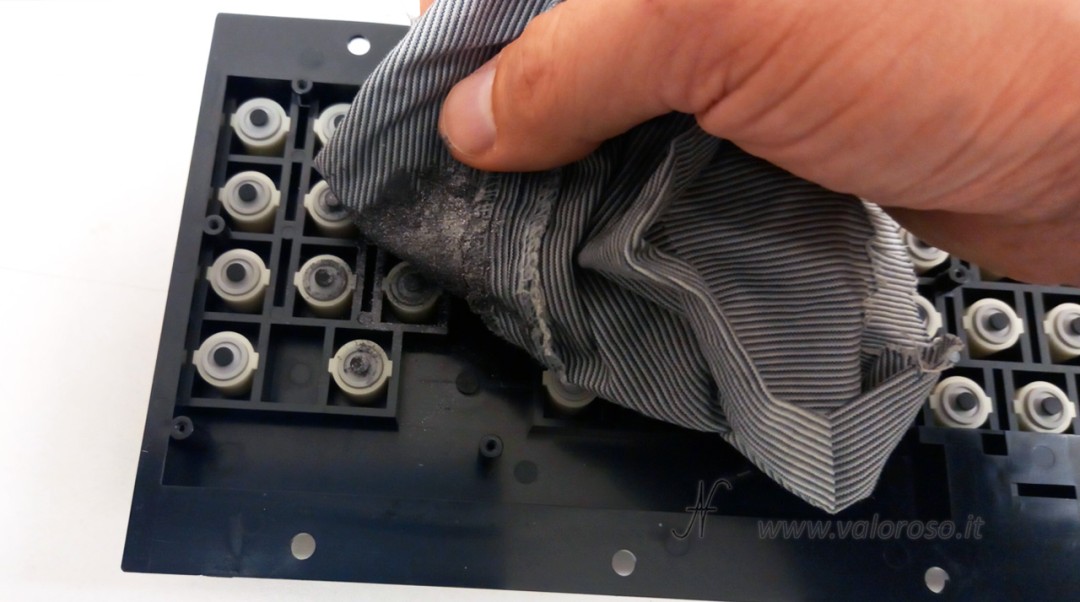
You will probably have to use graphite mixed with water several times, because it wears out quickly, as it is applied to the various keys.
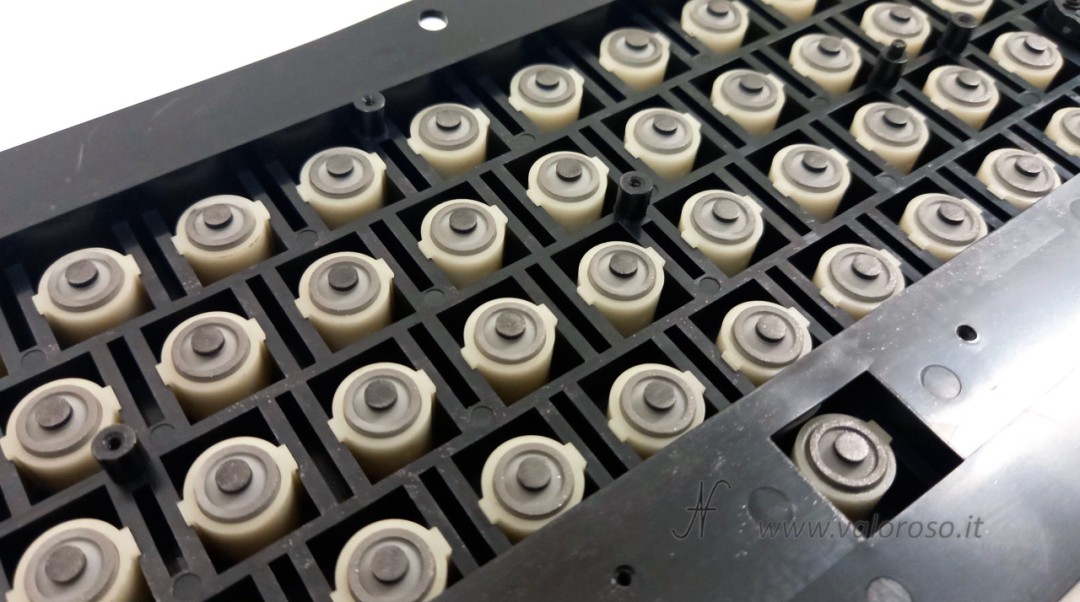
When conductive rubber is restored, thanks to graphite, it is more silvery in color.
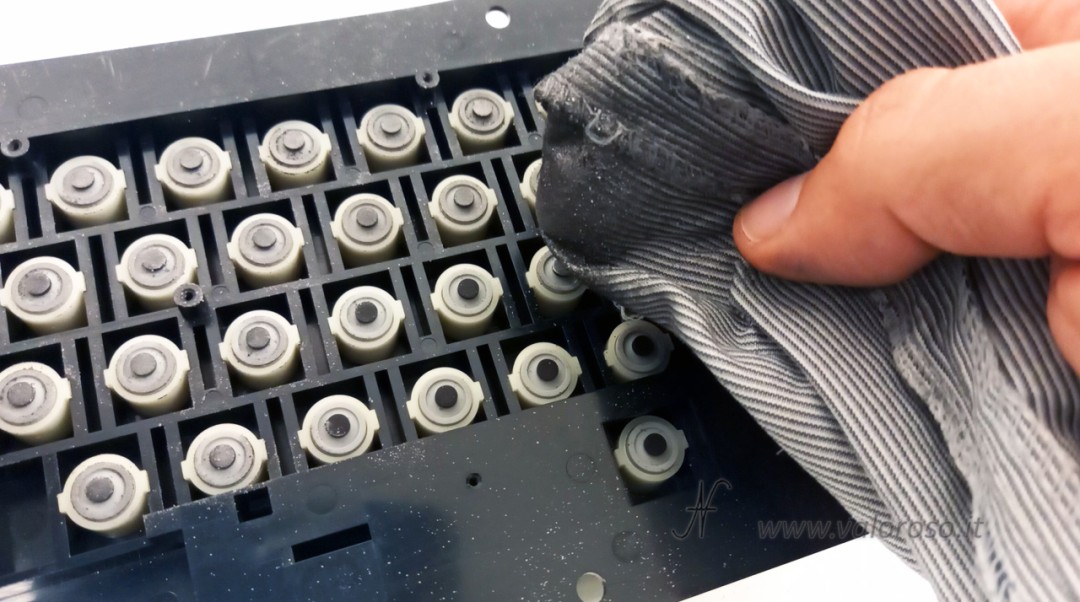
After applying graphite to all the rubber pads of the individual keys, clean the remaining part of the fretboard well, which must not become conductive.
Other products to restore conductivity
I have seen that they advertise different products to restore conductive rubber. They are found as "remote restore" to reset the keys of the remote controls. Or as "conductive rubber", "fix rubber", etc...

I haven't tried them personally, even if the already liquid product, to be applied with a cotton ball seems quite convenient to me.
If any of you know a product that is convenient to use and, possibly, even cheap, you can indicate it to me in the comments or by contacting me through the appropriate Contact form.
Commodore PET keyboard pre-test
Before reassembling the keyboard, it is important to carry out a preliminary test. We connect the connector temporarily, in the correct orientation, if it had not already been connected from the previous steps. We lay the plastic part of the keyboard on the PCB, carefully aligning it.
We test all the keys to make sure the repair was successful.
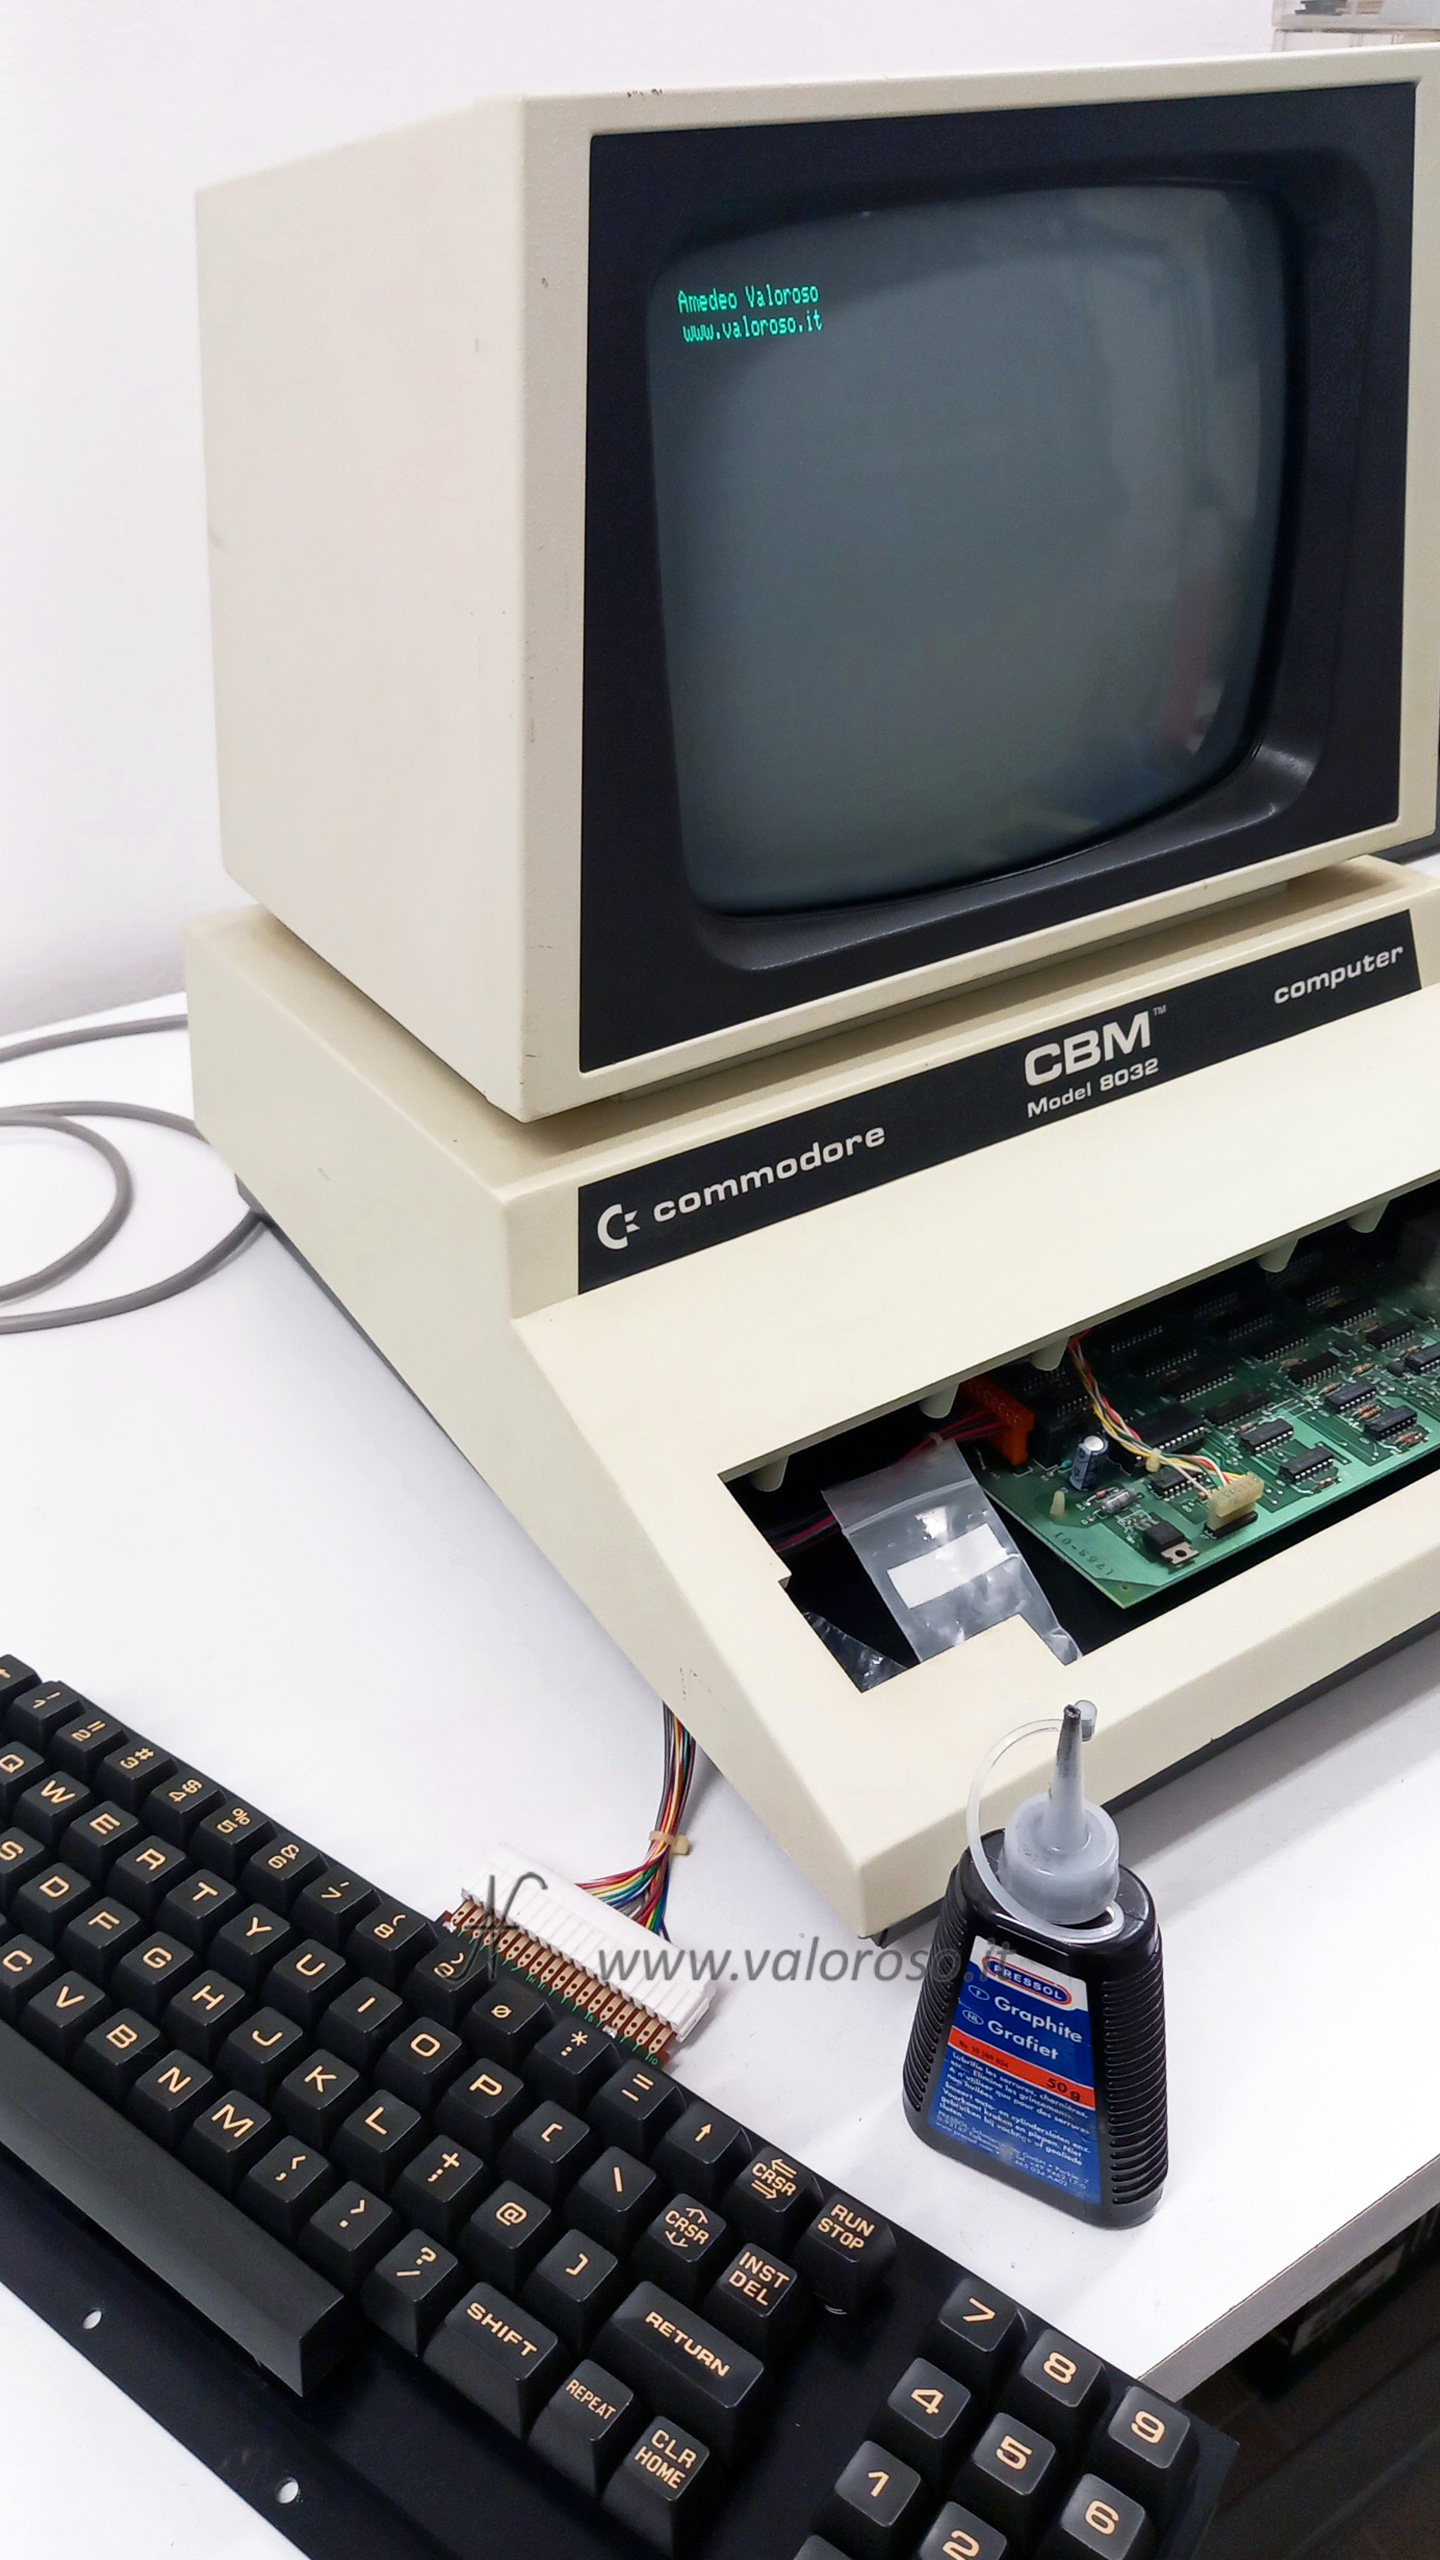
This step avoids having to disassemble everything again in case of residual problems.
In my case, I had to repeat the operation with graphite three times, before getting all the keys working.
Measuring with the tester the resistivity of each conductive rubber, from dial to dial, after applying graphite, we need to find about 70 ohms.
Commodore PET keyboard repair, keyboard reassembly
Once the keyboard has been tested, it's time to reassemble it for good. We lay the plastic part of the keyboard on the PCB, carefully aligning it. We screw all the screws back on and re-weld the wires of the shift-lock button.

Mounting the keyboard in the case of the CBM 8032
We place the keyboard and its metal case back in the case, following the correct orientation.
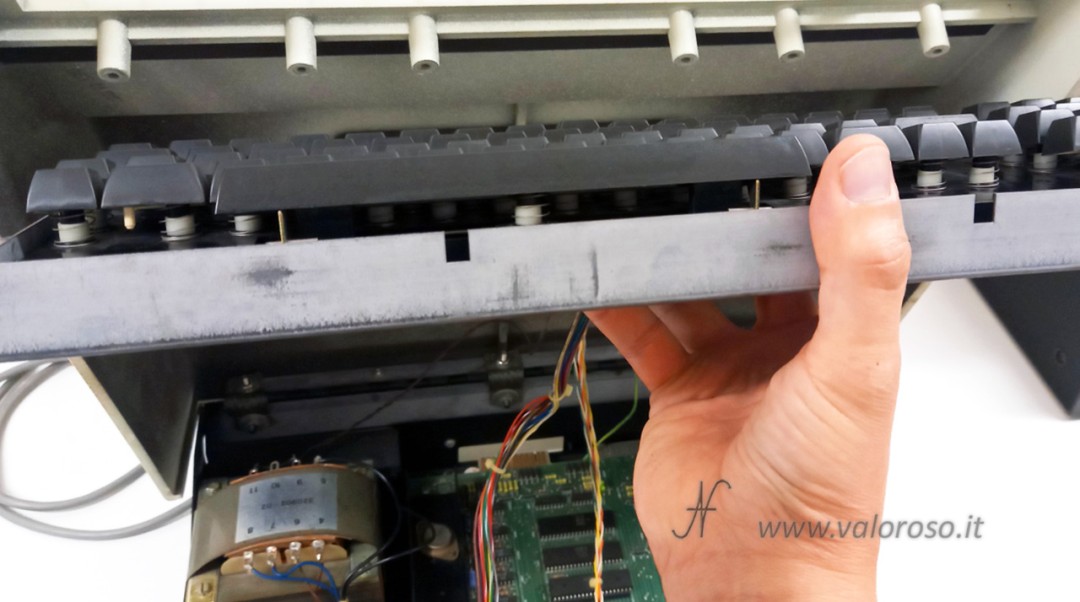
We screw back on the screws that join the keyboard, the metal casing and the case of the Commodore PET, CBM 8032 computer.

CBM 8032 keyboard repair with graphite: here is the final test!
Finally, after a lot of work, we can turn on the computer to check that everything is working perfectly.
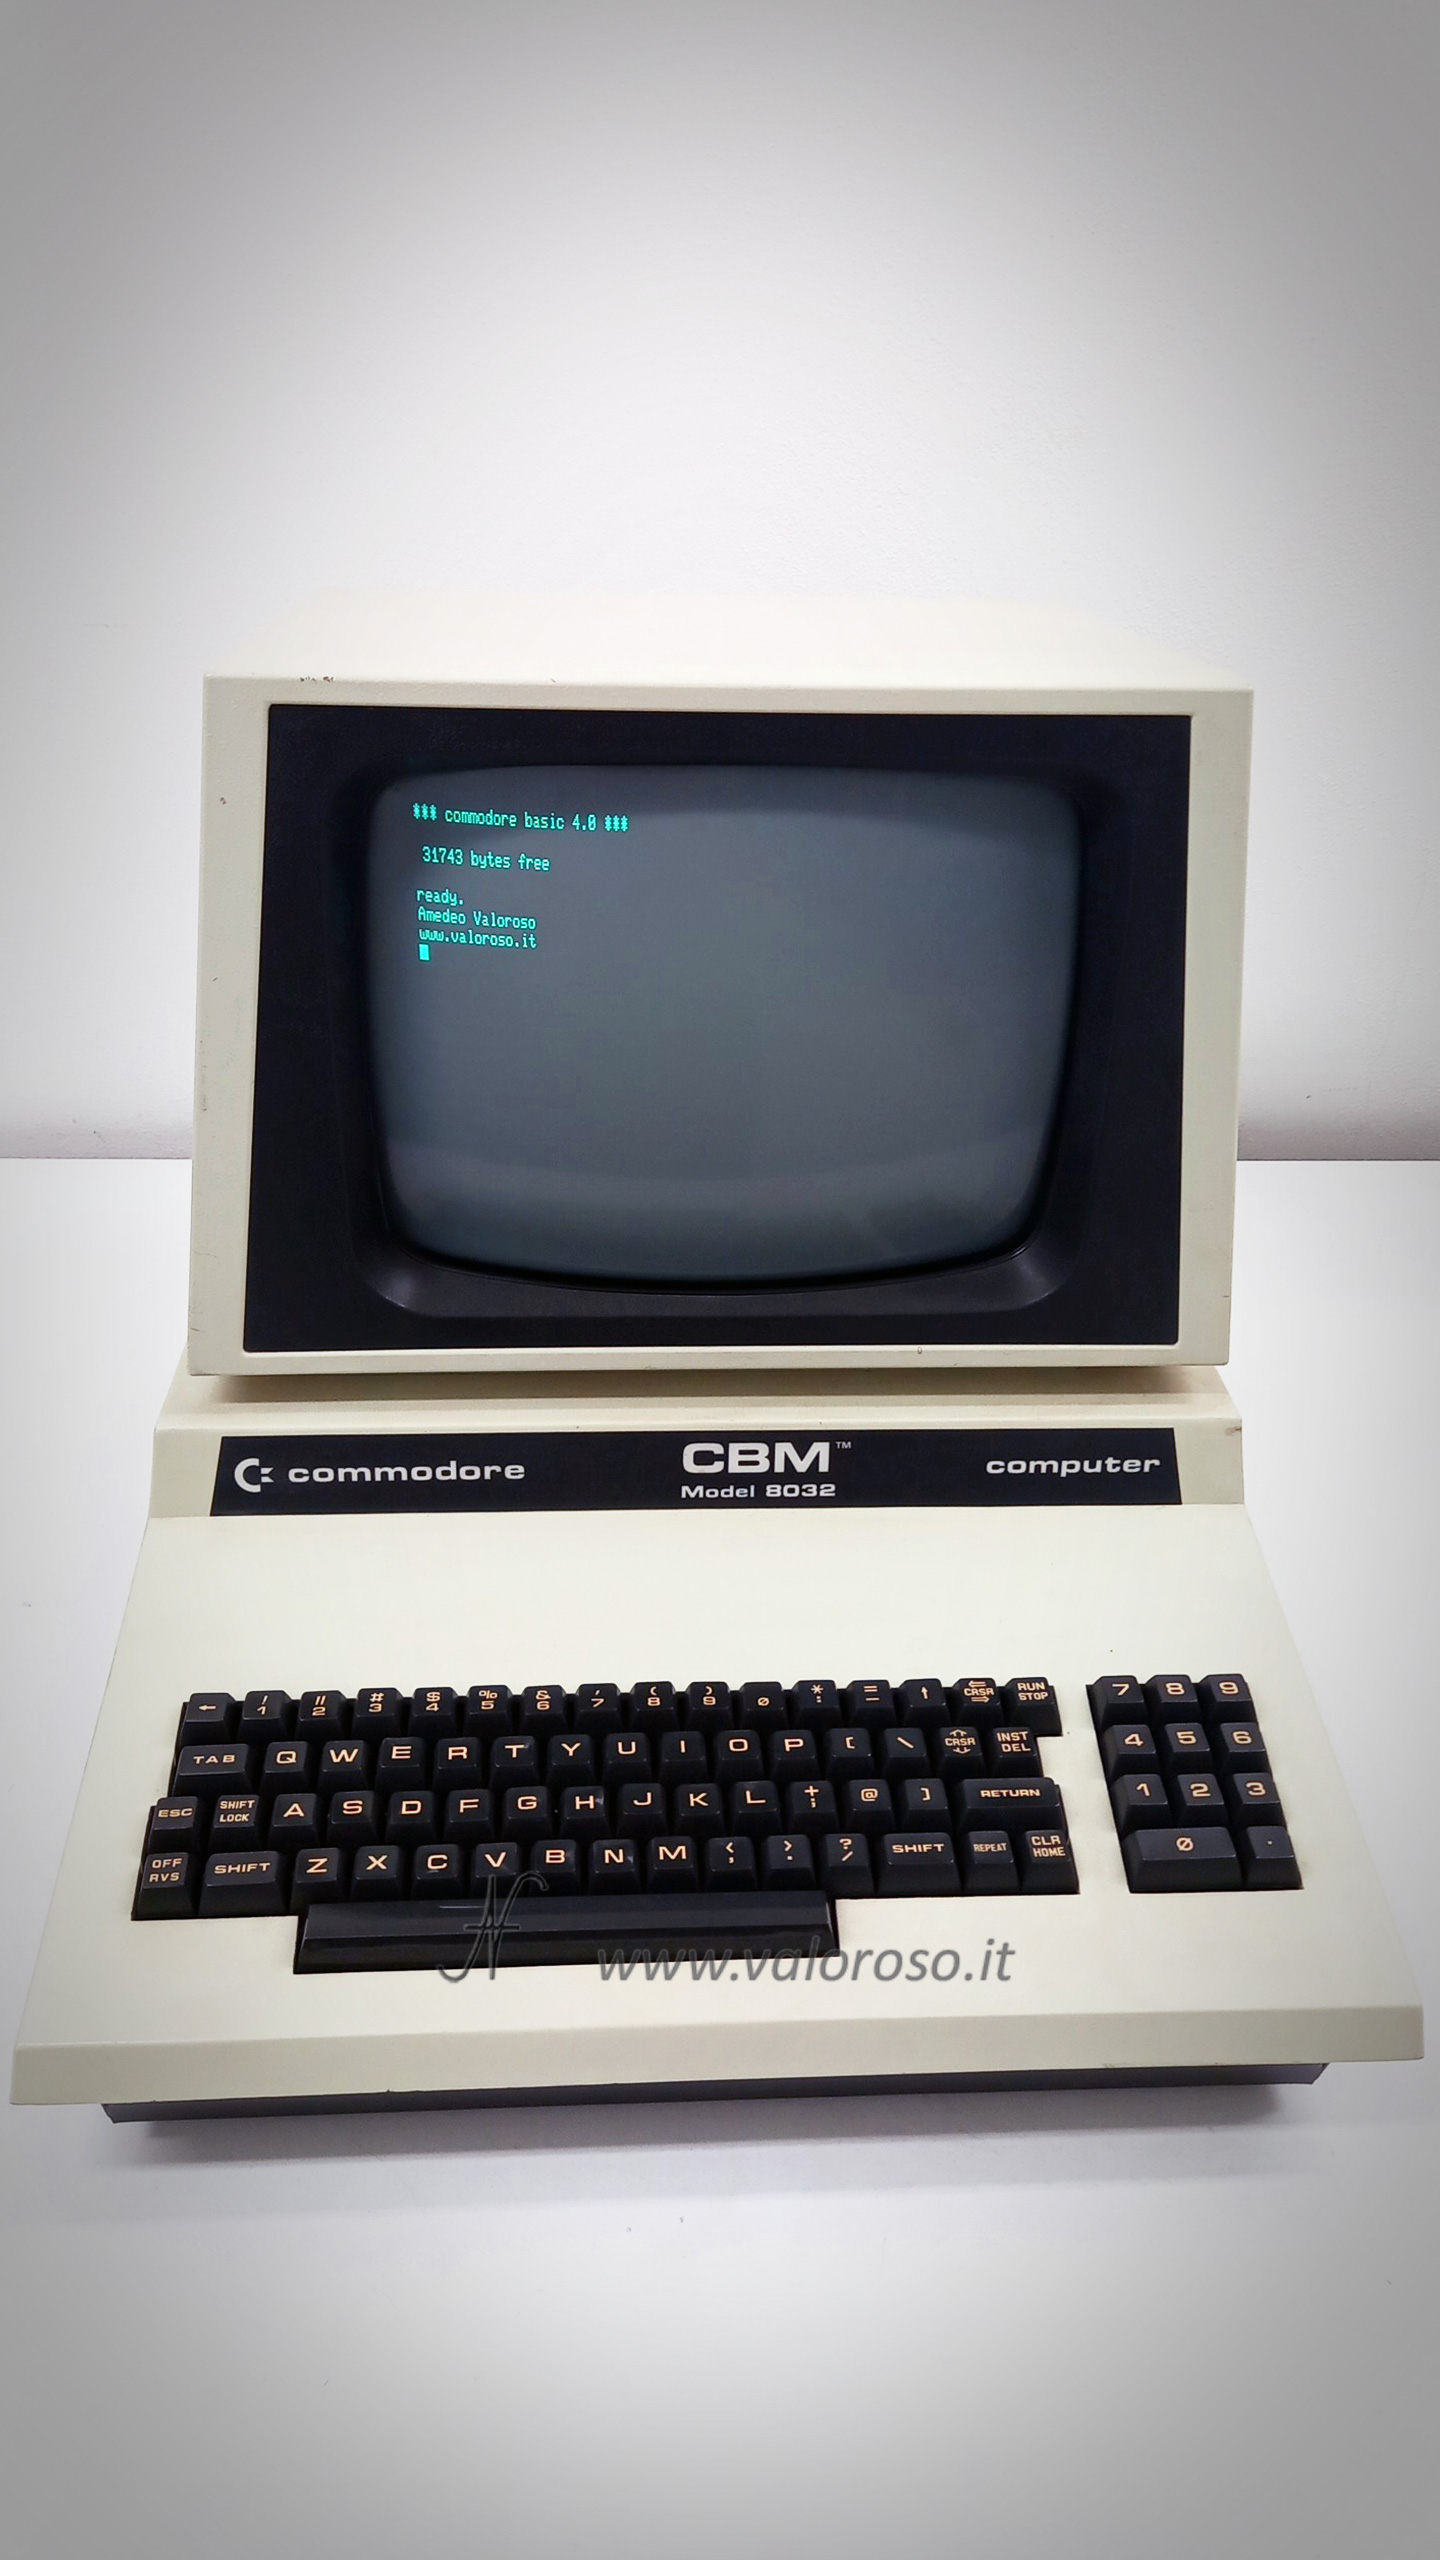
The keyboard is finally fixed, and the characteristic sound of the keys now also produces on-screen effects!