Consulting a used goods sales ad site, I recently came across an old audio reel recorder, a Sanyo MR-909 magnetophone. The post was clear, the reel recorder was not working, but I still decided to buy it with the intention of fixing it, given the modest price.

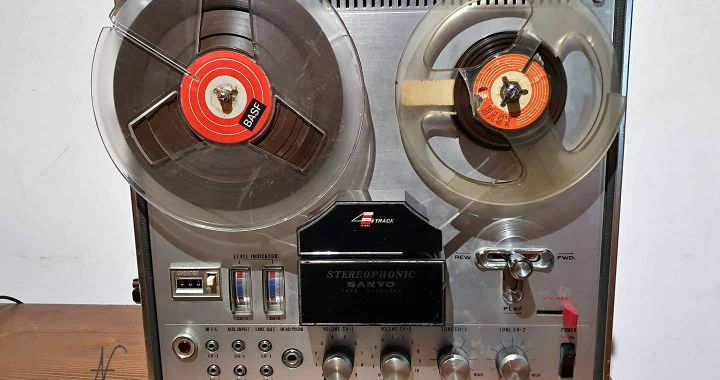
The Sanyo MR-909 is a 4-track open-reel recorder (two stereo channels for each tape direction) dating back to the late 60s.
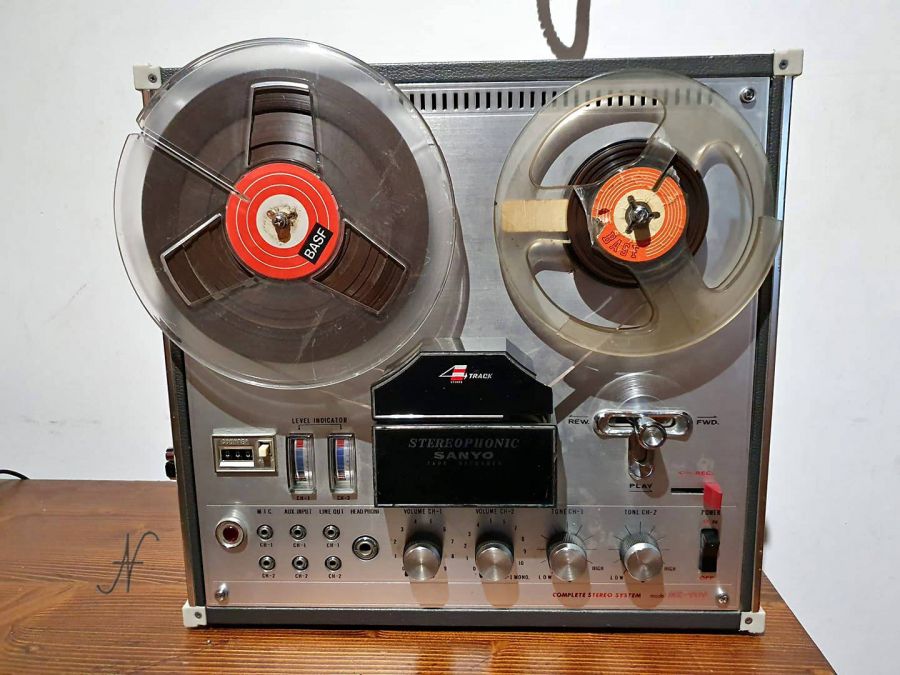
Here it is, just retired, the Sanyo MR-909 coil recorder: aesthetically it looks good. Of course, it has some small cosmetic defects, but what worries me most is the fact that nothing works, apart from the ignition light.
As soon as I disassembled, I started to try the recorder. I immediately noticed that the engine is spinning, while everything else is stationary. Not only are the belts missing, but several posts and pulleys are locked. Some pieces are also detached from their original position, which makes it even more difficult to find out where they were originally located.
First I got the service manual online, the "service manual” of the tape recorder. I didn't find the one for the Sanyo MR-909, but rather the one for the Sanyo MR-929, a very similar recorder. The electrical diagram is already present inside the wooden cabinet. For those who need it, I share it here service manual.

Sanyo MR-909 coil recorder, mechanics
The first part of the restoration of the Sanyo MR-909 tape recorder concerns mechanics. It is very important to understand well how the various mechanisms work and then proceed to restore them.
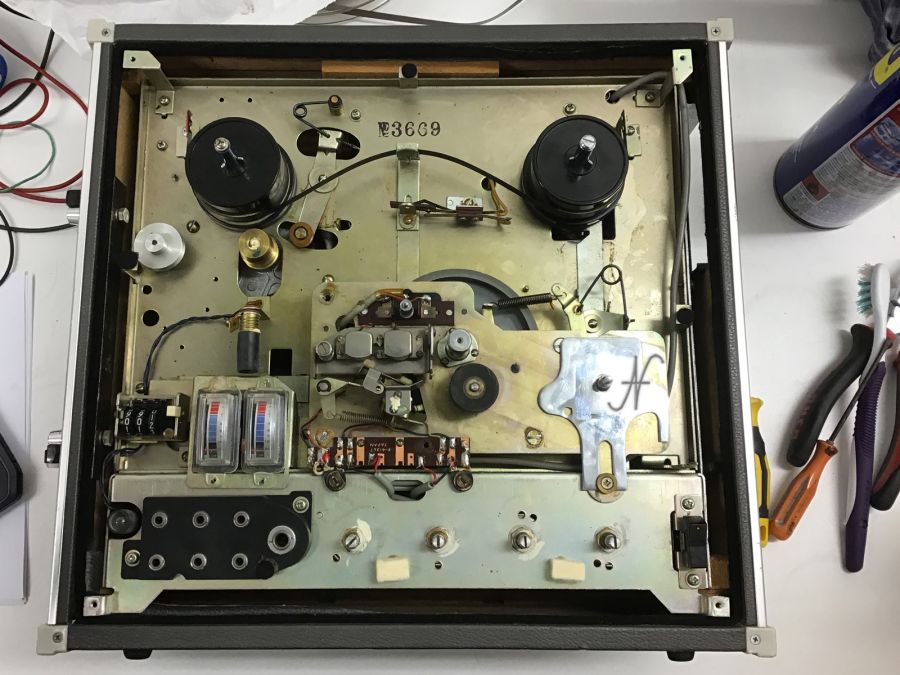
There are various functions and, each one, has a different mechanism associated with it. In the service manual these functions are listed and there is also written how to adjust them.
Brake (brake mechanism): it is used to immobilize the two reels when the tape (recorder) is in the stop position. It is formed by a metal strip that is pressed, through felts, on the rotating supports of the coils (feed reel base and takeup reel base).
Fast forward (fast wind mechanism): the heart of this mechanism is located in the support of the right coil (takeup reel base). The support is a clutch consisting of two wheels separated by a felt. The lower wheel is connected to the motor via a belt, while the upper wheel is connected to the coil. A system of levers adjusts the pressure of the lower wheel to the upper one, in this way, the torque of the motor is transferred to the coil in three modes:

- during rewinding the lower wheel presses very slightly on the upper one, which then is almost free to move;
- during audio playback, the lower wheel presses a little more on the upper one, which will then have the strength to wrap with variable speed, on the reel, the newly played tape (when the coil fills up, the diameter of the tape turns increases, so it must rotate less quickly);
- finally, during fast forward, the lower wheel presses strongly on the upper one, which therefore will have a lot of torque to wrap the tape quickly.
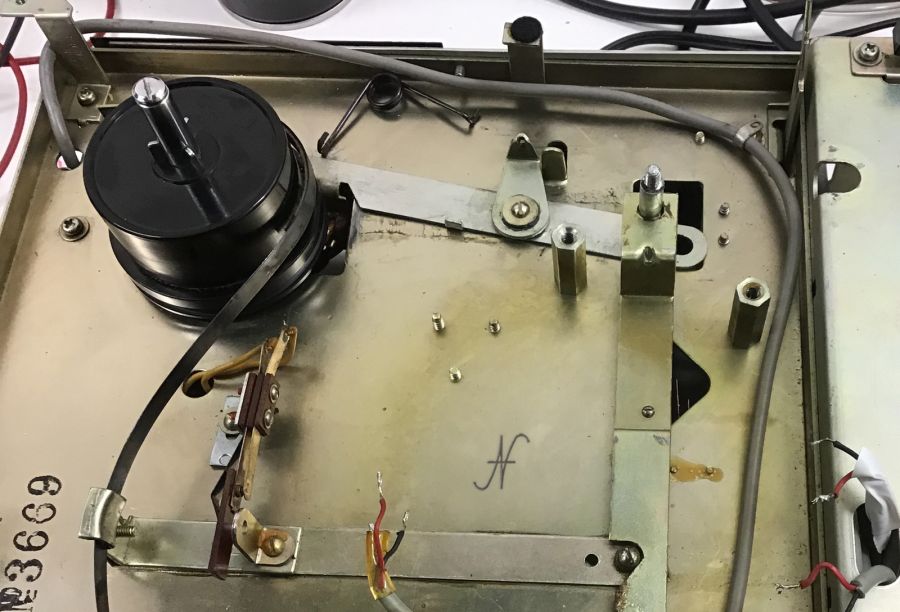
In my recorder, this mechanism was partially disassembled and required a lot of attention and adjustments.
Rewind (rewind): the support of the left coil is a double clutch. During fast forward and audio playback, the rotating support opposes a slight friction, so as to keep the tape stretched. During rewinding, a pulley presses the belt on the lower wheel of the support which, through a felt, transmits the motion to the upper wheel connected to the coil. In case the belt gets stuck, the clutch between the two wheels prevents the breakage of the same. In addition to the clutch pressure, you also need to adjust the pulley pressure against the lower wheel of the support.
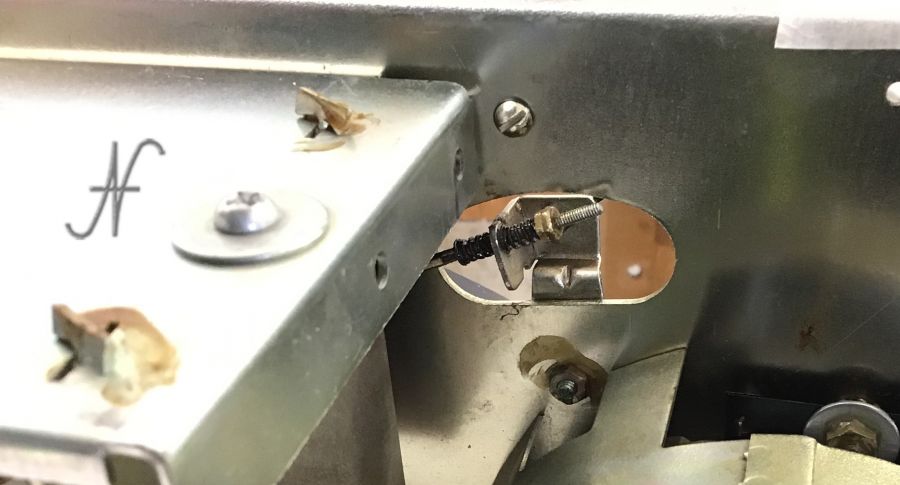
Audio playback (playback): the engine transmits power to a flywheel via a flat belt. The flywheel is connected to the capstan (the metal bevel that drags the tape), while the pinch roller (the plastic wheel) must press on the pinch roller with a strength of 650 to 950 grams. By means of a frequency meter and a sample tape (recorded with a frequency known through another recorder), it is possible to evaluate whether the playback speed is correct.
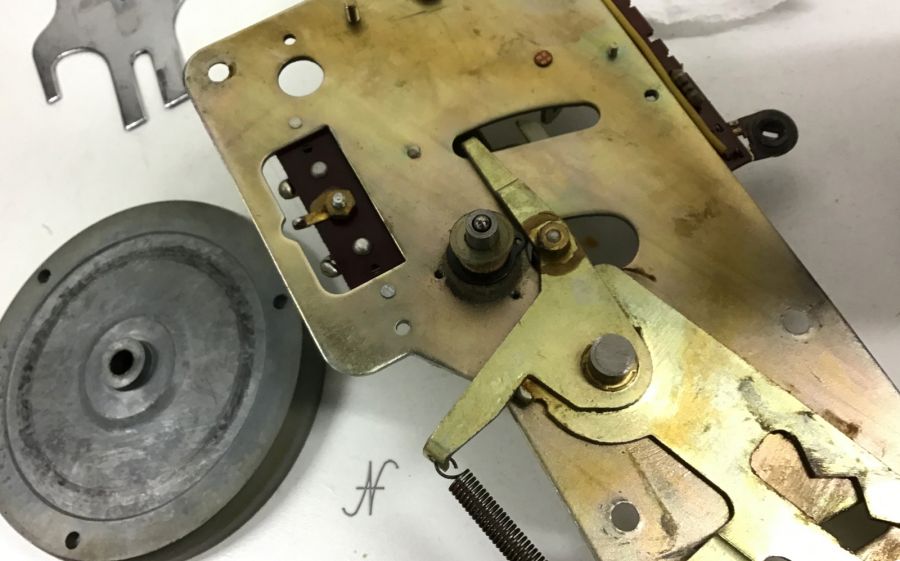
Felt pads: there are two felts that pressed the tape on the cancellation and playback / recording heads. Each felter must press about 20-25 grams on the respective head.

Counter: there are two belts and a series of pulleys to connect the left rotating support (feed reel base) with the counter.
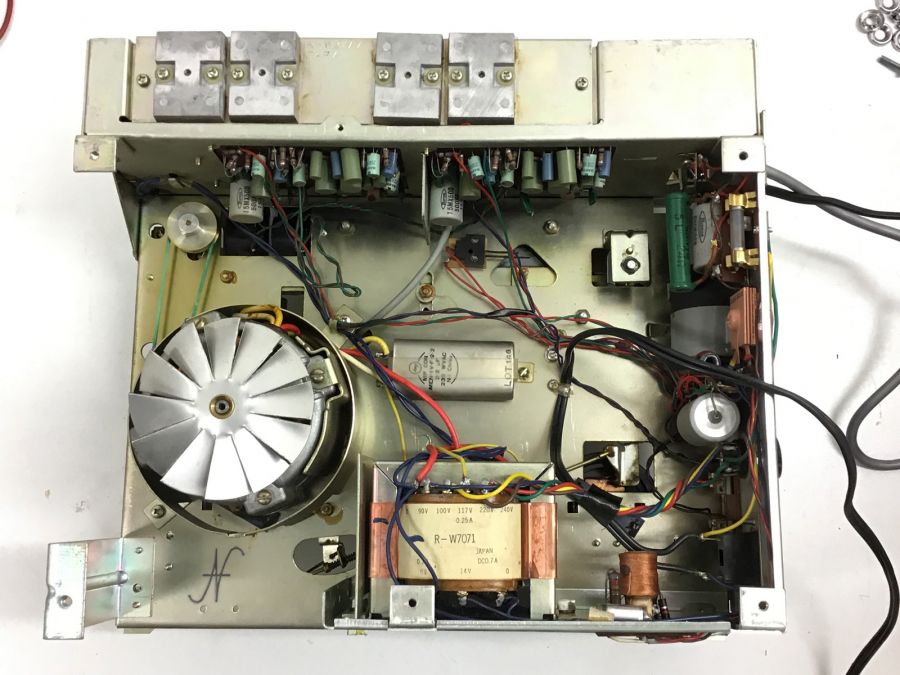
Restoration of the mechanisms must also include thorough cleaning and lubrication of the posts. All pulleys required thorough cleaning to remove traces of old straps. The pins that rotate inside the bushings needed both cleaning and lubrication. Finally, I replaced the felt washers (they were present in the supports of the coils, in the flywheel assembly, capstan and pinch roller), with properly lubricated nylon washers.
Sanyo MR-909, the straps
I prefer to dedicate a chapter to the straps of the Sanyo MR-909 recorder because the size is crucial. Since the original straps were absent, I could not measure them and then buy new straps.
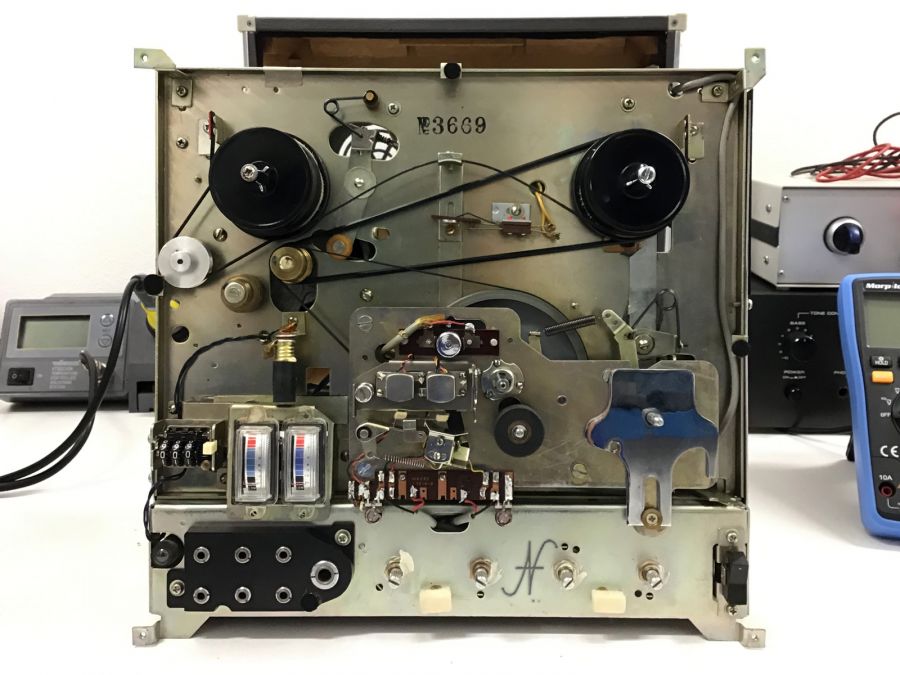
I started from a measure "with twine". As an electronic, I had no twine in the lab, so I folded up on a thin electrical cable. I accurately measured the theoretical perimeter of each belt, passing the cable through the same pulleys that would have traveled the belt. I then reduced the measured perimeter by about 5% and calculated the diameter of the straps.
If for the square straps (the two of the counter) and for the flat one (that of the flywheel of the capstan) this procedure worked well, for the larger belt, the one that transmits the motion to the two coils, I had to cut and glue the belt purchased, shortening it to have a greater tension.
In the face of all these experiments, here is the nice and ready list of straps to buy to restore a Sanyo MR-909 and also a Sanyo MR-929:
- Front of the counter (belt number 9 in the service manual on page 5): square thickness = 1mm, diameter = 70mm.
- Rear counter (belt number 6 in the service manual on page 5): square thickness = 1mm, diameter = 75mm.
- Flywheel flat (belt number 75 in the service manual on page 5): flat height = 6mm, diameter = 125mm.
- Belt of the supports of the coils (number 29 in the service manual on page 5): round thickness = 3mm, inner diameter 134mm, outer 140.
Sanyo MR-909 coil recorder, the test
Finally, after reassembling and calibrating all the reel to reel tape recorder (the reel recorder), I could try all the functions with the coils mounted on the media. The most complicated functions to adjust are definitely rewinding and fast forward, which must be effective both with tape-filled and empty coils.
The result was satisfactory, as all the mechanisms thus restored have regained the life they had in the past.
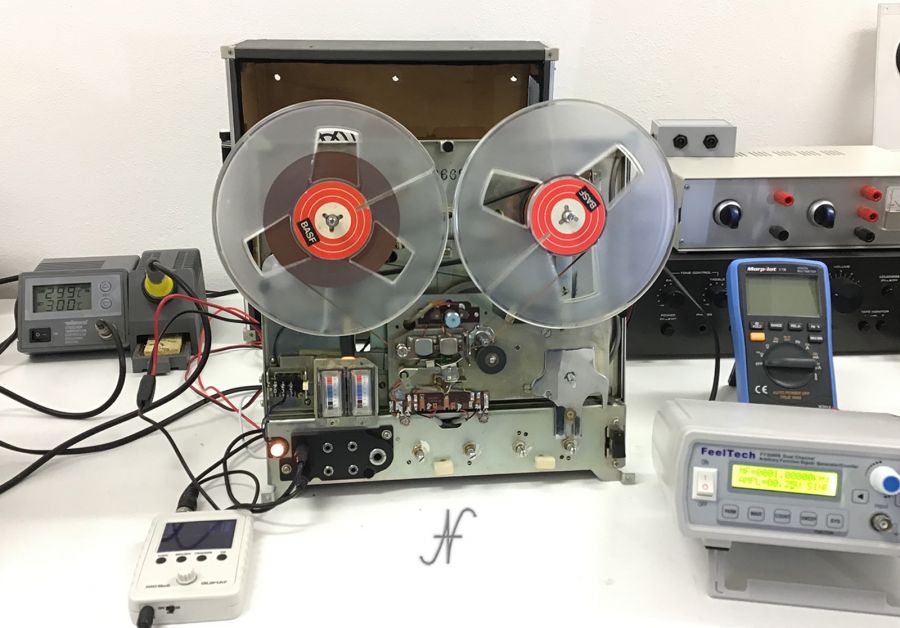
Unfortunately, the audio test did not give, at least at this stage, good results. Both audio channels are very weak and one of the two completely cuts the high frequencies.
For those interested in knowing how I solved: here is a article on the replacement of capacitors and other repairs I had to do to the Sanyo MR-909.

Cordial saludo…desde Colombia, estoy restaurando una idéntica, muy valioso su aporte , aunque no soy Electrónico, pues soy ING Mecánico amante de estos reproductores en mi tiempo libre , tengo una inquietud, UD tiene la referencia como SANYOgoo 909… Y la mía es 929..son las mismas…?
Cordial saludo..ya quedó resuelta mi duda con respecto a la referencia, UD lo aclaro muy bien al principio de su artículo, además encontré la respuesta a dos interrogantes que tenía,
La primera tenía que ver con el cambio de velocidad , ya que no encontraba ningún botón o perillas , cómo es lo más normal en las otras grabadoras, simplemente es retirar la camisa roscada del cabrestante e inmediatamente reduce la velocidad por ajuste en su diámetro … genial.
La segunda no veía yo como podía rebobinar la cinta a la izquierda, si el rodillo no tenía transmisión directa con el motor, y resulta como UD lo aclaro el giro se hace por rozamiento de la correa con un rodillo auxiliar.
Estoy localizando las correas con las especificaciones que UD amablemente ha suministrado y listo.
Muchas gracias…
Arturo Colombia.
Hello! They are very similar, but please note that there are some small differences.
Hello Arturo, thank you very much for your comment. I am happy that my article was useful to you!