Welcome to the new section: "The Latest Retro Technology Discovery"! Today we talk about my latest purchase: a Telefunken Mignonette MF R231 tube radio.

The Telefunken Mignonette MF tube radio dates back to 1955, 1956. The audio amplifier has an EL84 valve and delivers 3 Watts of power. Being a product for Italy, among the various power supply voltages, there is also that of 220-240 V in alternating current.
Inside, we find the following valves: UCH81, UY85, ECC85, UF89, EABC80, EL84, OM70. Through a four-position selector, the radio is able to tune: medium waves (OM), two short wave bands (OC) and also the FM band (indicated as MF) in frequency modulation. Dimensions: 305 x 215 x 170 mm. The cabinet is made of wood.
We try it on, clean it and open it to look inside!
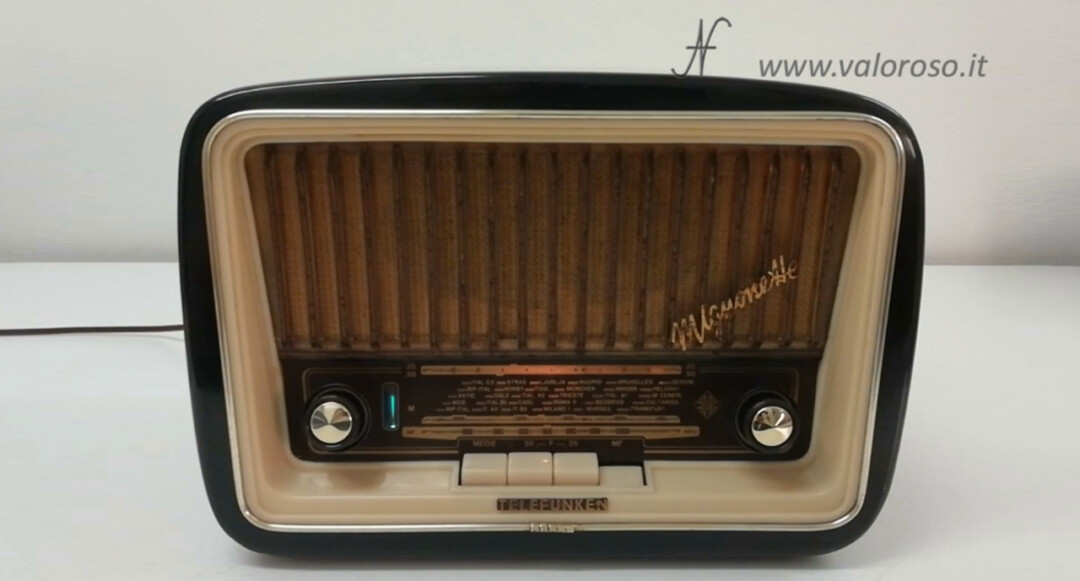
Regarding the knobs, the one on the left is double and controls the ignition, volume and tone. The one on the right is for the tuning of the broadcaster. There is also a magic eye near the volume knob.

Telefunken Mignonette MF R231 tube radio
The radio unboxing is visible in the video. The Telefunken Mignonette MF tube radio that I bought, just unpacked, is in fairly good condition. The cabinet has no cracks or scratches. However, it is very dirty.
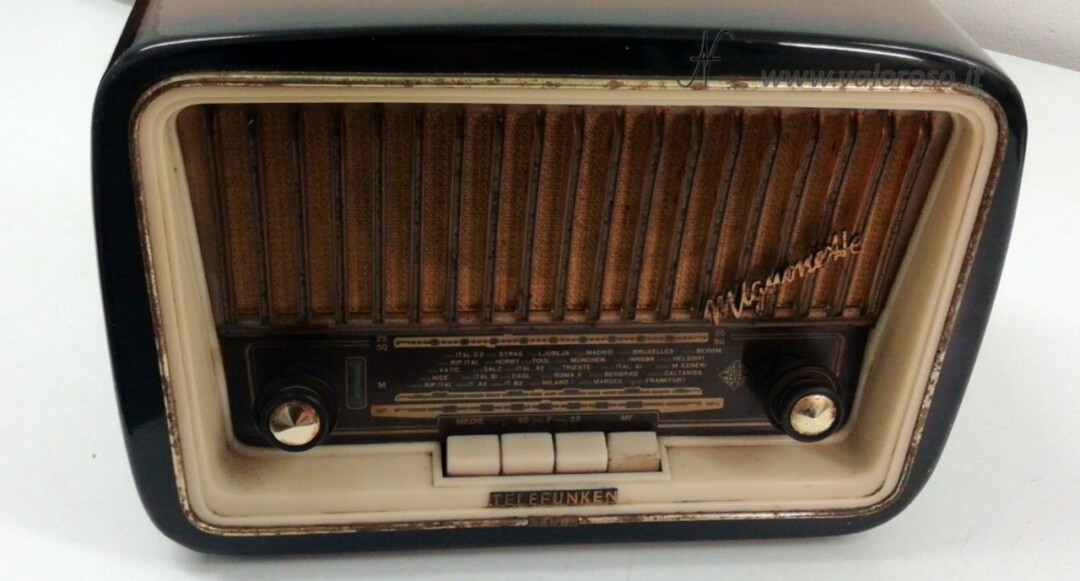
Before connecting it to the power supply to test it, we put a little flux on the plug and ... you have to try that there are no short circuits on the power supply or dispersions on the knobs.
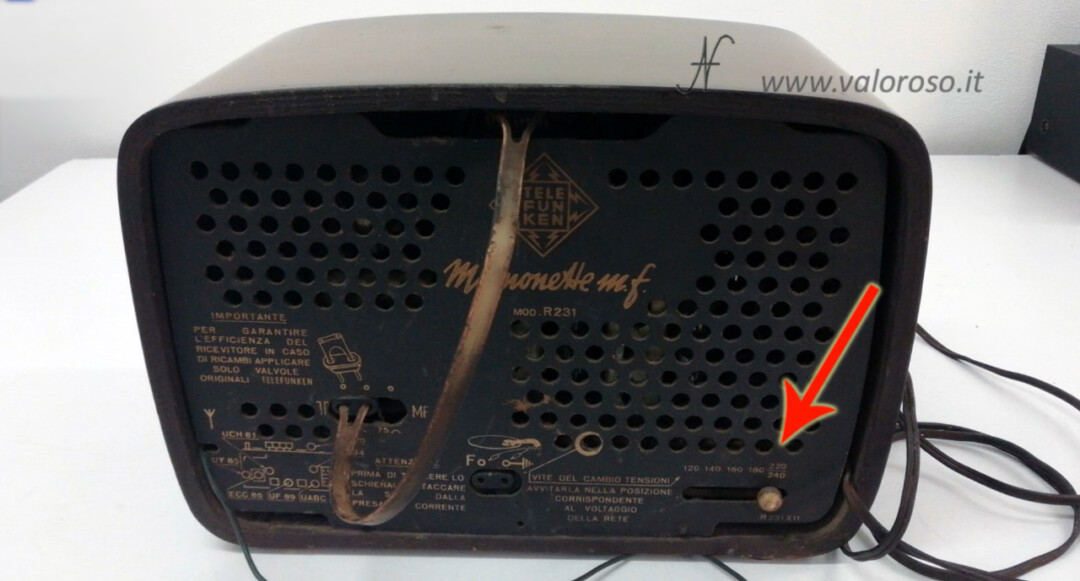
We also check that the power selector is positioned on the correct voltage which, in Italy, is 220-240V in alternating current.
As soon as it was turned on, the radio immediately worked!

We open the tube radio to look inside
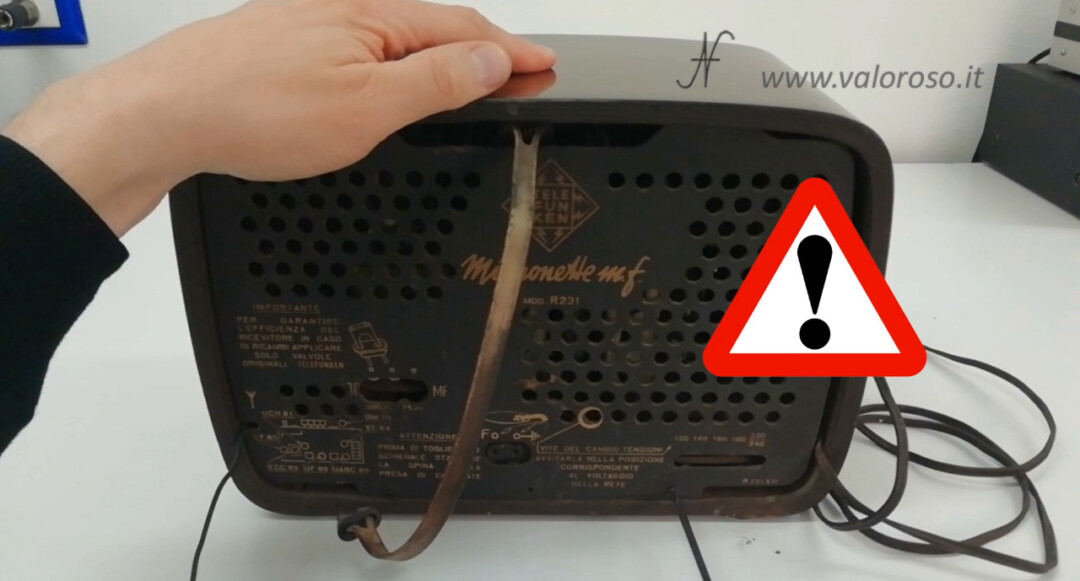
The time has come to open the radio to look inside. Disassemble the backrest: to do this, disconnect the FM antenna, unscrew the power supply voltage selector and unscrew the two screws that hold the panel fixed to the cabinet. Obviously… the plug must be disconnected from the power socket!
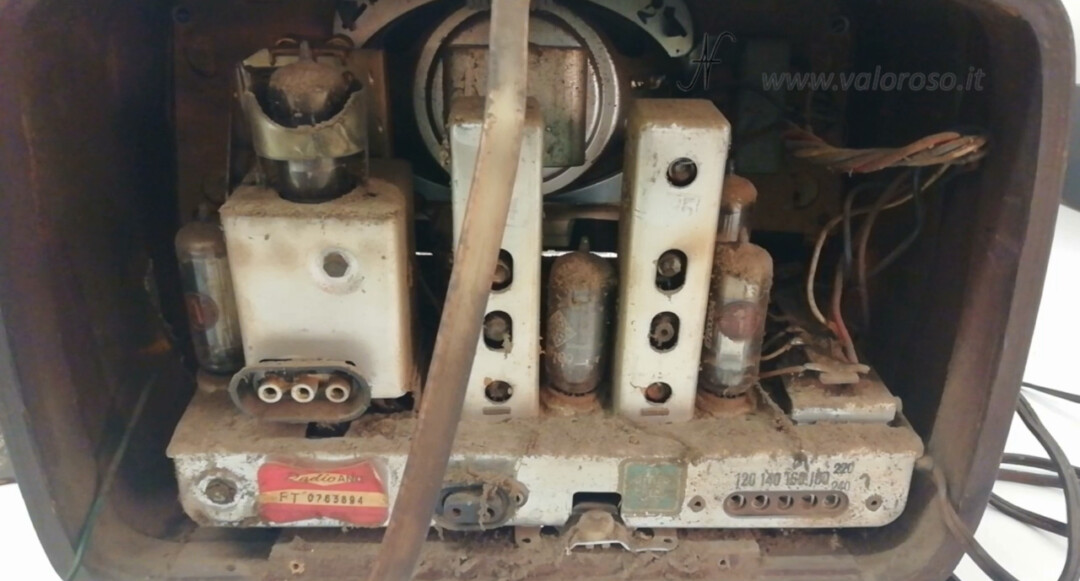
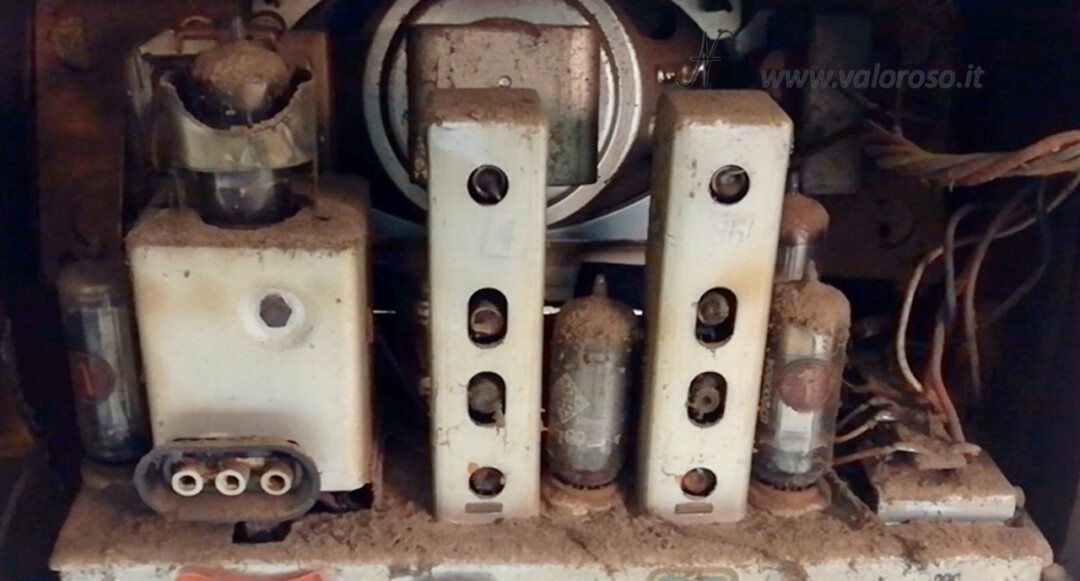
The frame is really very dirty!
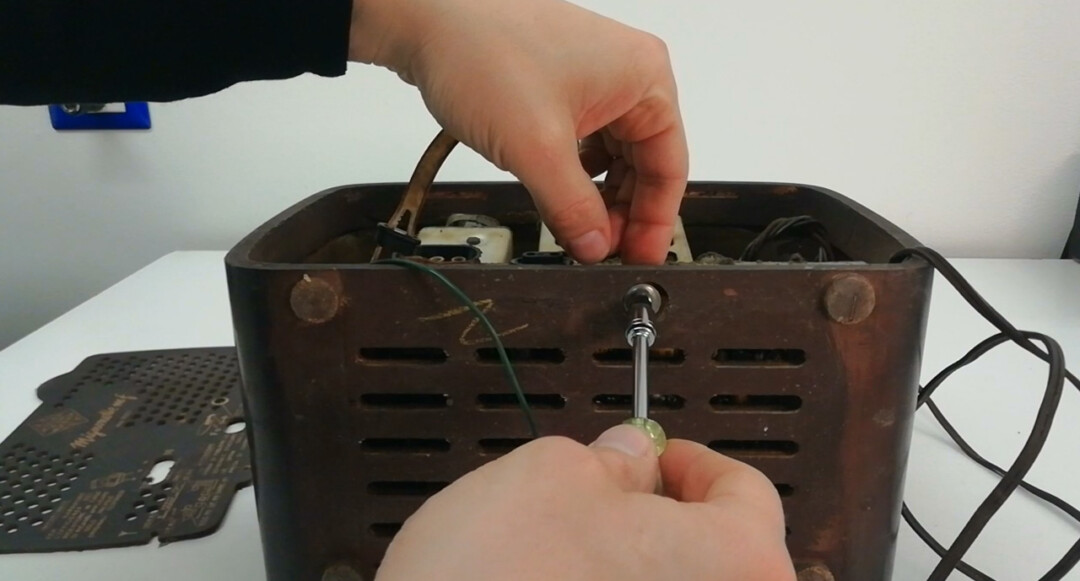
To extract the frame from the cabinet, we must unscrew a screw, present in the lower part of the cabinet.
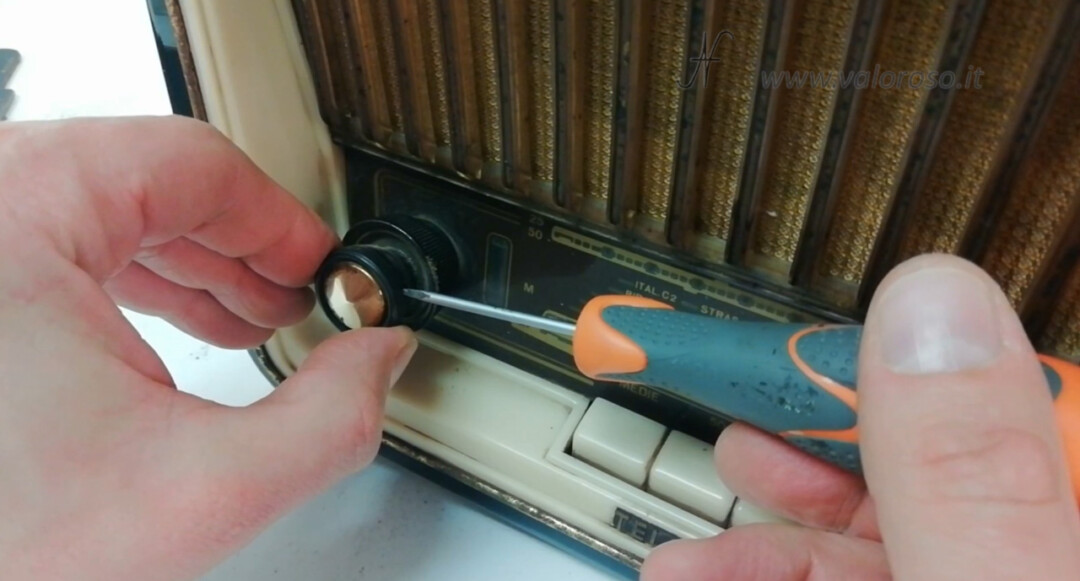
Then you have to remove the front knobs, loosening the small screws on the side of the knobs, with a thin-bladed screwdriver. Even if they look like 2, there are actually 4 knobs: two small on the front and two larger ones on the rear.

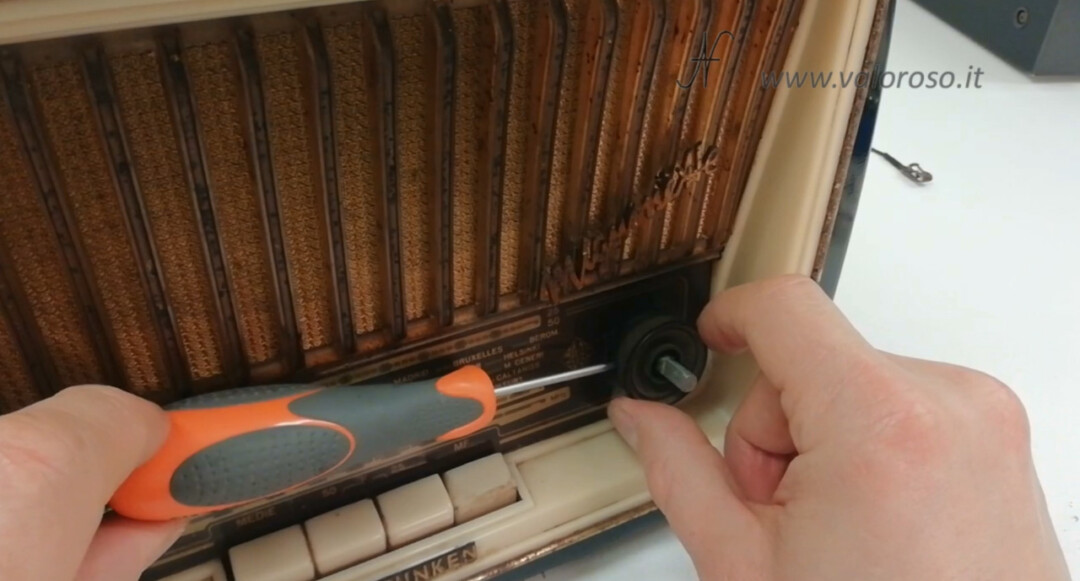
Making sure that the buttons do not fit into the front panel of the speaking staircase, we can remove the frame.
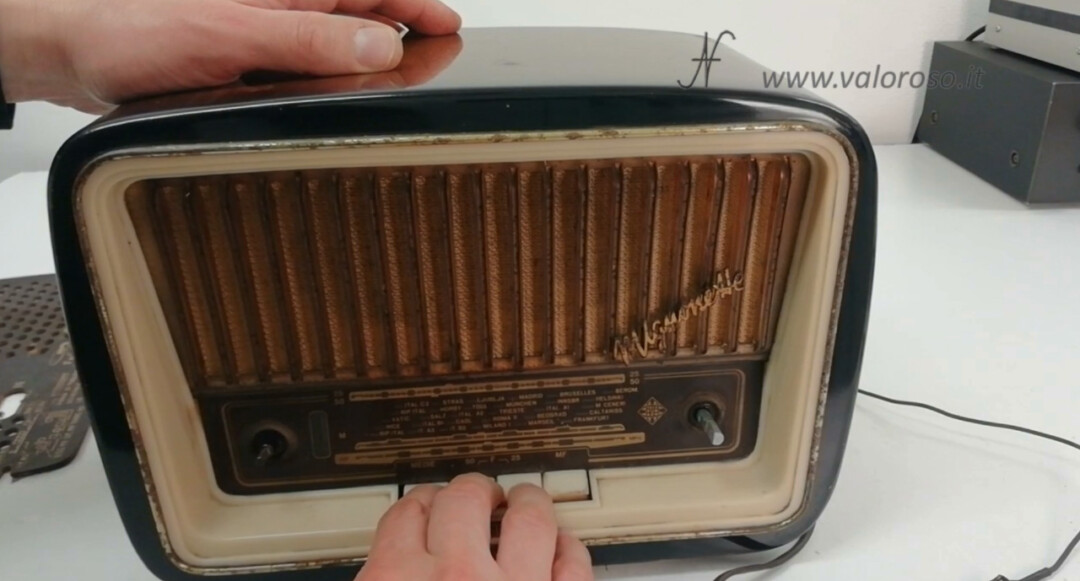
The frame of the tube radio needs a good cleaning!
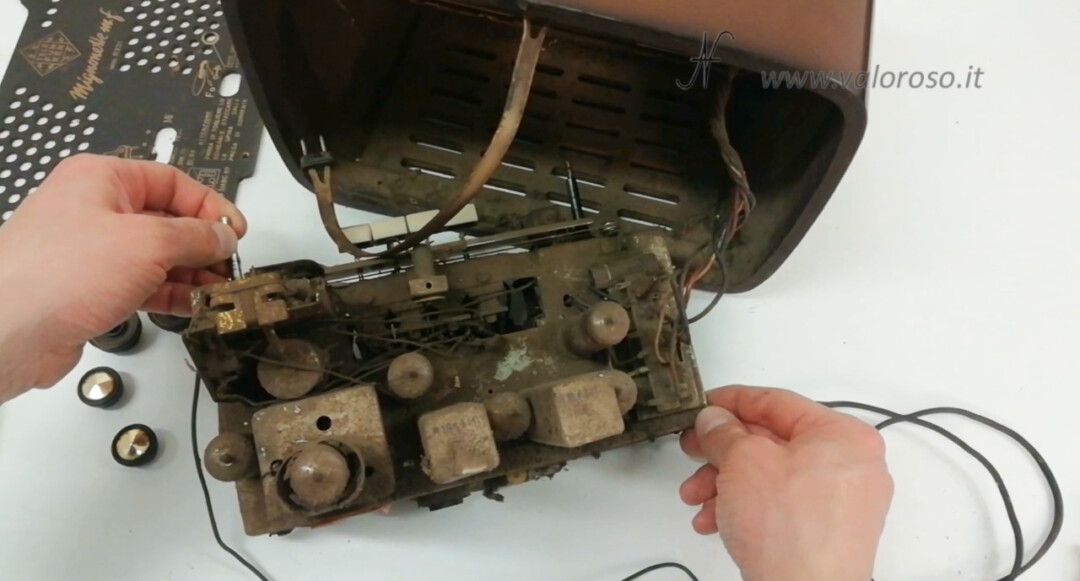
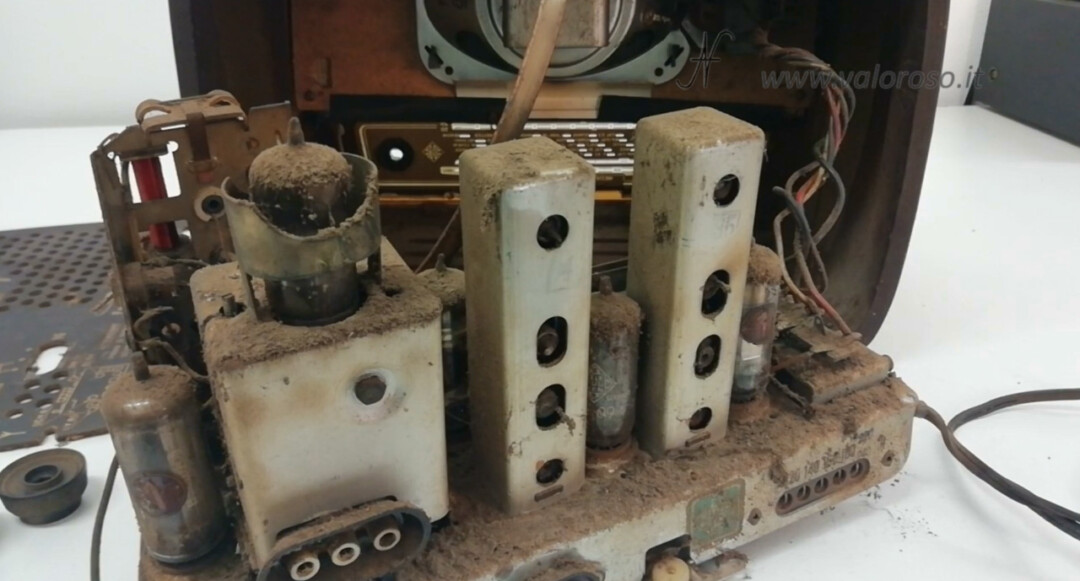
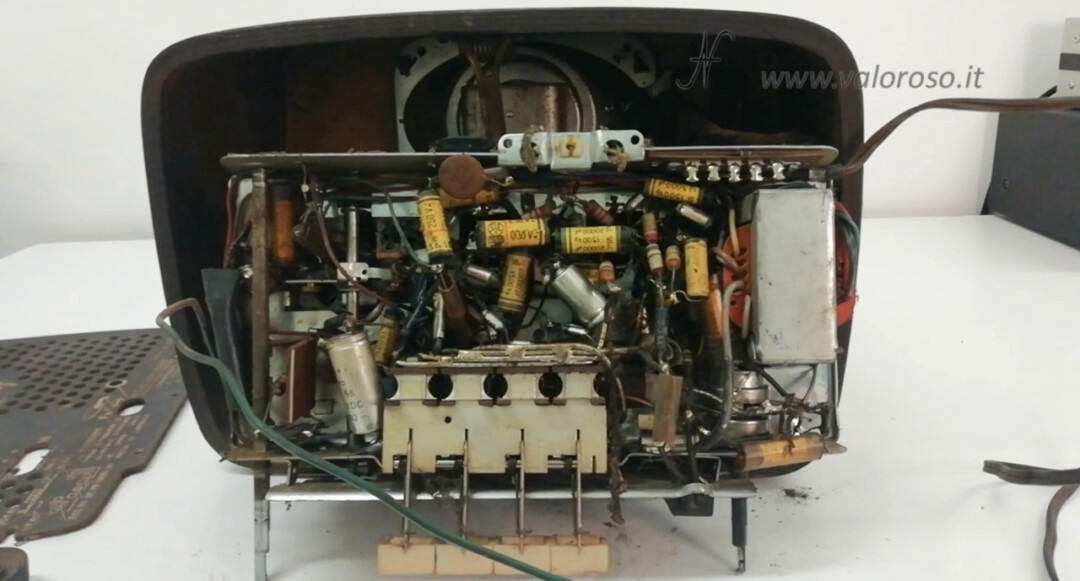
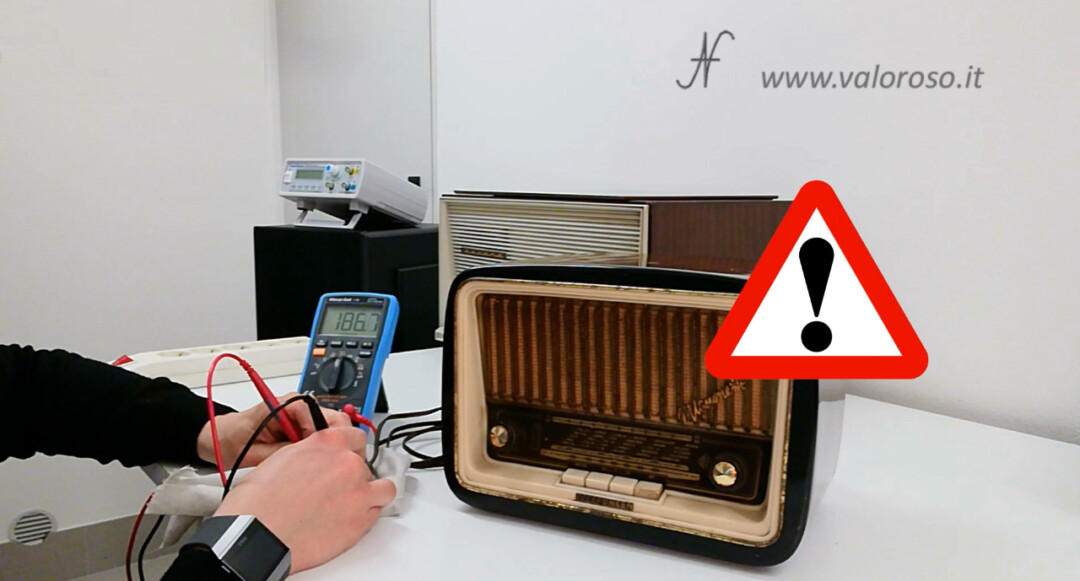
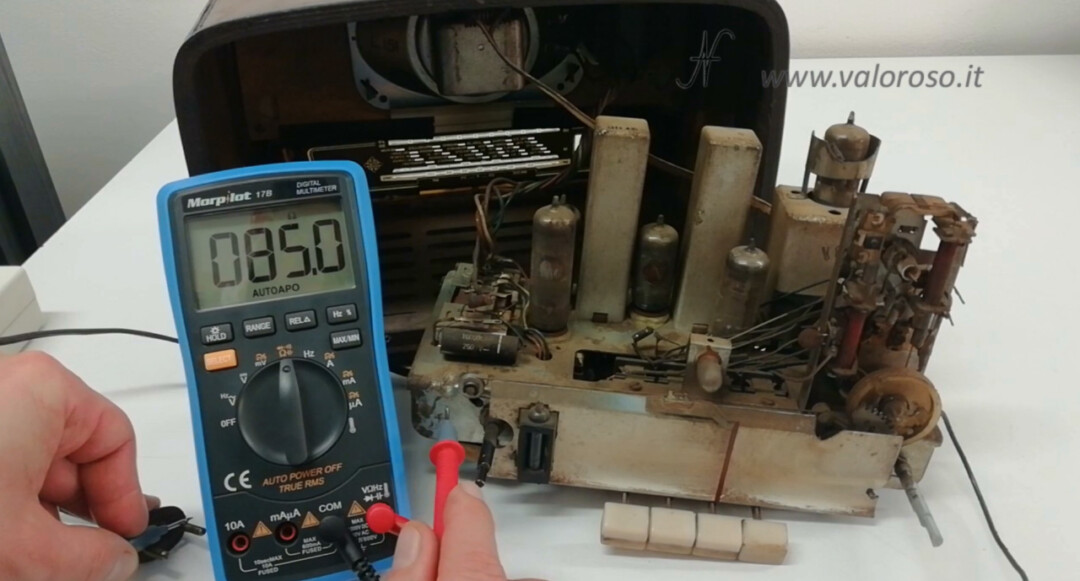
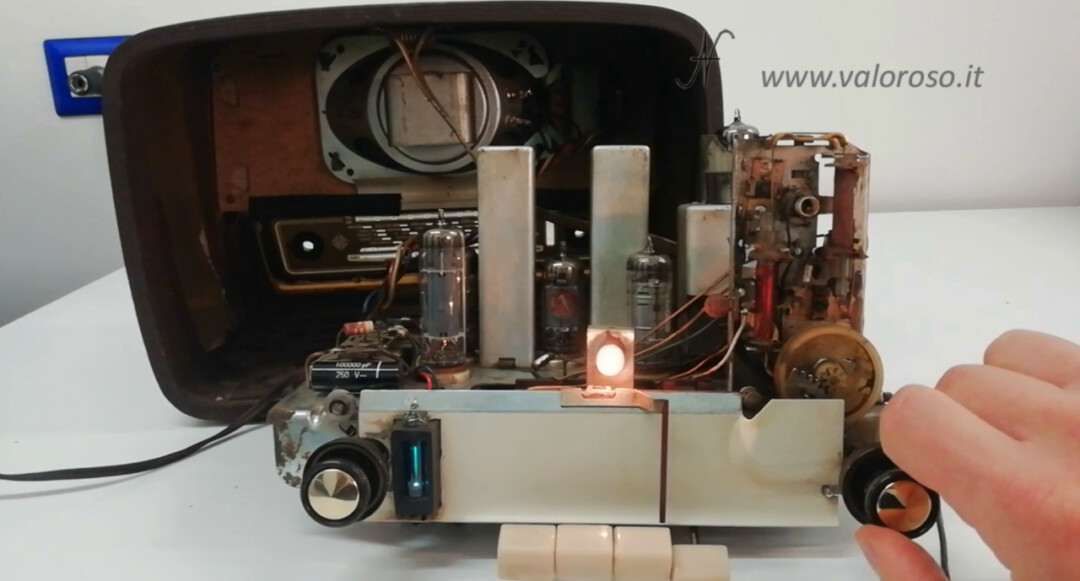
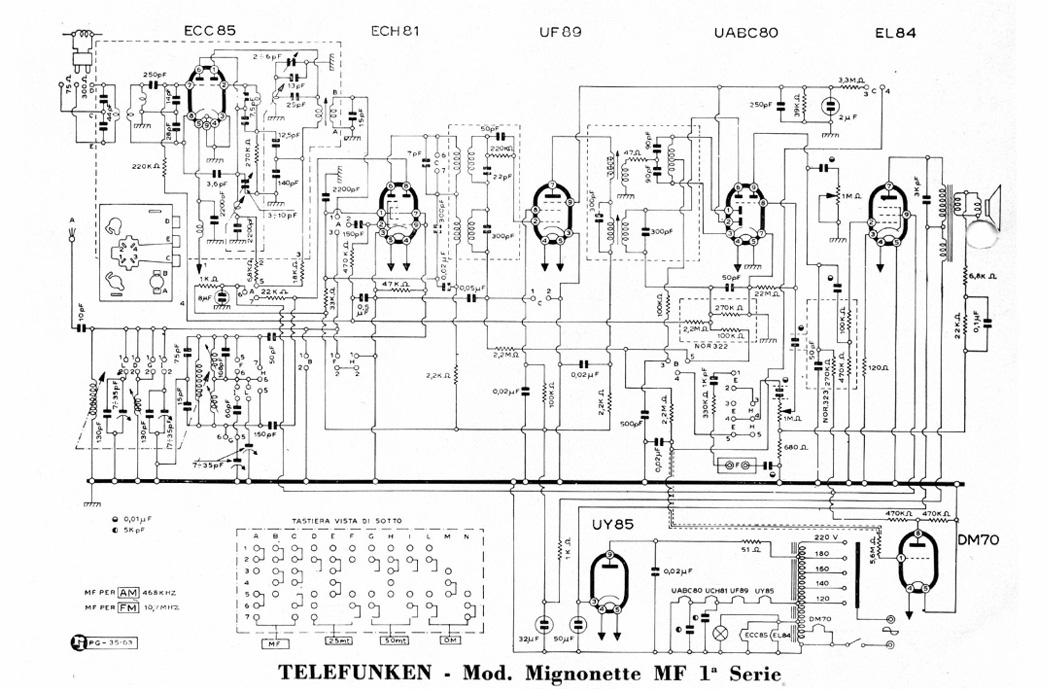
Before proceeding with a slightly more thorough cleaning, let's see, from the inside, the functioning of the tube radio. Let's start reconnecting the power voltage selector and the FM antenna. As we can see from the wiring diagram and ... as the tester confirms, the whole frame is connected to the power supply!
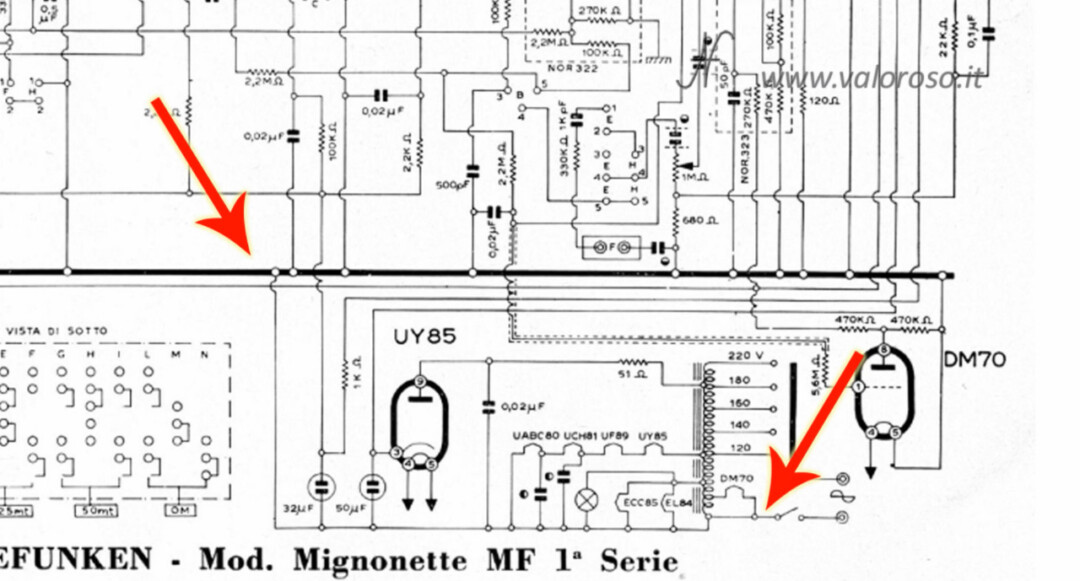
This is very dangerous, as we could be electrocuted by touching any metal part of the radio. For this reason, I prefer to reassemble the knobs, so that I can control the radio, open, without taking the shock.
Some prefer to mount an additional isolation transformer, just to be able to use the tube radio and improve safety.
The tuning knob: a complex mechanism!
We can take a look at the operation of the tuning knob. When rotated, a mechanism, consisting of pulleys and cord, moves the indicator of the speaking scale.
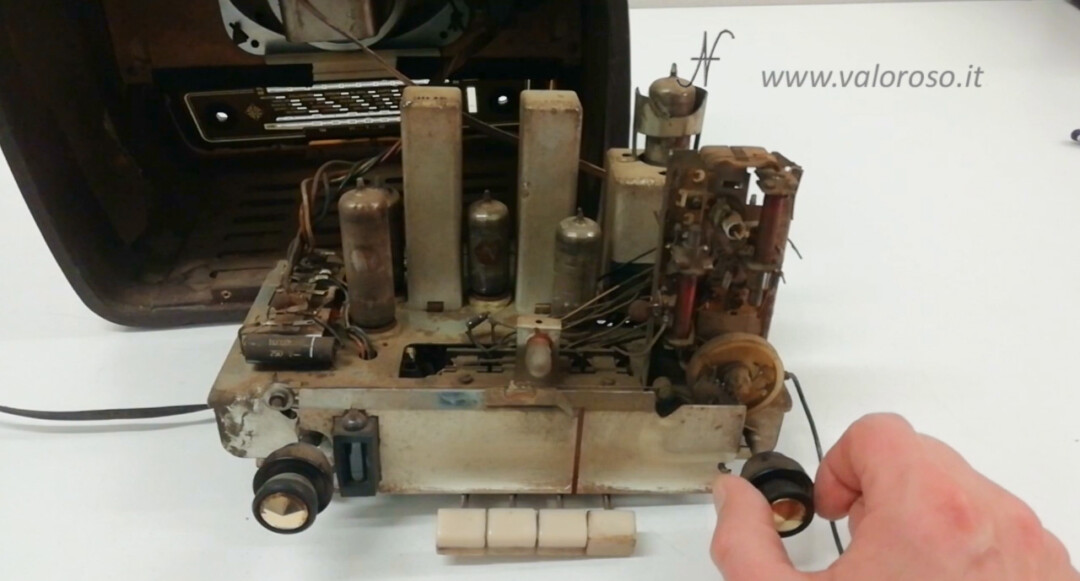
We also see the mechanism which moves the mobile nuclei of the tuning inductors, and which rotates the other components necessary for the tuning of the broadcasters on the various bands. In the video, these movements are clearly visible.
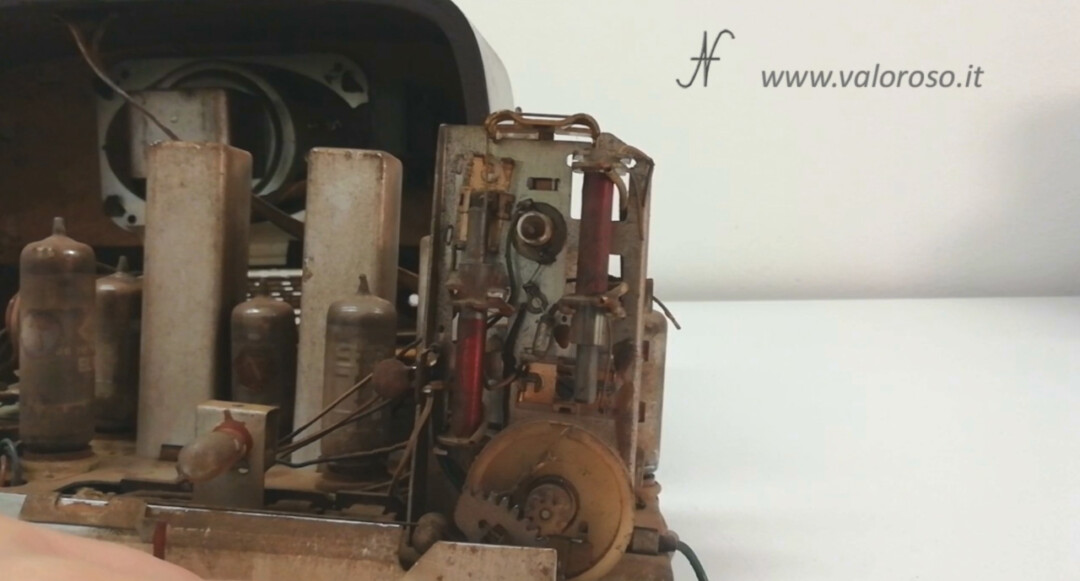
The bands are selectable via the 4-button selector: medium wave (OM), two short wave bands (OC) and the FM band (MF) in frequency modulation.
Switching on the Telefunken Mignonette MF R231 tube radio
As mentioned above, the whole frame is connected to the power supply! Never touch any metal part of the radio or the electronic components when the plug is connected to the socket. Also, we must remember that thermionic tubes operate at high voltage.
Being careful, I turn on the tube radio again, this time open!
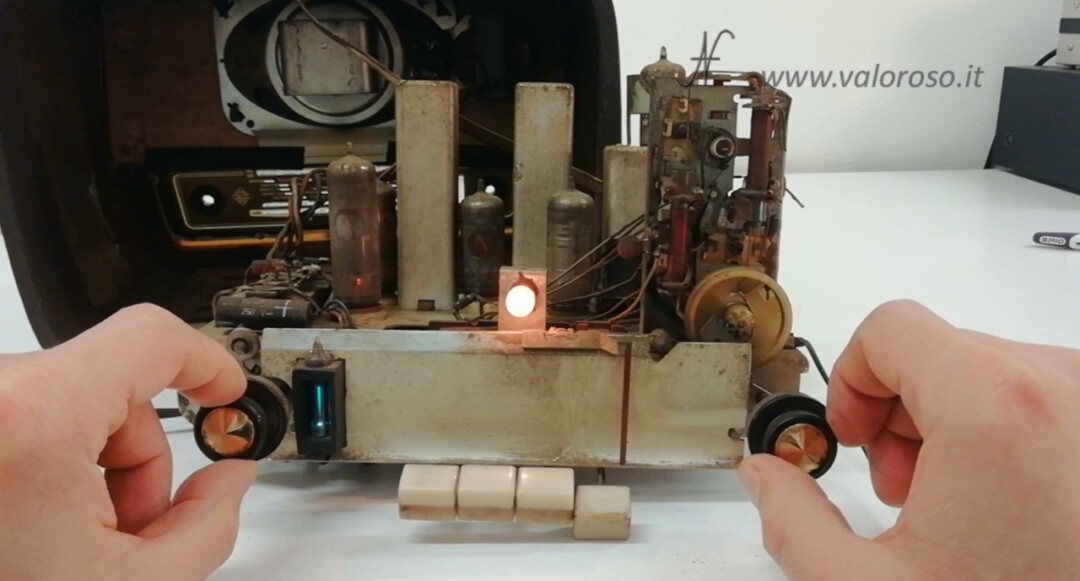
We await the heating of the valves: we can see the magic eye of the radio, turned on. The radio works, so you can select a station to listen to it.
Cleaning the tube radio chassis
To clean the frame and the interior of the cabinet, we begin to blow lightly with compressed air. Better to do this operation outside the laboratory, so as not to dirty everything! It is also possible to use a brush with soft bristles to brush off the bulk of the dirt. Obviously, cleaning should be performed after disconnecting the power plug and after waiting for the capacitors to discharge.
We use the soft bristle brush, with a little alcohol for the electrical parts. While, for the painted parts, we use a cloth moistened with water and degreaser.
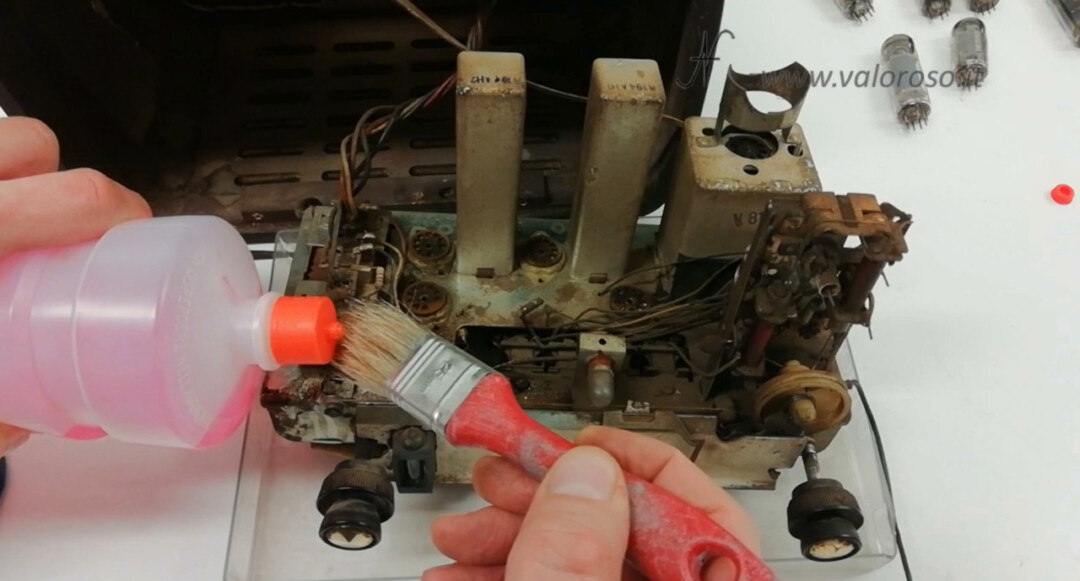
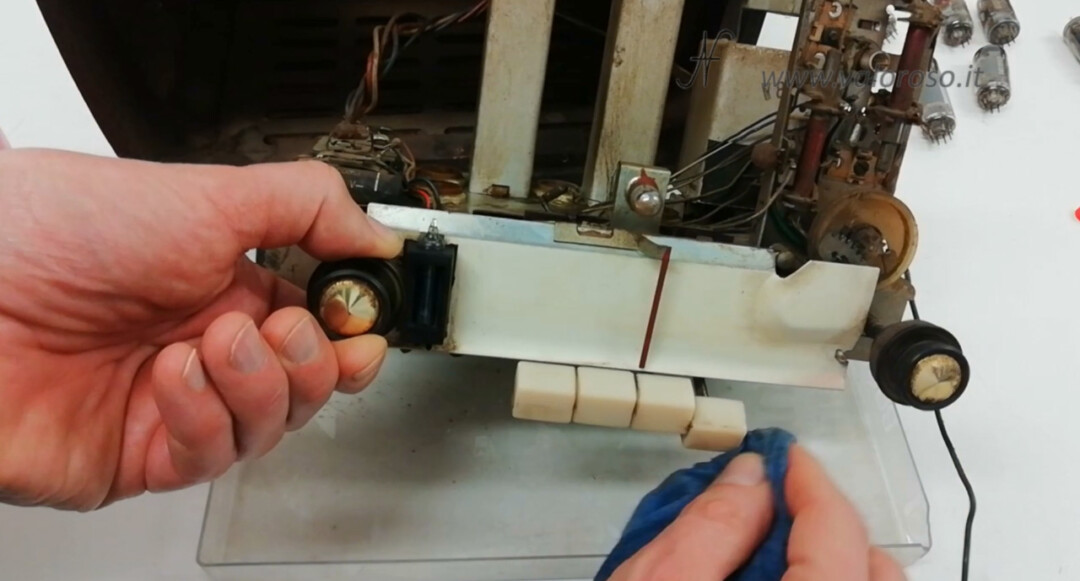
Thermionic valves also need cleaning. Unfortunately, even cleaning them with water alone, it is possible that some writings on the valves are erased. Before removing the valves, remember to note the position in which they will be reassembled!
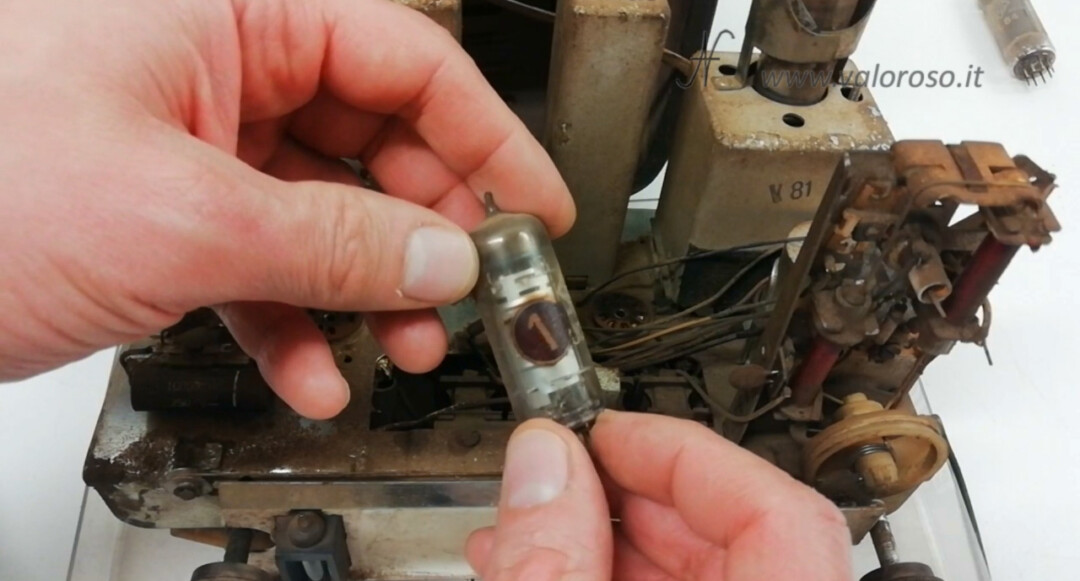
Then, we can also clean the inside of the cabinet.
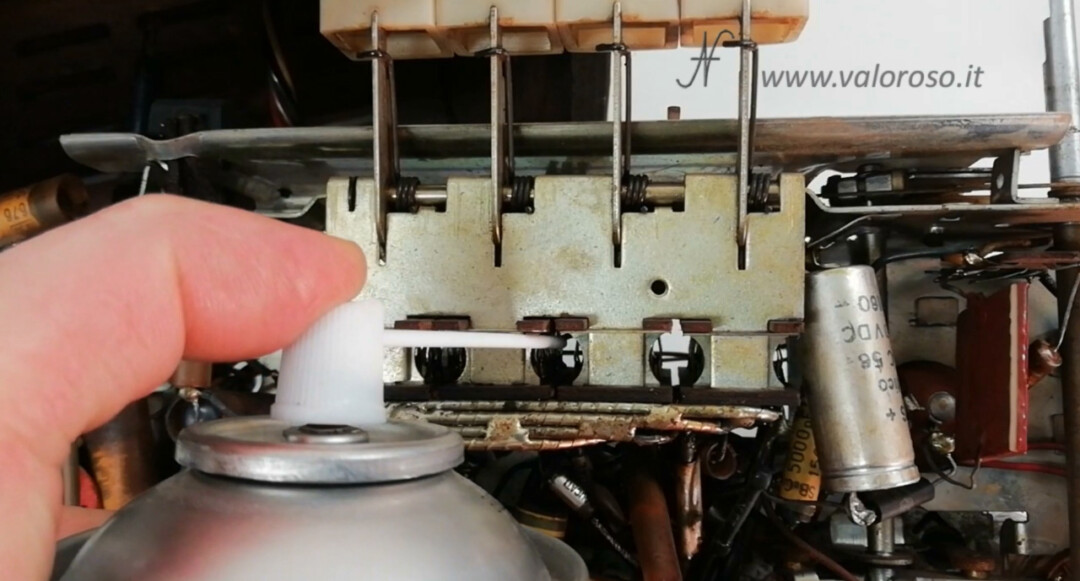
Before reassembling the thermionic valves, we can spray some contact flux on the valve sockets and also on the band selector contacts. Dry the excess flux with a lint-free cloth.

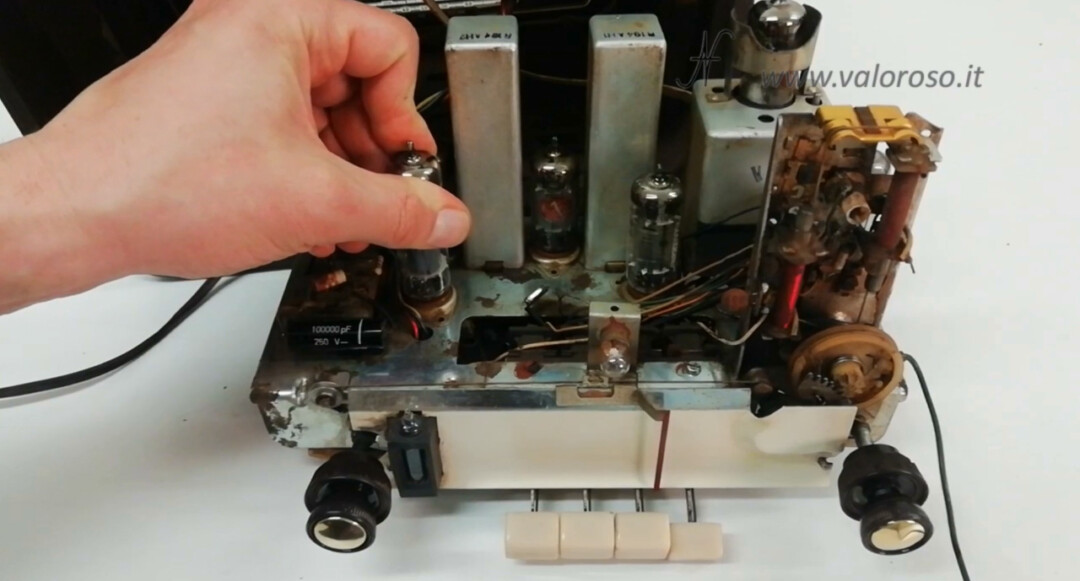
The valves must be mounted in their original position, also paying attention to the orientation.
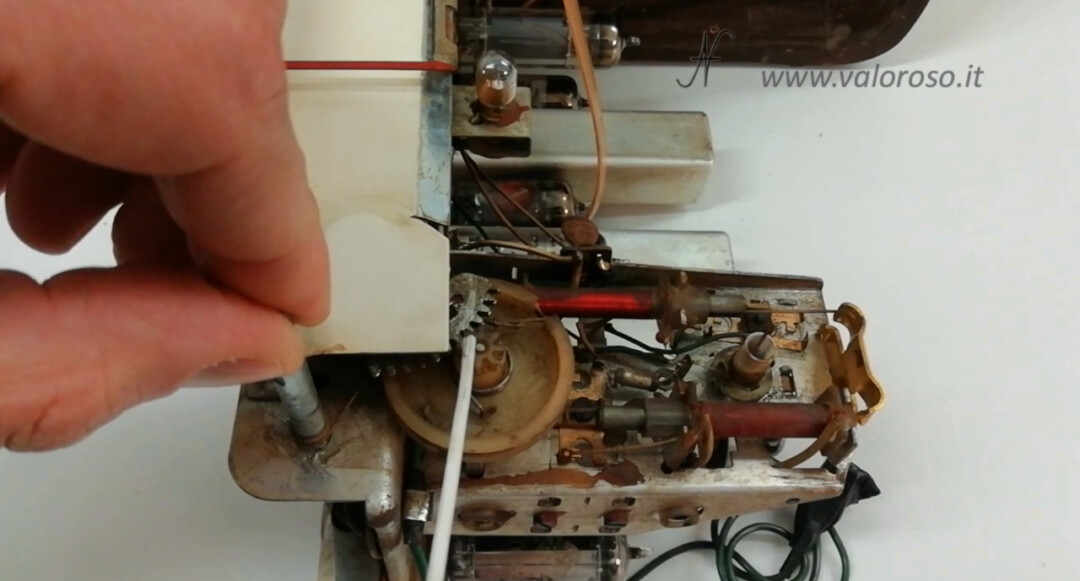
We can slightly lubricate the moving parts, being careful not to dirty the frame.
Clean cabinet and tube radio knobs
To clean the knobs, you can immerse them in water with a degreaser. We use a toothbrush to remove encrustations from all the crevices.
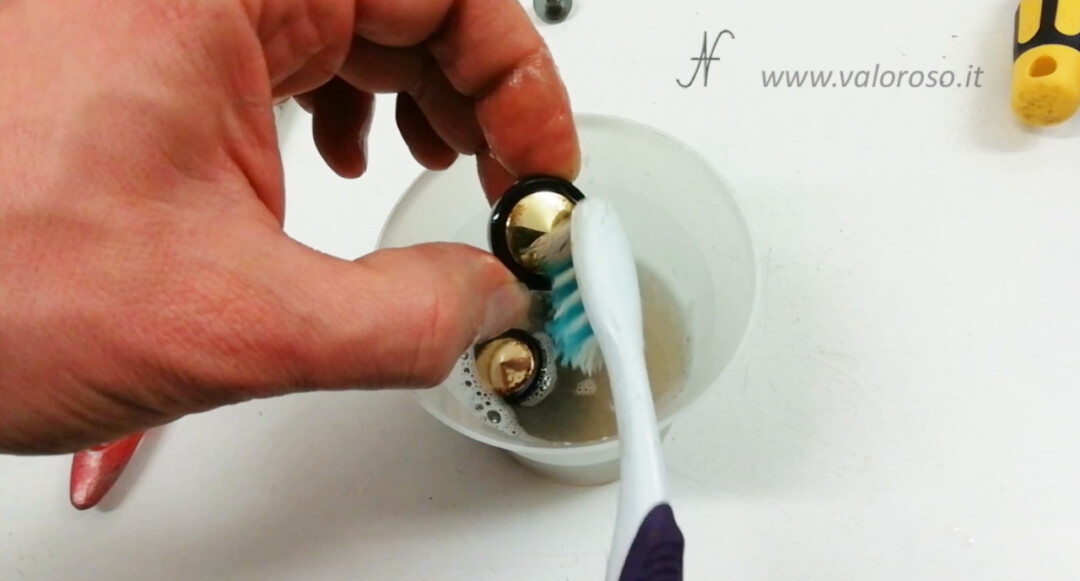
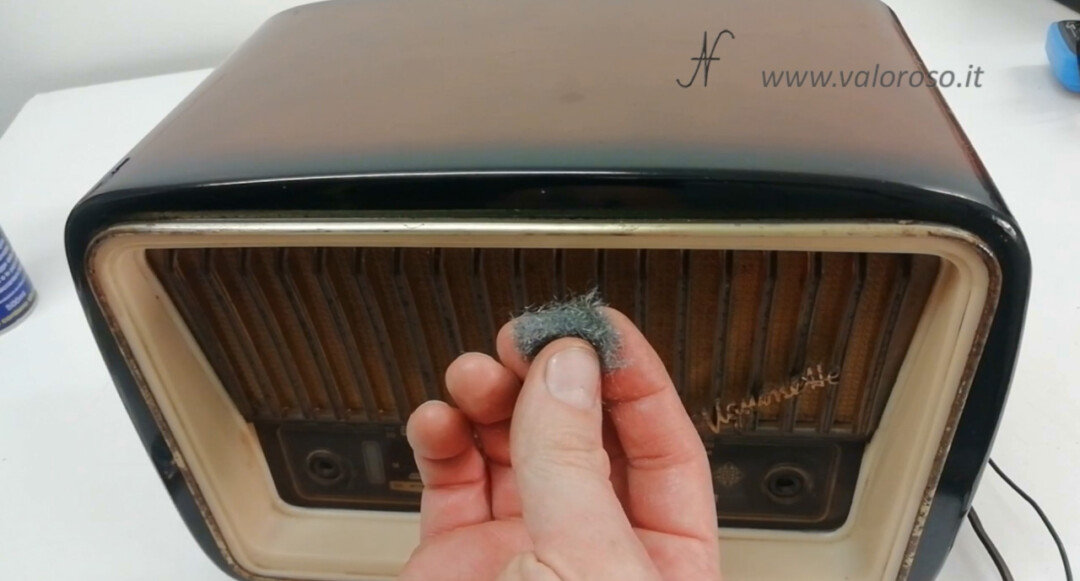
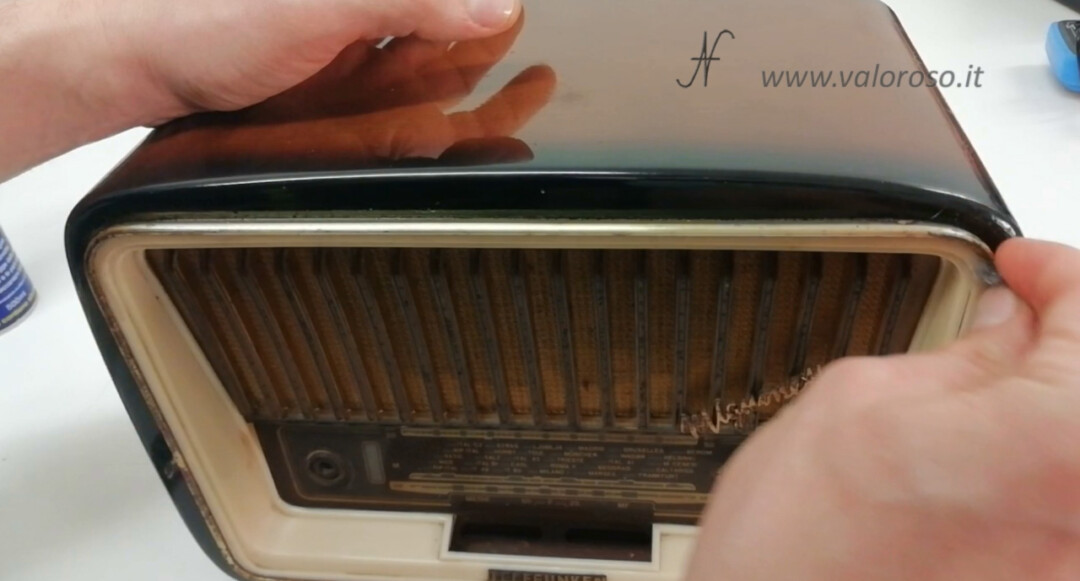
Now, let's move on to cleaning the wooden cabinet. Very gently, we try to remove dirt and rust. To remove rust from metal profiles, we use steel wool and a little bit of WD40. Obviously, care must be taken not to damage or scratch the plastic and wooden parts.
We clean the FM antenna cable, as well as the other internal cables.
After cleaning, before reassembling the radio, you should check that it still works!
Refit the Telefunken Mignonette MF tube radio
We can proceed to reassemble the tube radio frame in the wooden cabinet. Without knobs (you have to remove them from the pins), you have to make sure that the knob pins fit correctly into the holes and that the band selector buttons do not break through the speaking scale.
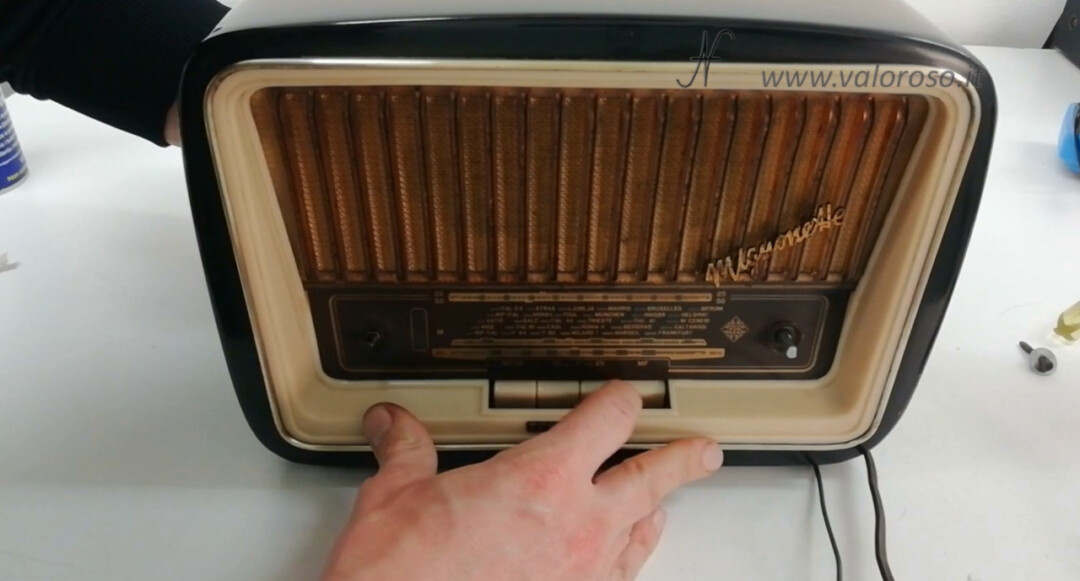
After inserting the frame of the Telefunken Mignonette MF R231 in the cabinet, we can proceed to screw the lower screw that supports it.

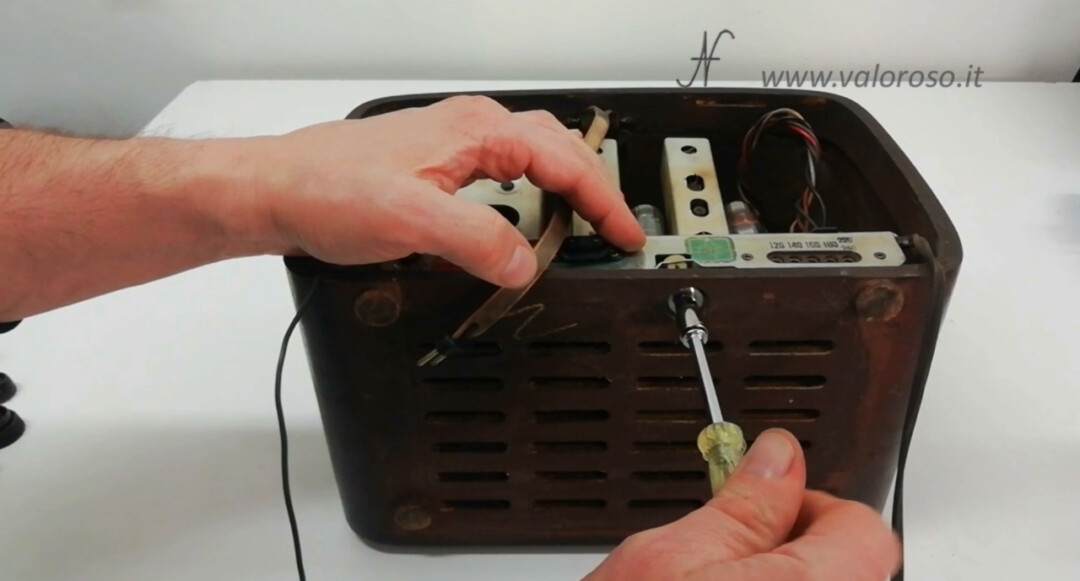
And screw the rear backrest back on, remembering to reconnect the antenna and the power voltage selector, which must be 220-240 Volts.
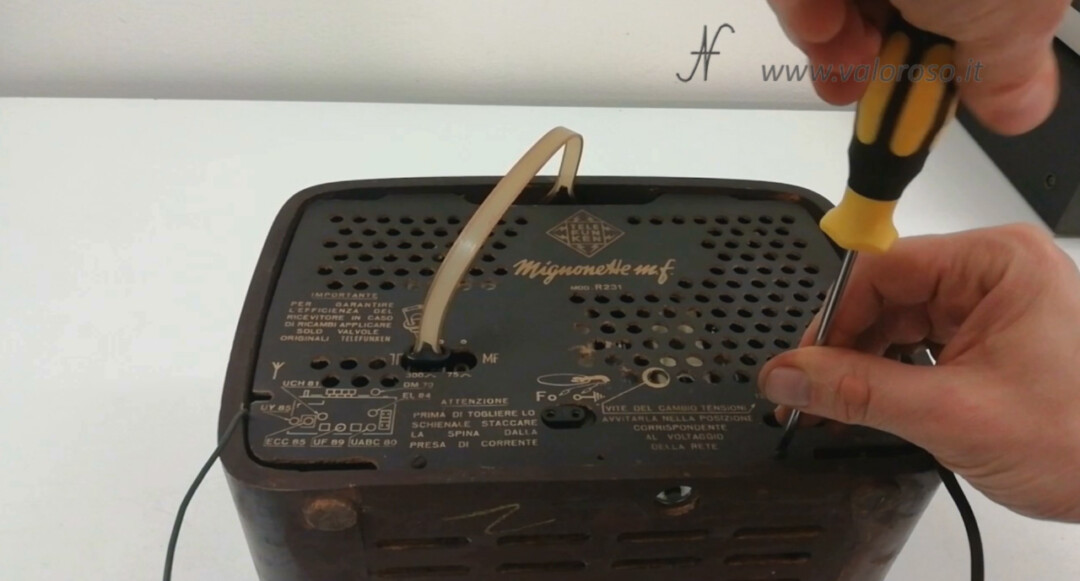
We can reassemble the knobs, first the rear ones and then the front ones. The shafts have a flattened part, and it is there that the position of the knob screw must be oriented. After identifying the correct position, it is possible to gently tighten the small screws of the knobs, so that they press on the flat part of the shaft.
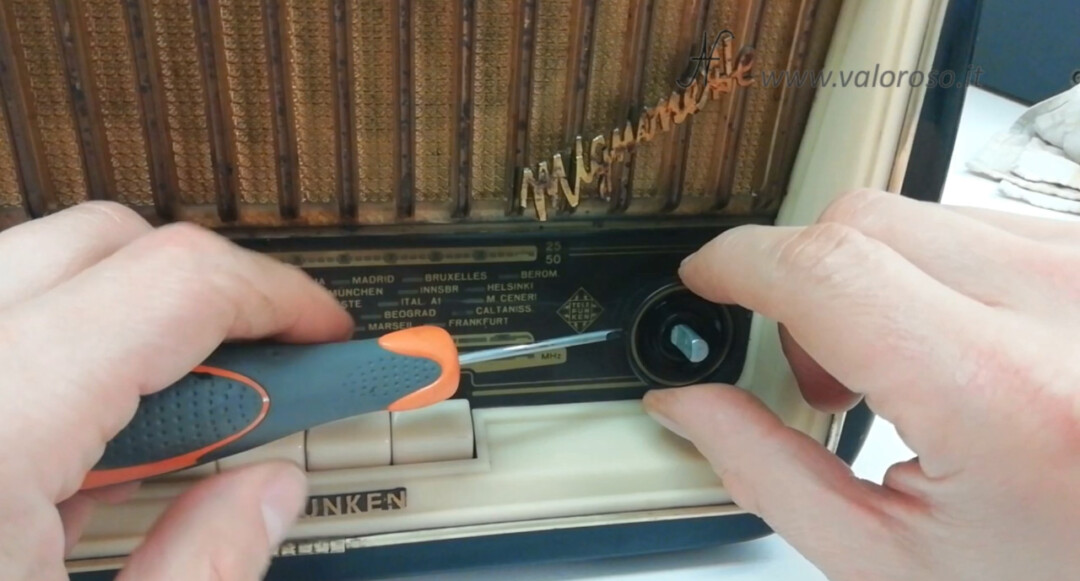
Result of cleaning the tube radio
And here we are at the final verdict, with the "before" and "after" photos!


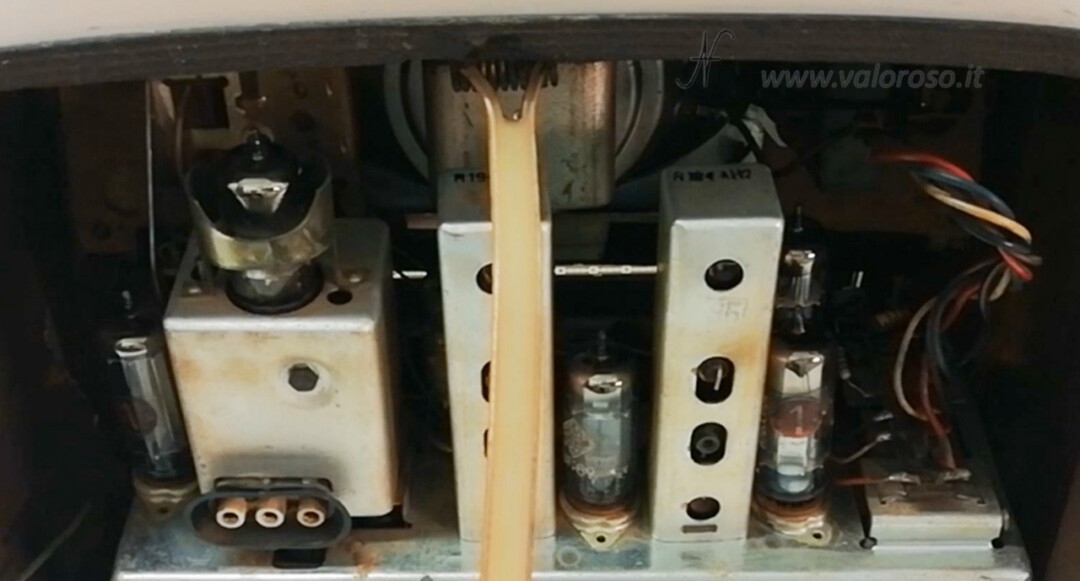


Since there are very old electronic components, it is possible that, in the future, other maintenance will be required: for example, replacing the capacitors, or even other components.
Schematic diagram of the Telefunken Mignonette MF tube radio
To be notified when I publish other tutorials, experiments and reviews related to retro computers and vintage electronics and the subsequent episodes of the "The Latest Retro Technology Discovery" column, I invite you to subscribe to the YouTube channel and activate the notification bell!