Benvenuti alla seconda puntata della rubrica: "L’Ultimo Ritrovato della Retro Tecnologia"! Vediamo internamente il mangiadischi Penny, lo puliamo ed analizziamo il funzionamento.

Country of production: Italy.
Producer: MusicalNastro, MusicalSound.
Model: Penny 222D.
Years of production: 1975 - 1988.
Operating voltages: 220 Volt mains or 6 1.5 Volt half torch batteries.
Amplifier power: 1W mono.
Dimensions: 250 x 220 x 70 mm.
Before turning on the Penny
Before connecting the Penny disc player to the mains, let's start checking if the plug is short-circuited. Let's test the resistance with a tester… We have 670 ohms: it is not short-circuited. We can try to turn it on.
We connect the plug to the socket, but the power strip switch is still off.
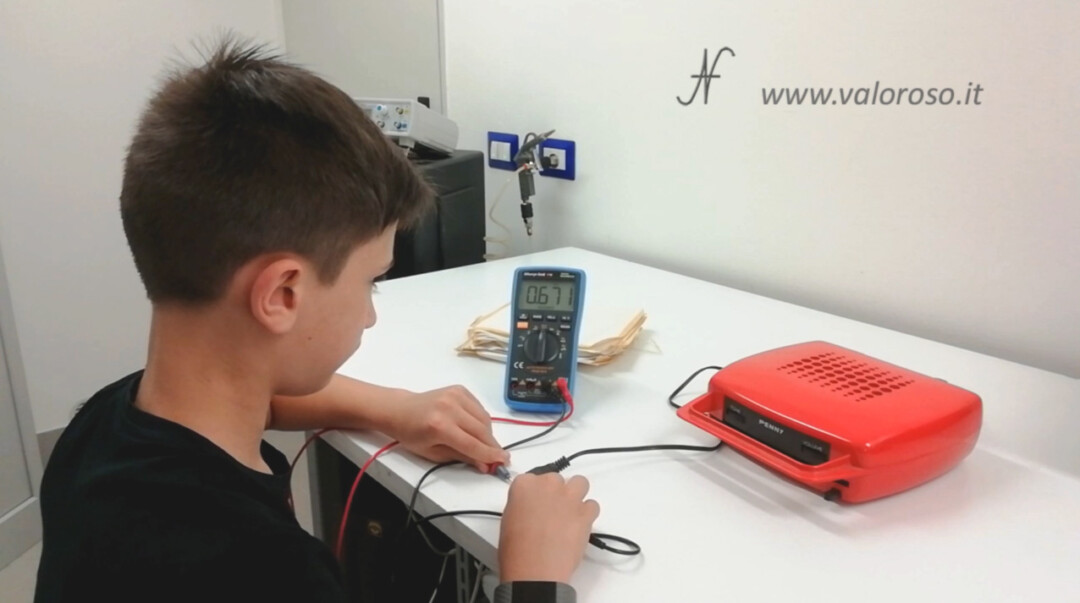
Seen what happened in the Atari 800XL video, it is better to move away before giving tension! Fortunately, this time everything went well: there was no power failure!

We keep it on for a short time, just long enough to try it out with a 45 rpm record.
Penny record player history
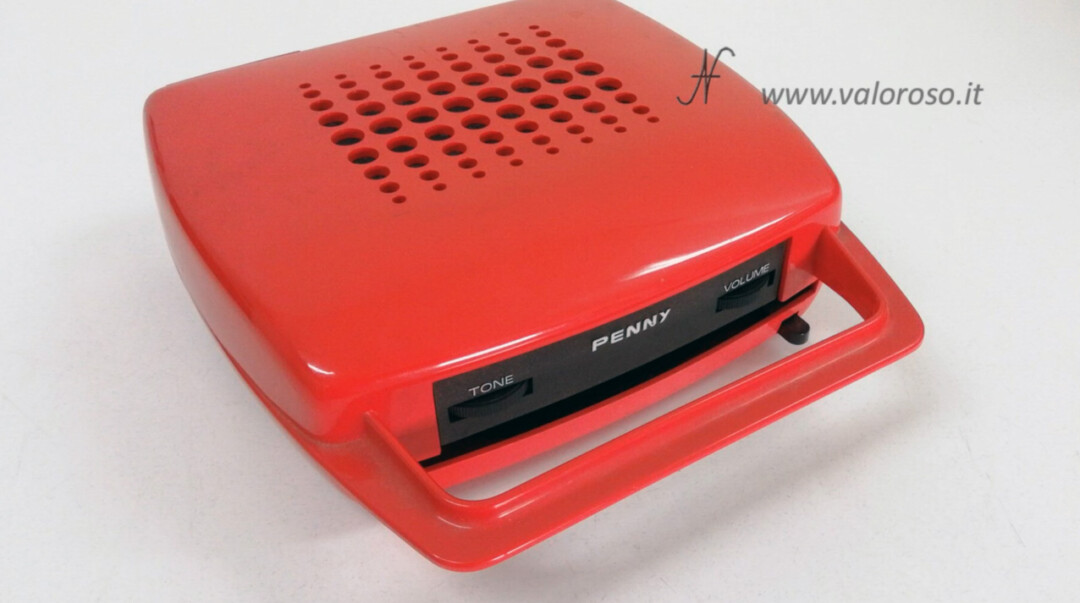
The Penny record player was produced by an Italian company: MusicalNastro, also known as MusicalSound. It remained open from 1968 to 1988. The Penny was available in different colors and was produced in several versions, all quite similar, from 1975 to 1988. It plays music from records spinning at 45 rpm. This is a beautiful red specimen.
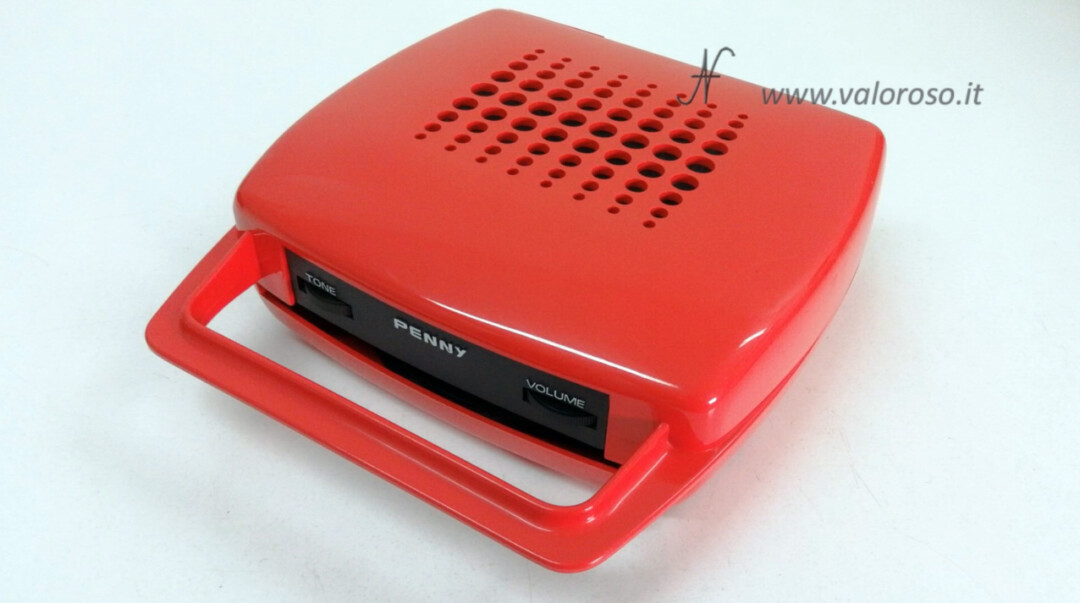
For millennials ... you can consider the Penny eaten a bit like a MP3 player, with built -in acoustic case, for children! The children, in fact, could listen to their favorite fairy tales, or the acronyms of the cartoons, recorded on discs at 45 rpm.
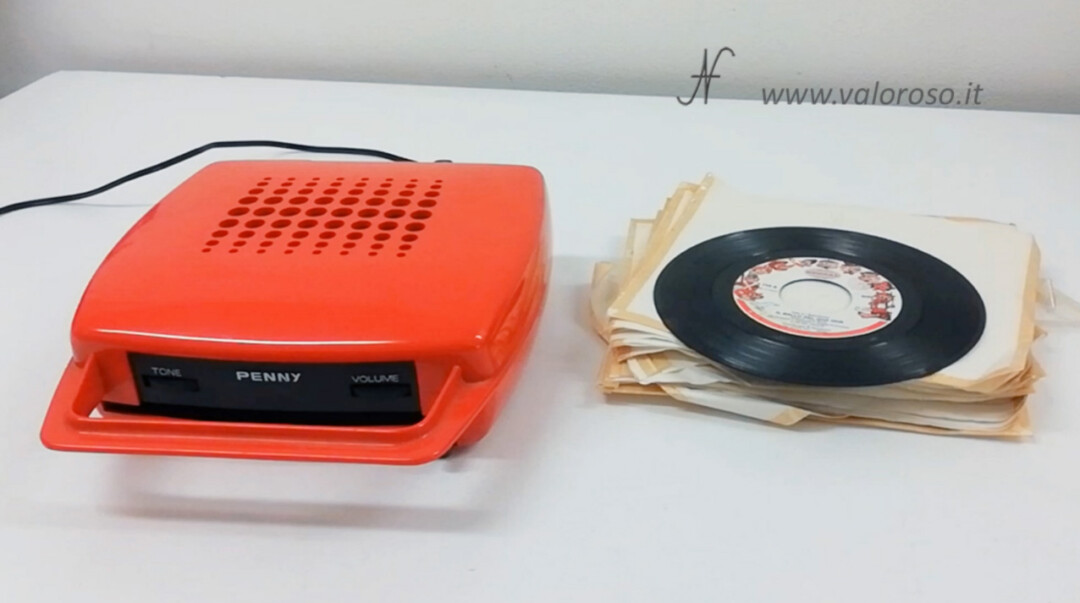
Instead, the older kids preferred to use stereos, with audio cassettes, a bit more performing and flashy!

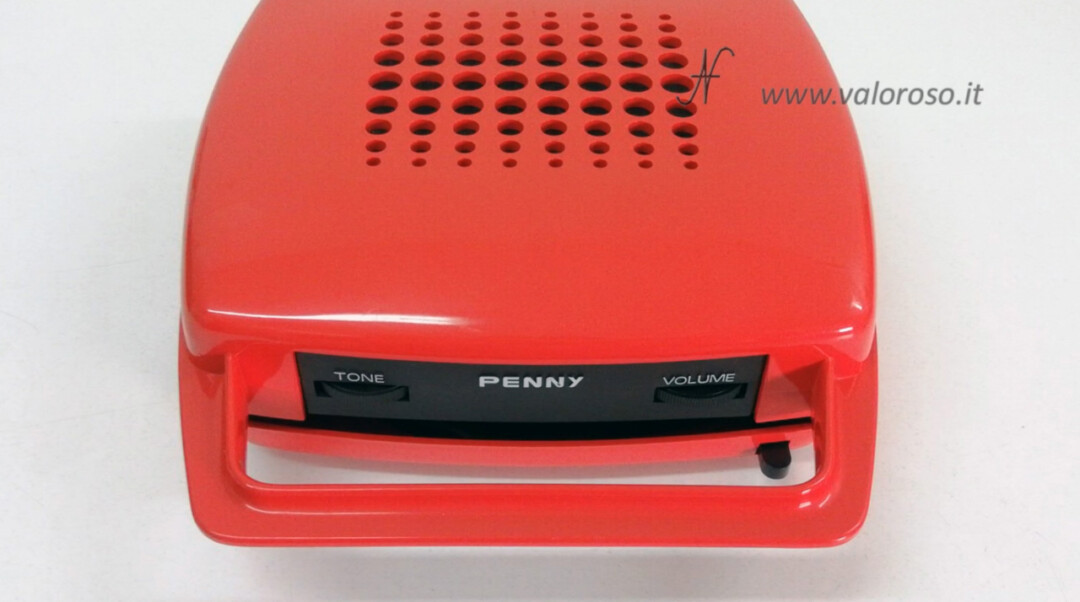
45 rpm records go into the front slot. It is possible to adjust the tone and volume of the audio playback.
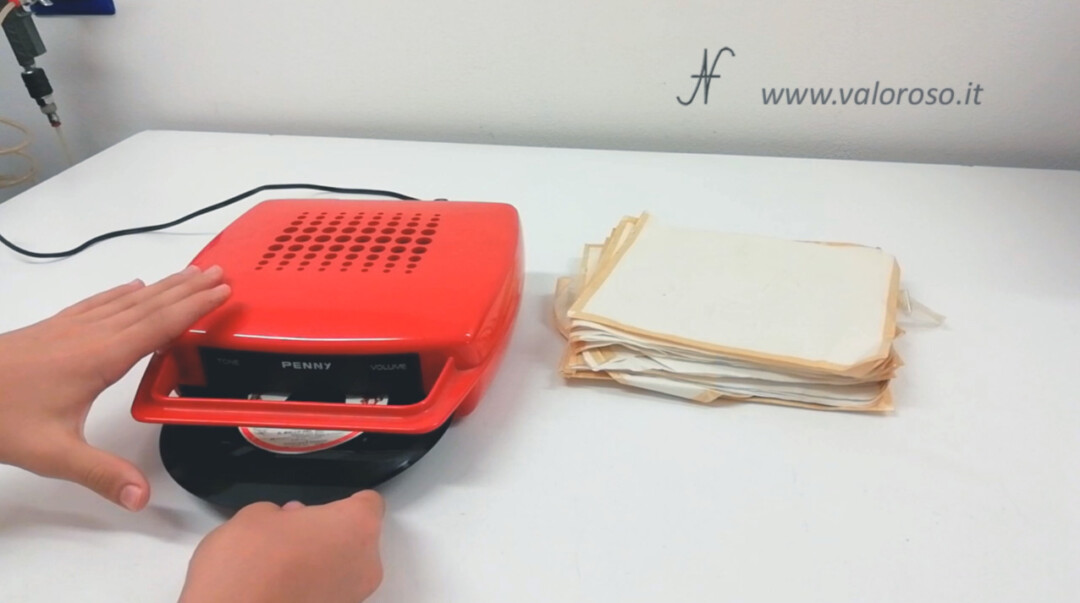
When the disc is finished, the mechanism stops by itself and you must press this button to eject the disc.
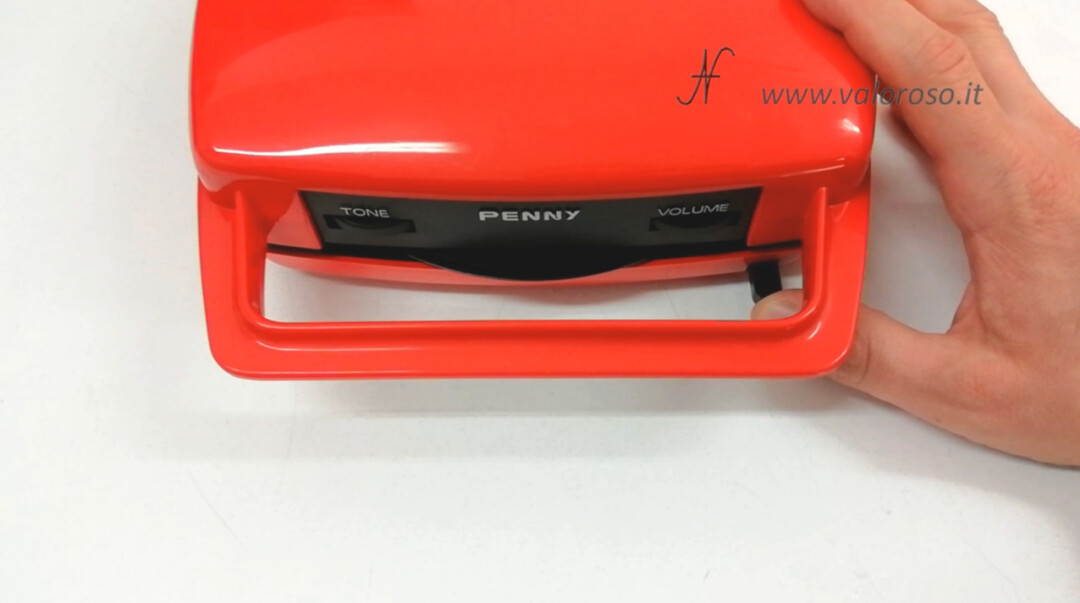
In addition to powering the disc player with the mains, it can also be used with 6 type C batteries, half-torch type.
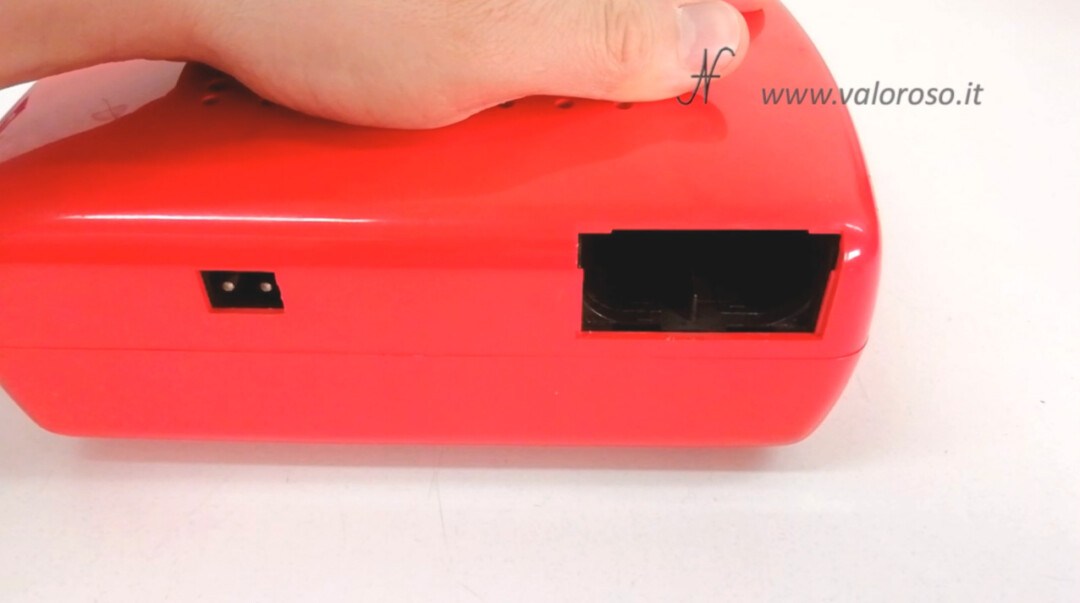
We disassemble the turntable to clean it
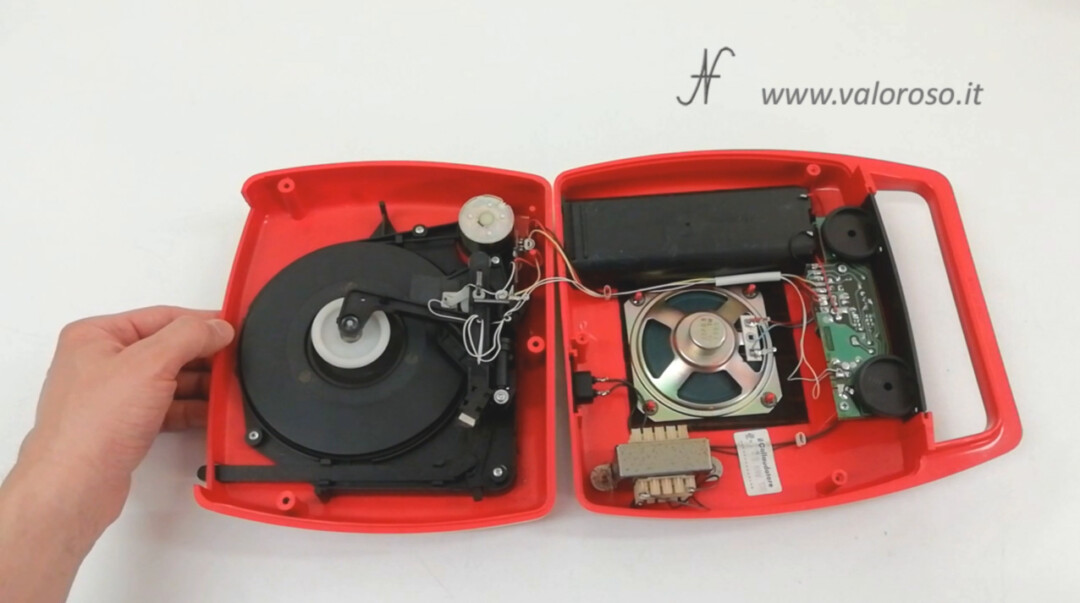
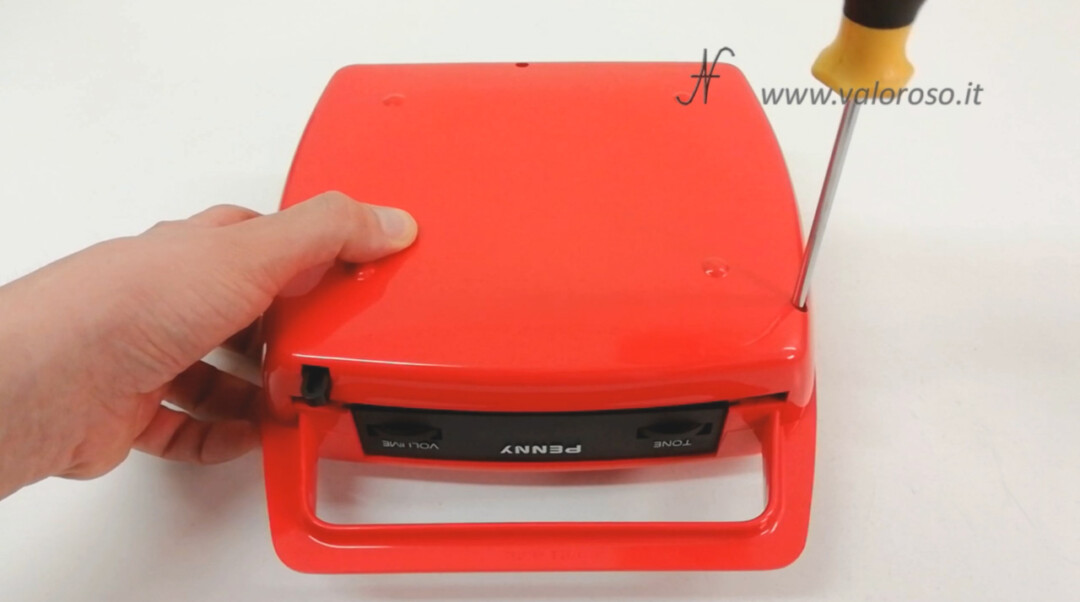
We disassemble the Penny player to clean it and to see how it is inside. Opening the disc player is very simple: there are only three Phillips screws to unscrew in the lower part of the plastic container. Warning! Remember to unplug before opening the turntable!
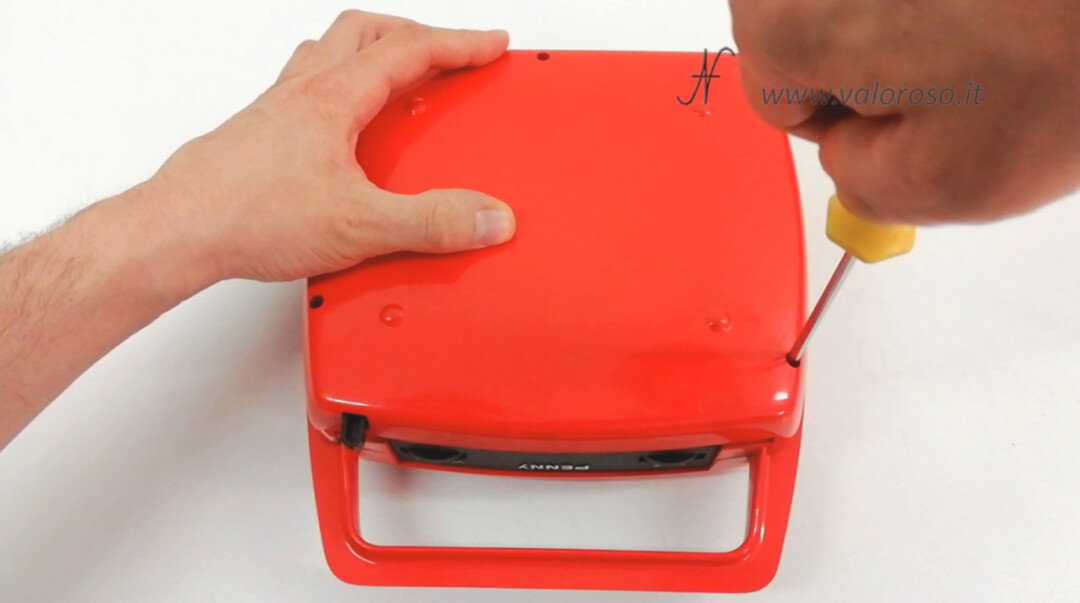
After unscrewing the screws, the container is free to open. We open it carefully, so as not to tear the thin threads present inside.
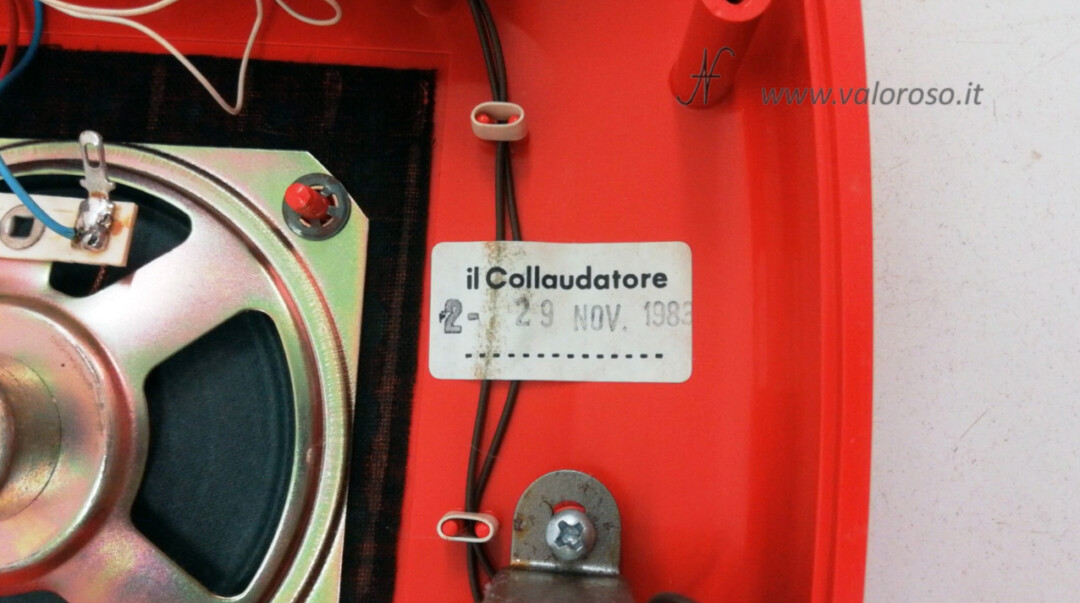
From the label, you can see that it is a 1983 model, tested on November 29th.
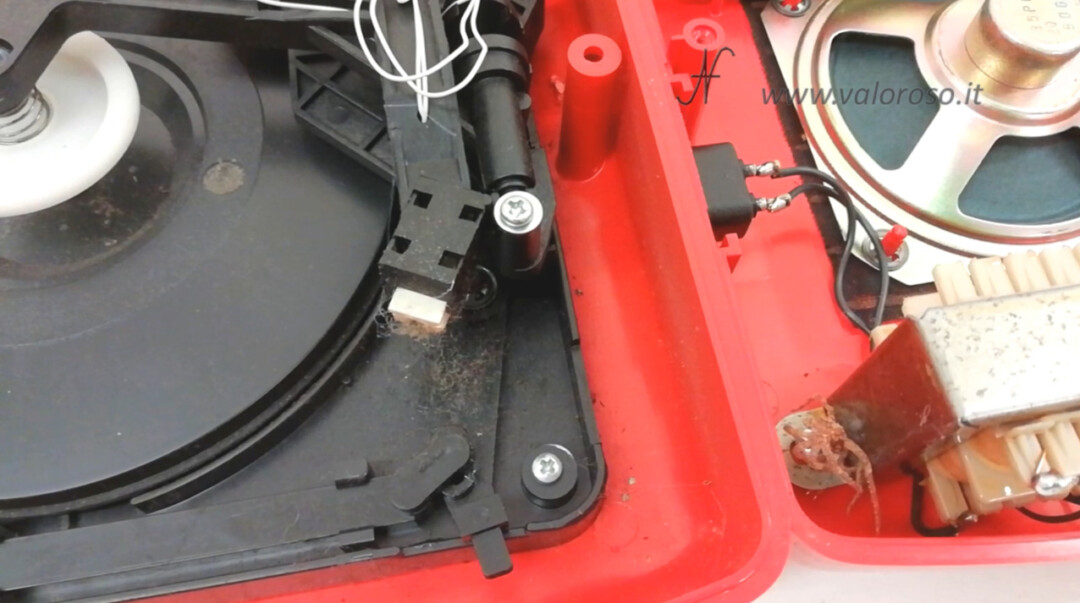
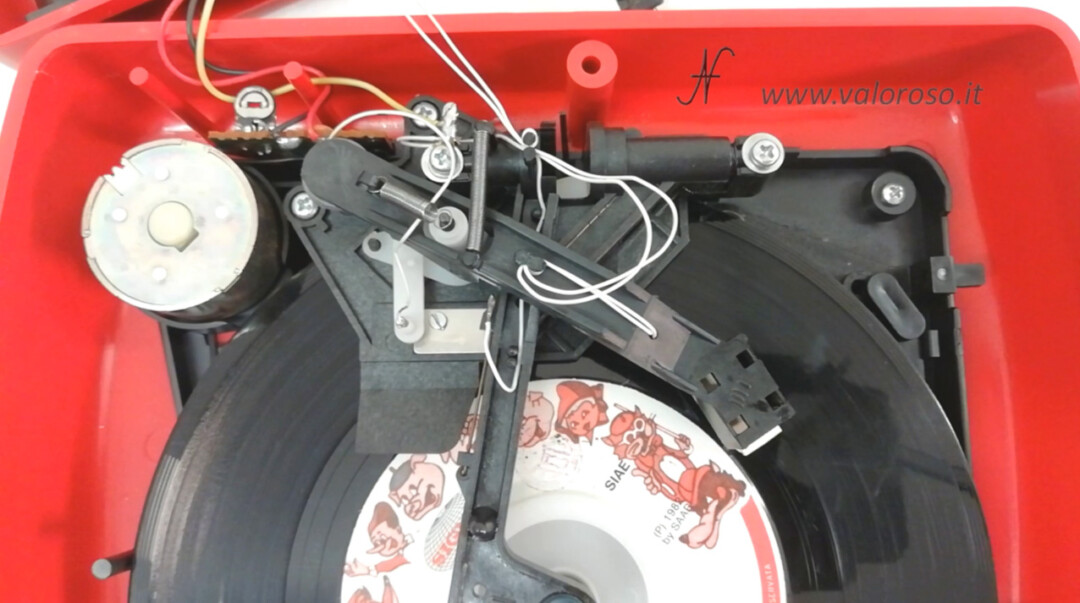
Although not very dirty, we can see some dust on the needle and ... a spider!
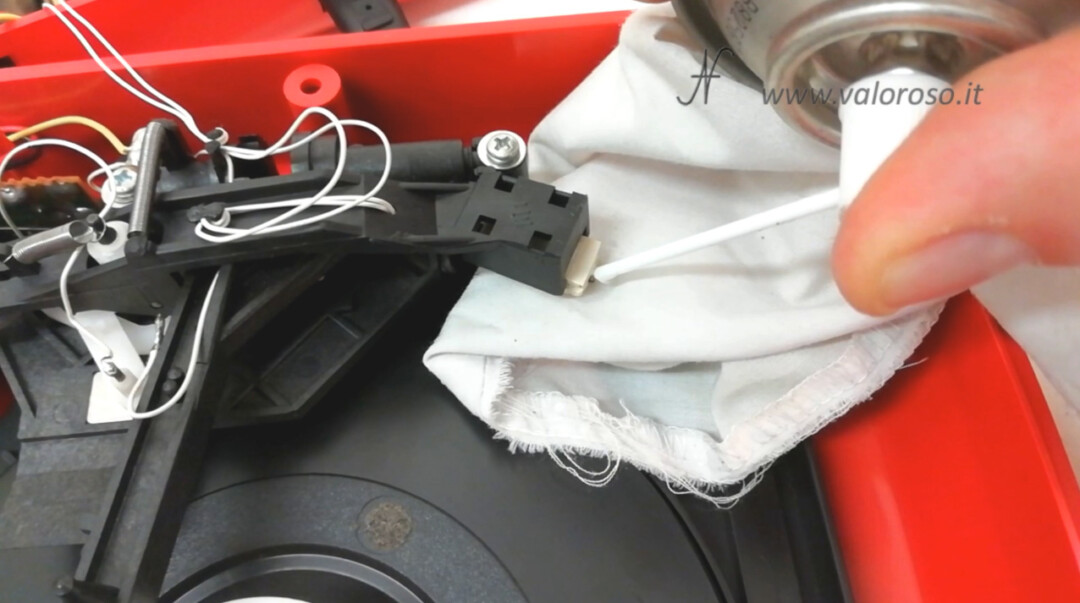
We can clean up the inside of the Penny disc player. We use a little compressed air (obviously in a delicate way), a lint-free cloth and a toothbrush or brush. We clean the needle with a little flux. When cleaning the stylus, be careful not to break the lower tip, which is very delicate indeed.
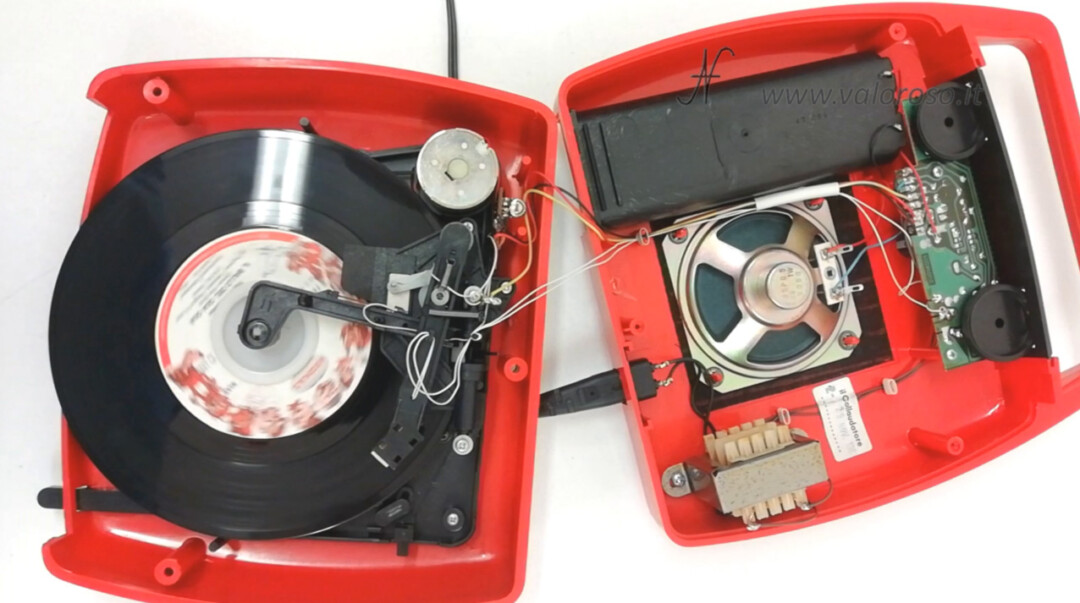
Let's analyze the various components of the Penny disc player
Regarding the electronic part, we can see the power connector, which brings current to the transformer when using the disc player powered by the mains. If it is plugged in, the disc player transformer is always powered, as there is no off switch.
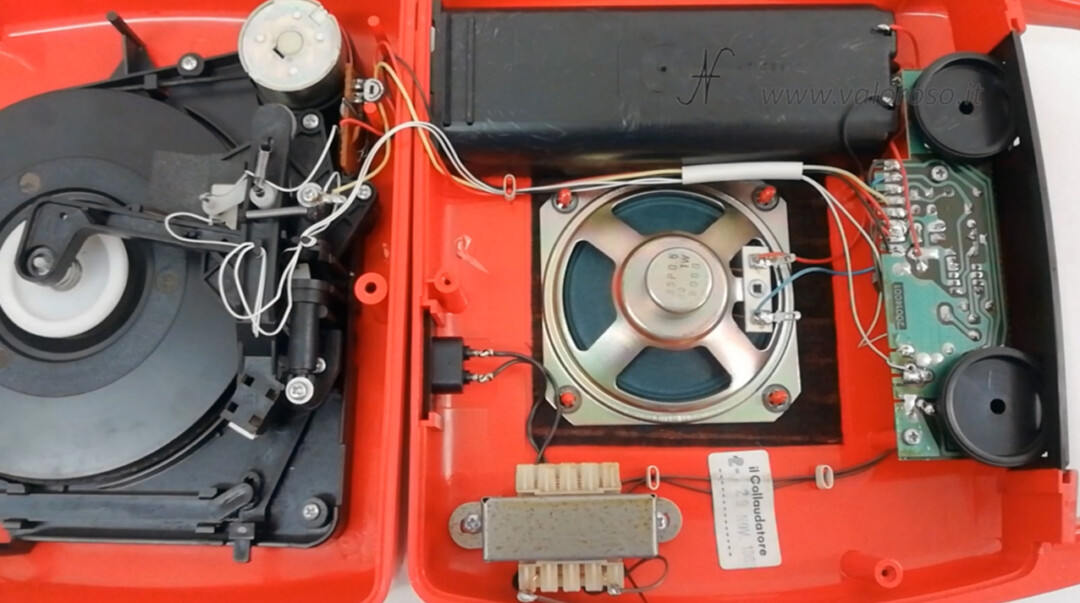
At the top, we can see the battery housing, to power the player when using it disconnected from the power outlet.
The audio amplifier amplifies the audio signal coming from the stylus and sends it to the 1 Watt speaker. The Penny record player is mono, in fact there is only one audio amplifier and one speaker.
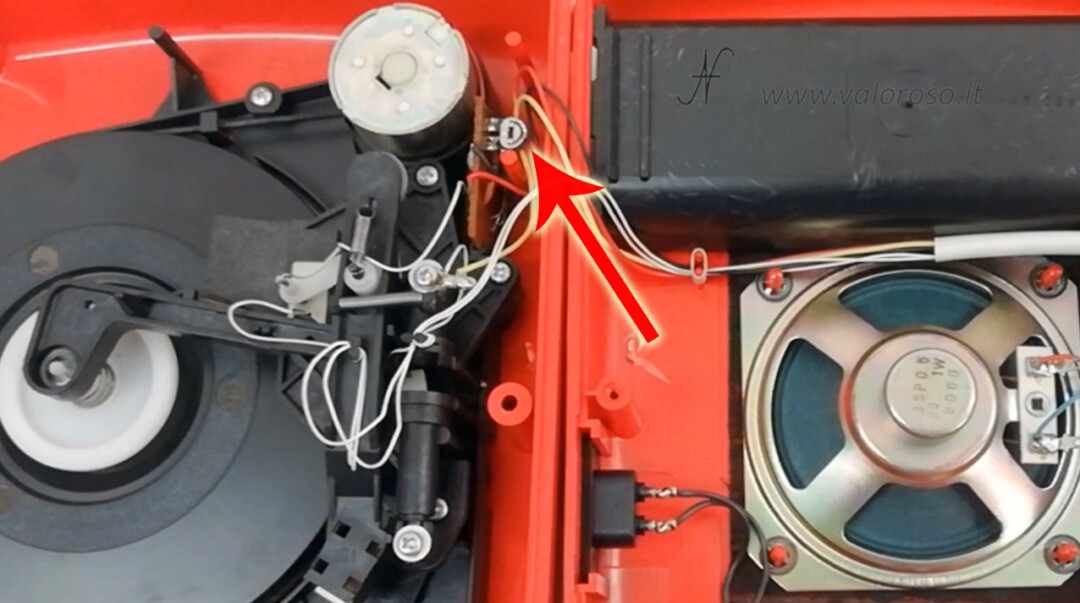
This trimmer adjusts the speed of rotation of the disc and must be set so that the disc rotates at 45 rpm. If the player is spinning too fast or too slow, you will have to act on this trimmer to adjust the optimal speed of the platter: 45 rpm.

We disassemble the amplifier, to see how it is made. There are two screws to unscrew. We twist it gently, so as not to detach any threads.
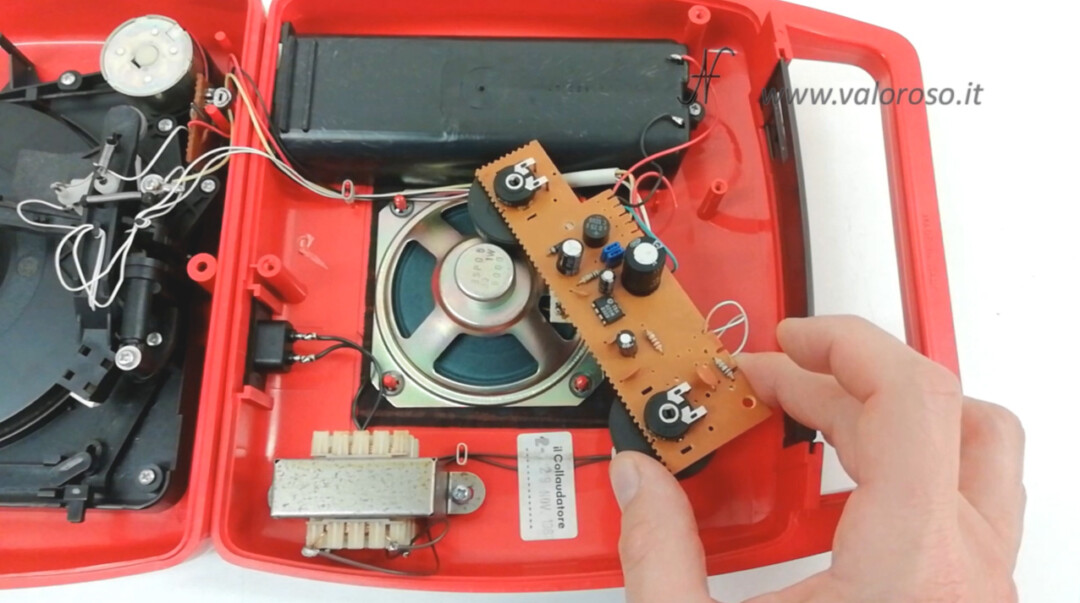
The amplifier is very simple: we can see the power supply section, consisting of the rectifier bridge and the smoothing capacitor. The mono audio amplifier consists of a TBA820M integrated circuit. As can be seen from the datasheet, the TBA820M is capable of delivering just over 1 Watt on an 8 ohm speaker. Anyone interested in taking a look at the datasheet can find it at the bottom of this page. In the amplifier board, there are also two trimmers: one for volume control and one for tone control.
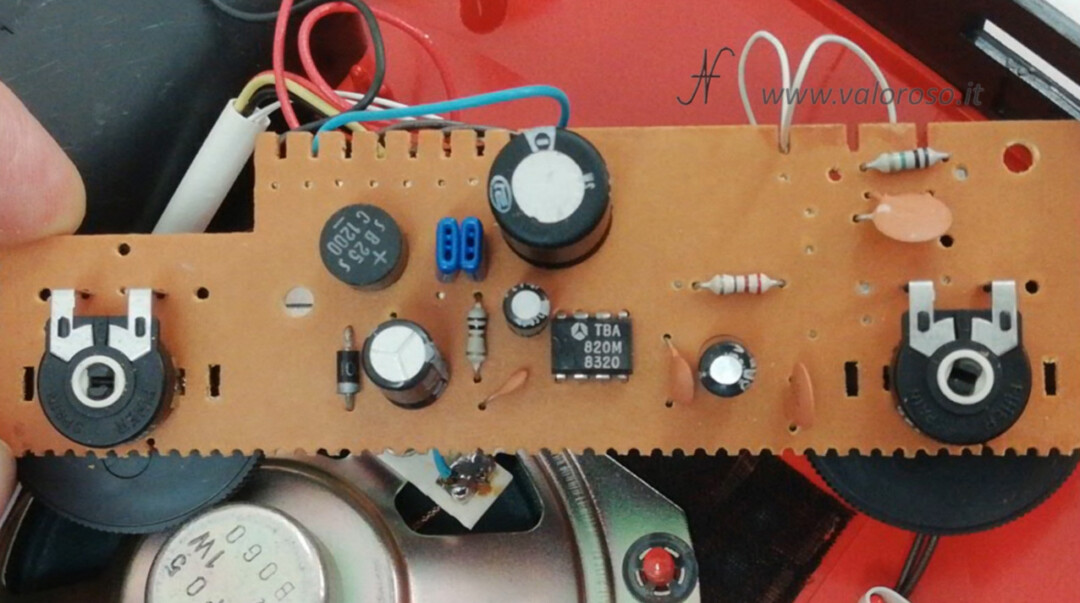
While we're at it, let's also clean the audio amplifier. Then, we reassemble it.
How the Penny MusicalNastro record player works
This operation leave it to me alone! I reconnect the power plug, even though the player is open, to see how the disc spins. Warning! There is high voltage! Let's give the record a dusting before inserting it: by now we have cleaned the needle and we certainly don't want to dirty it with the dust on the record!
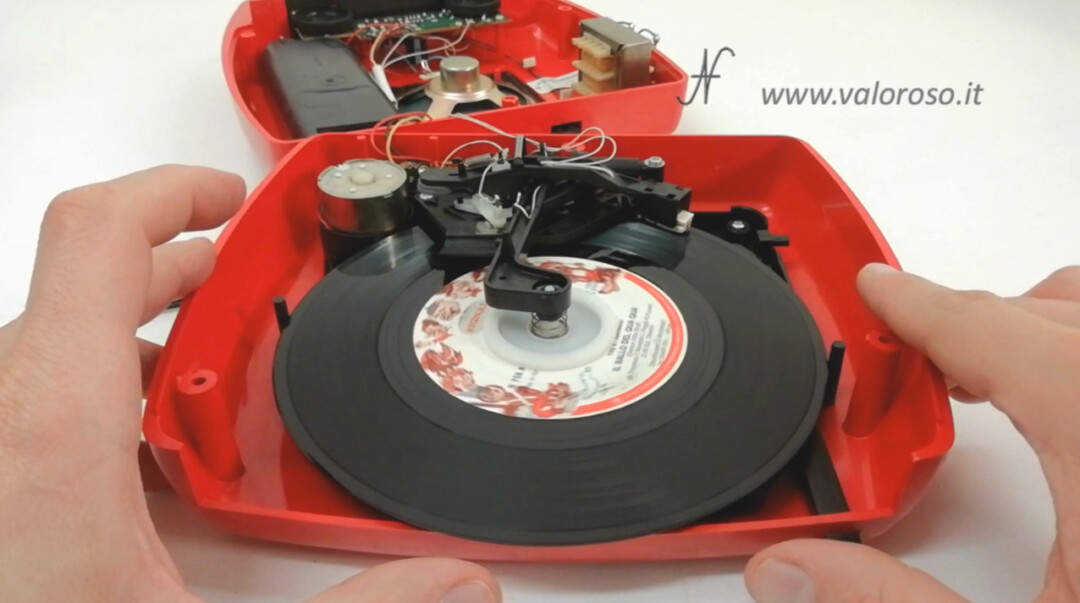
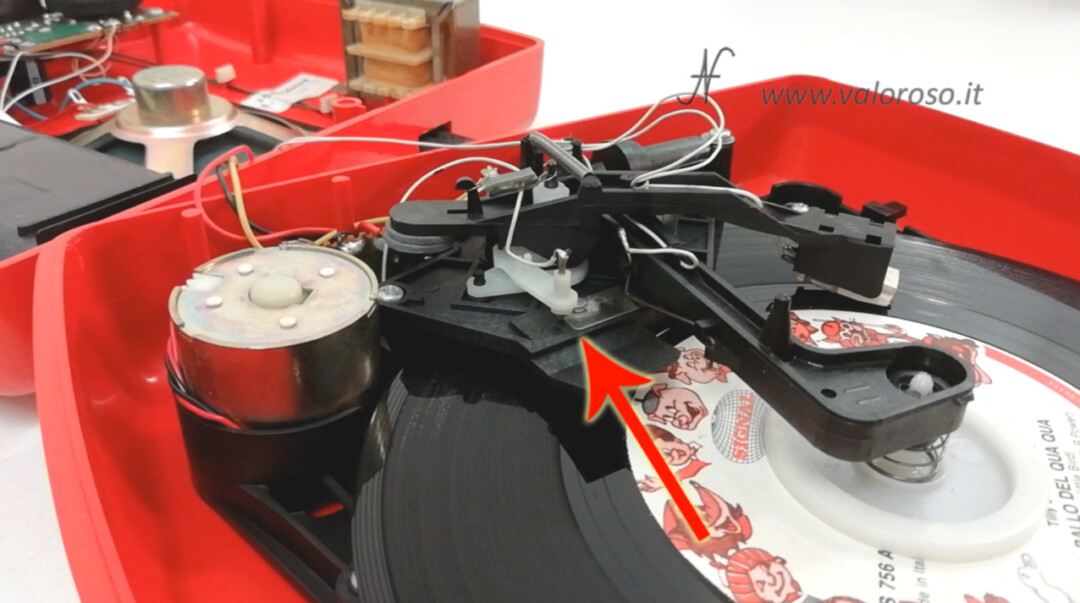
When we insert the disc, the mechanism starts automatically and starts the audio playback. How does the player turn on automatically? There is this contact that closes on this metal plate when we insert the disc.
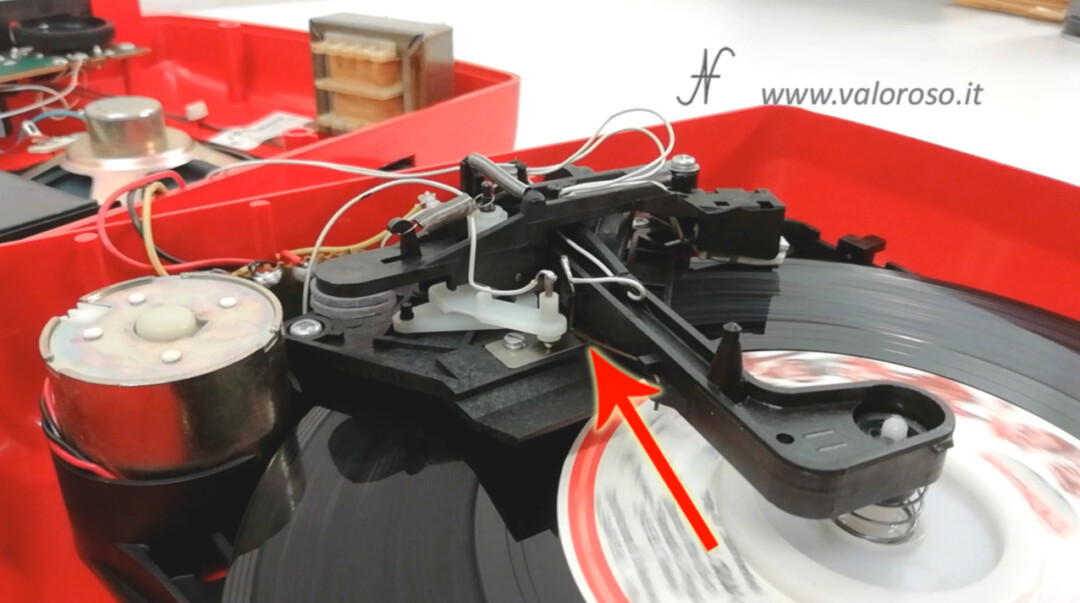
As soon as we insert the disc, the centering device is also lowered, which keeps the disc pressed so that it is centered with respect to the platter.
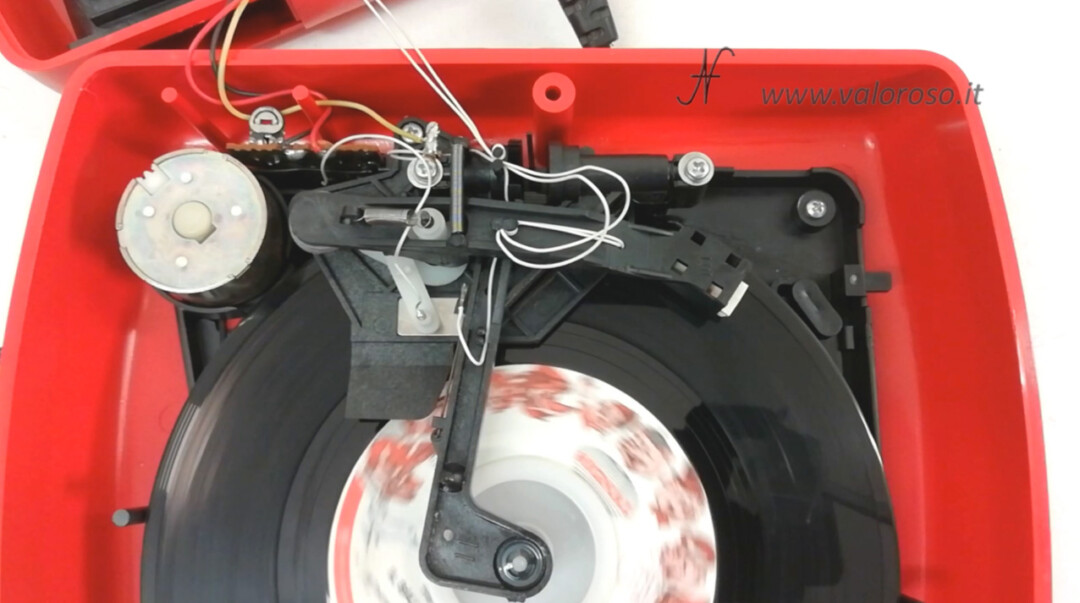
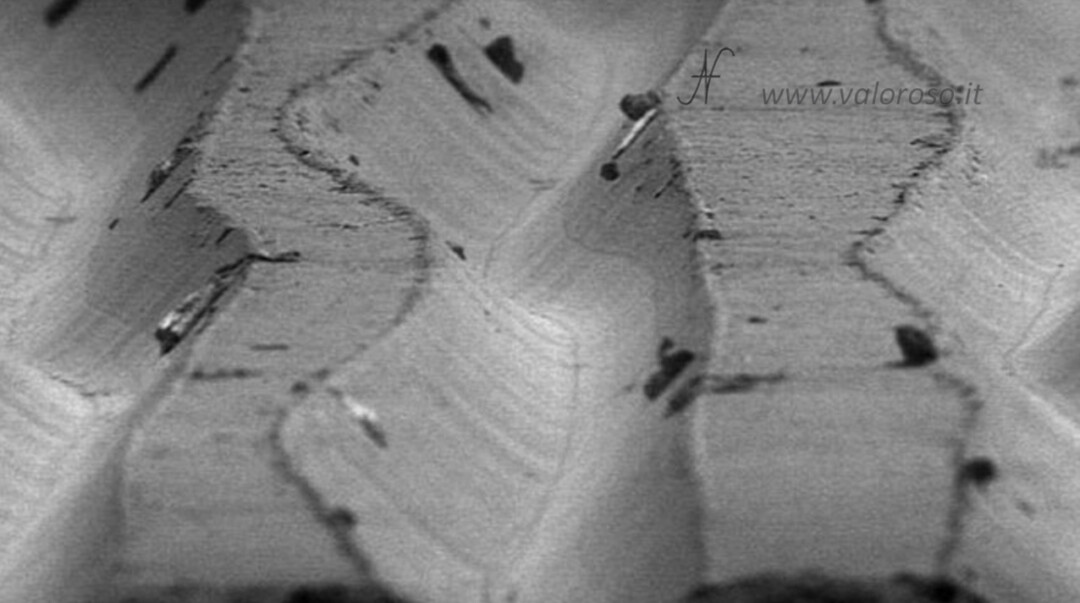
Audio playback continues until the disc is finished. The stylus stays pressed on the grooves of the record, which contain the audio track. On 45 rpm vinyl records, the mono audio track is recorded in horizontal motion.
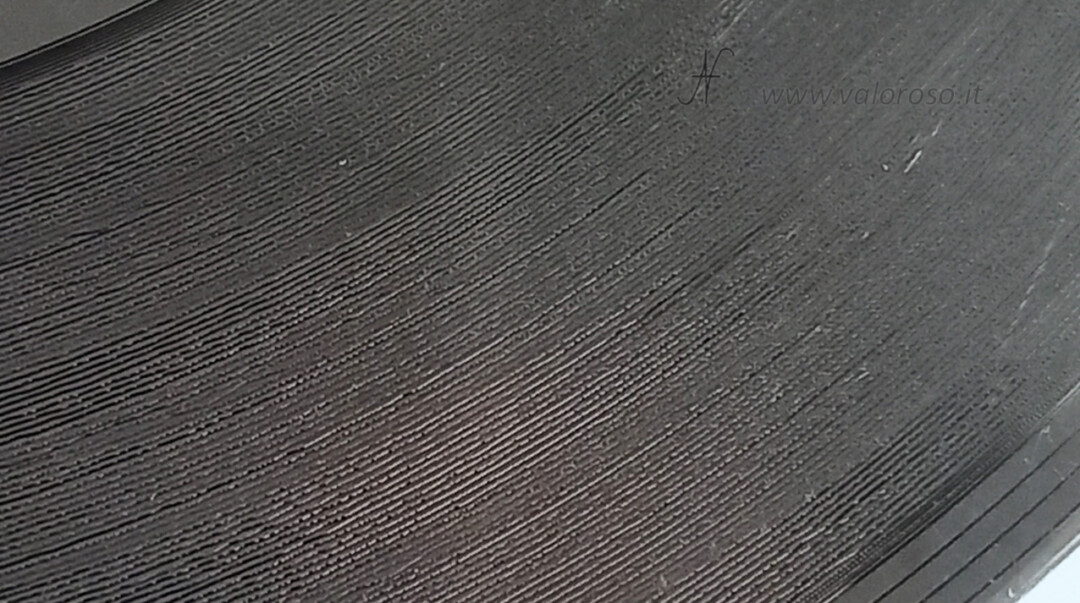
You can see the waveforms of the music by zooming in on the track with a microscope! The tip of the head, following the grooves of the record as it spins, vibrates and this vibration is converted into electrical signals, which the amplifier sends to the speaker.

The centering device ensures that the disc does not move from the platter: remember that the disc player works even when it is in a vertical position. As we will see better later, the disc platter is set in rotation by a belt connected to the motor.
When the disc ends, the audio track moves the stylus towards the center of the disc.
The mechanism switches off automatically, because this contact, coming out of the plate, no longer conducts current.
At this point we can eject the disc. The record is pushed out of the platter, the centering device lifts and the needle returns to its initial position: the outermost track of the record.
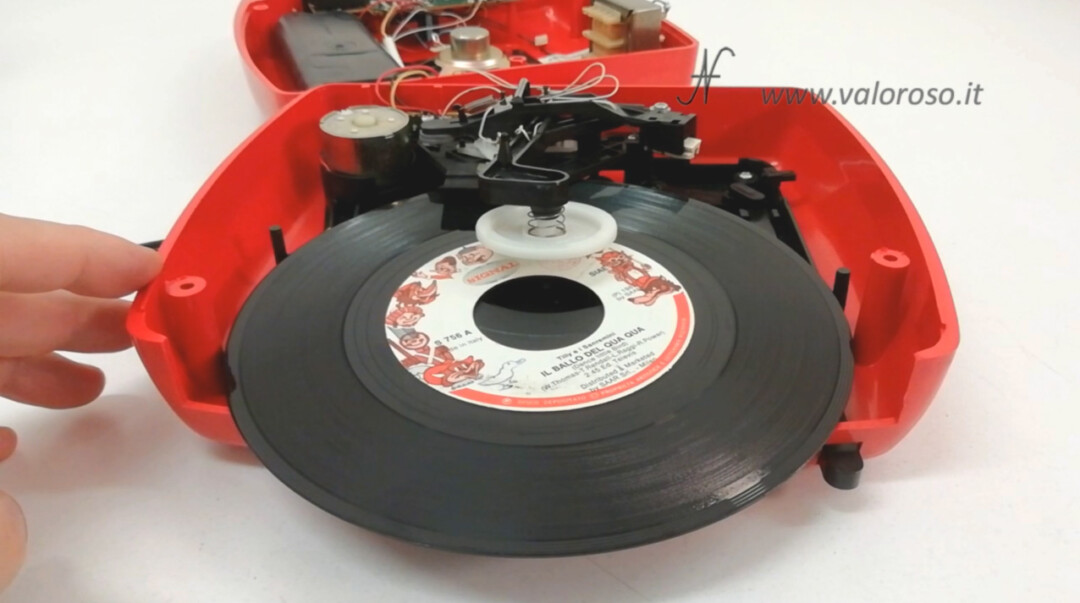
Furthermore, this contact opens, keeping the platter off even if the needle is positioned at the beginning of the record.
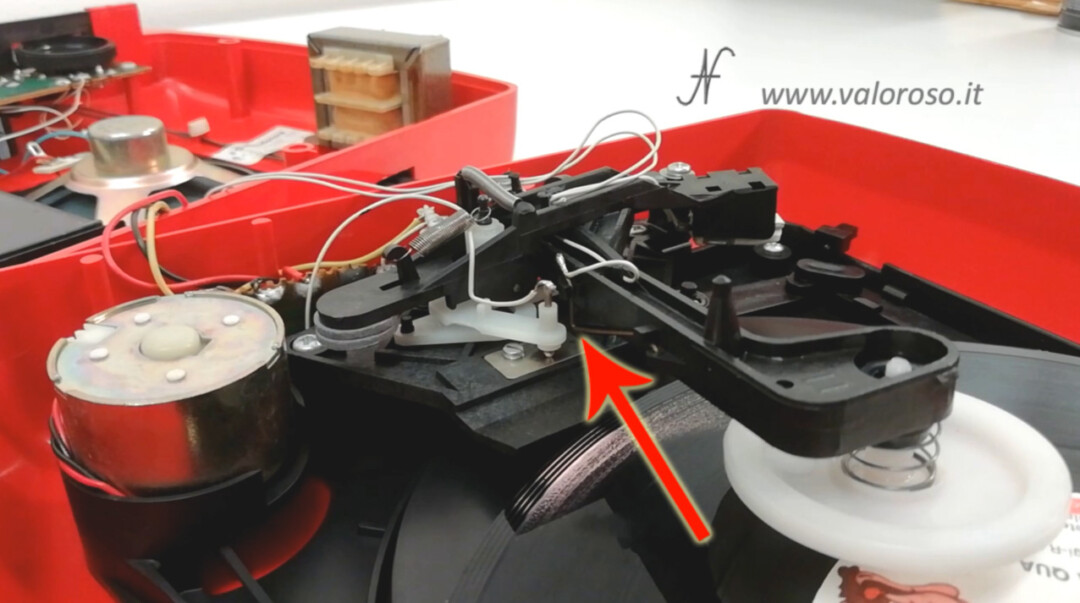
Everything remains off until we insert another disk. Interesting, right?
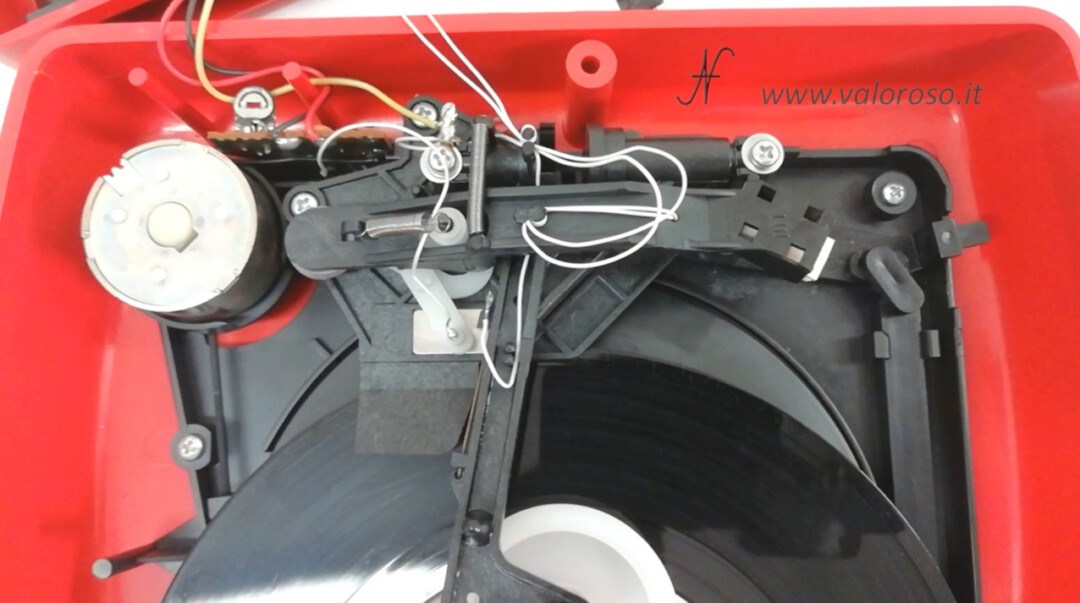
Lubricate and deoxidize the turntable
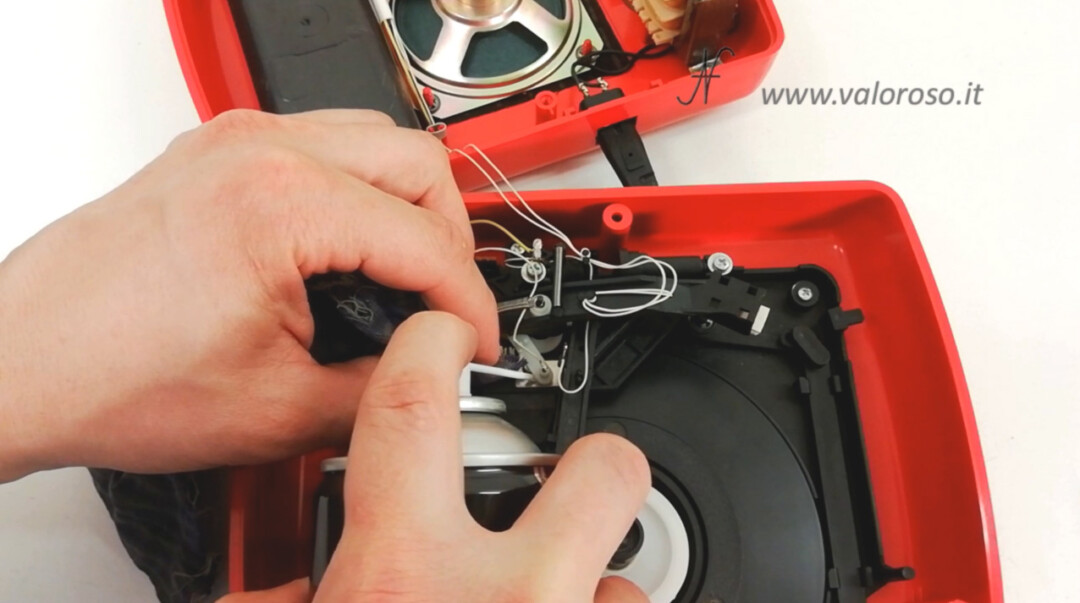
After seeing how the mechanical part works, we can proceed to lubricate the moving parts that seem to be doing a bit of effort. Be careful not to get dirty around! We apply a little flux to the contacts that manage the switching on and off of the disc player.
The belt
And here is the belt that transfers the movement from the motor to the disc platter. After all these years, the belt may be hardened and deformed.

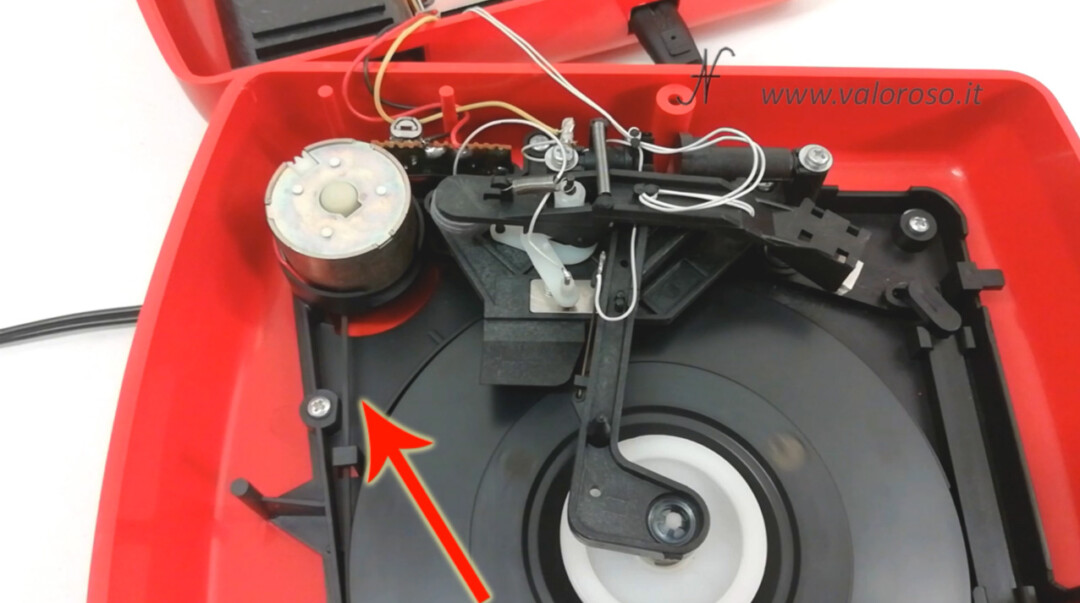
I do not intend to change it, for now, as it does not give obvious problems. I'm happy to clean it with a little water.
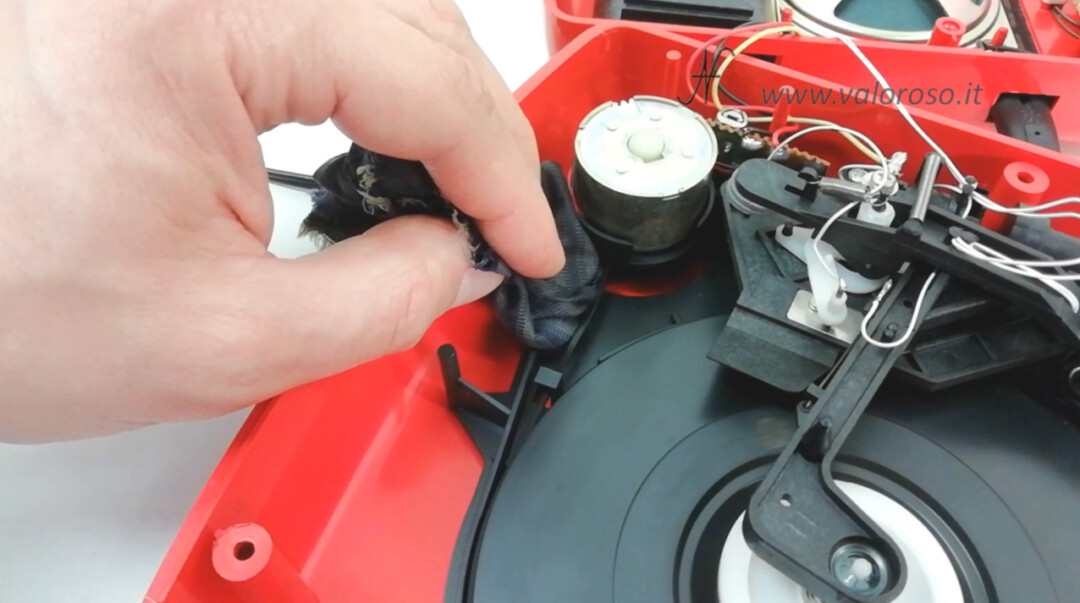
Penny cleaner
We can now clean the outside of the disc player container. We use water with a little degreaser.
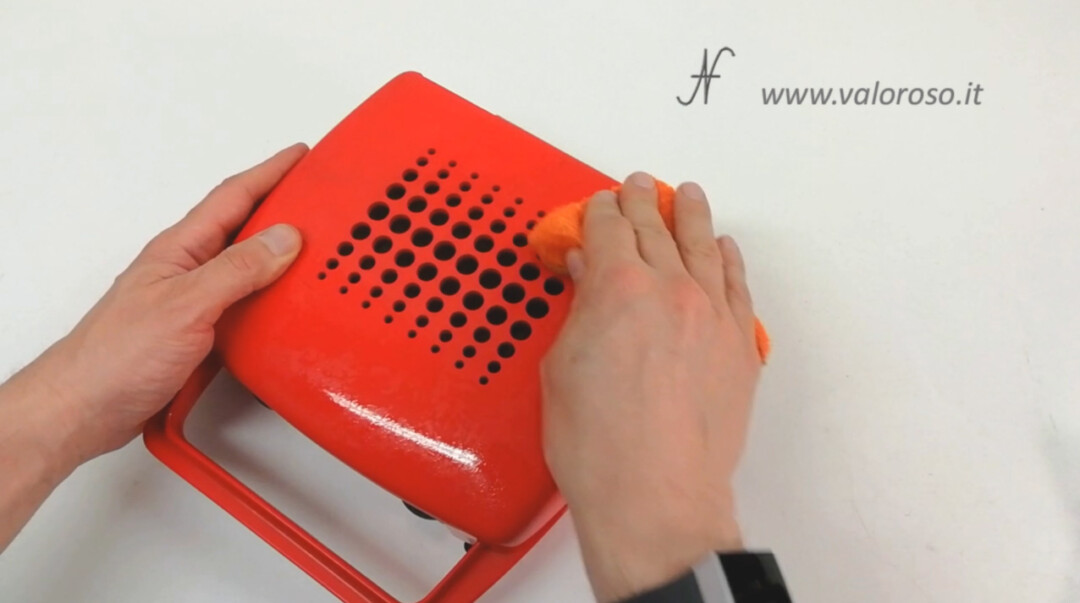
To clean the corners, the cracks and even the writings, we can help ourselves with a toothbrush or a brush. We clean everything thoroughly, even the battery compartment door.
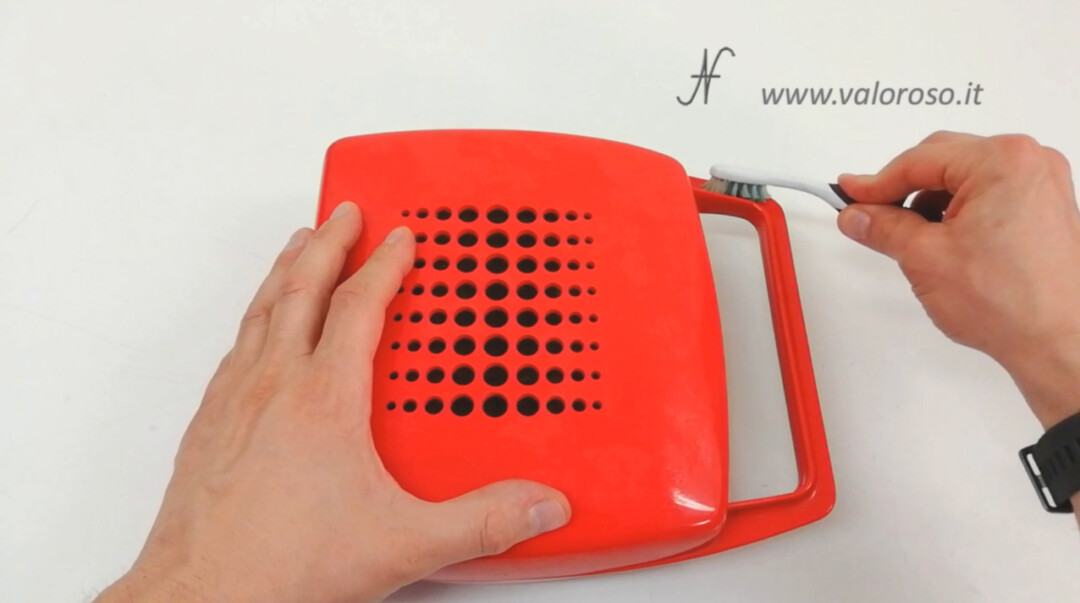
The degreaser must not remain on the plastic, to avoid damaging it. It is good to rinse it by wiping the entire container with a cloth moistened with water, several times, if necessary.
Then, dry well with a lint-free cloth.
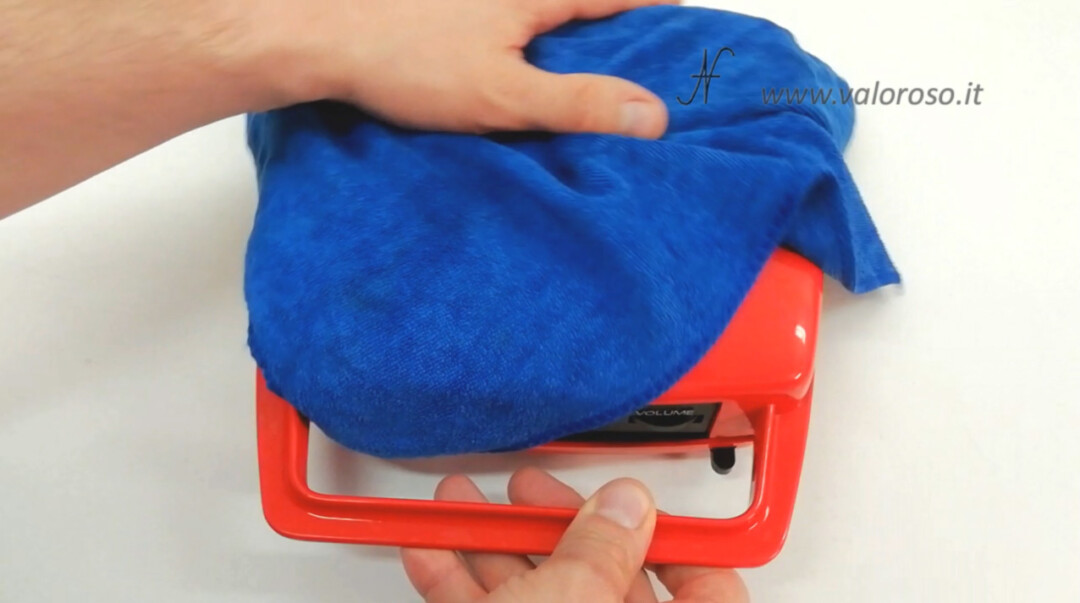
We can now close the Penny player. We simply screw in the three lower screws that we had previously unscrewed.
And here is our Penny red player, clean and working! Well, I hope you enjoyed today's "The Latest Retro Technology Discovery".
Credits: in the video tutorial, the music is Stellar Wind by Unicorn Heads.

Datasheet of the chip TBA820M
Here is, as promised, the datasheet of TBA820M amplifier chip.
To be notified when I publish other tutorials, experiments and reviews related to retro computers and vintage electronics and the subsequent episodes of the "The Latest Retro Technology Discovery" column, I invite you to subscribe to the YouTube channel and activate the notification bell!
Congratulations, all very interesting and well documented (I'm a former disassembler of walkman, stereo and turntable but only for very basic things)
Thanks so much!
Howdy! could you please tell me what kind of power cord is good for the penny name deed? I would need to figure out the right type to buy it. Thank you
Hello! You should purchase a power cord with IEC C7 connector. You can also find them on Amazon.
I have a 1978 penny but audio doesn't work. There is an integrated 14 pin with a TA TA A611 A12 writing of which I do not find datasheet. Do you know by chance?
Try typing TAA611, all attached without spaces, the datasheet is located. Do not type A12. PS: can you send me a photo of the card with the TAA611? You can contact me here: https://www.valoroso.it/contatta-amedeo-valoroso/
I just found my old Penny, set aside by my mother centuries ago .. I would like to reconnect it to the current, but I don't find the cable. What kind of spinotto do you use? Is it a simple thread or is there also a transformer?
Thank you!
It is a simple power cord with IEC C7 connector. You don't need the transformer, because it is already inside the Penny.
I would like to change the square belt of the scooter but I can not find it on the internet! could you give me some help?
Su eBay si trova, prova a digitare "cinghia per mangiadischi Penny". In alternativa, puoi provare a cercarla nei negozi "storici" di elettronica, che si trovano nelle città.
Hello. Can you tell me what it can mean that the disc does not stop at the end of the stroke. He arrives at the end of the track and then stands still making a sprint trying to go on the end but fails to go. It can affect the belt that I have not yet replaced because it works correctly.
Hello! I don't think it's the belt. Rather, I suggest you compare the operation of the limit switches of your record player, compared to how you see them working in my video.
Hi, I have an old Penny that worked perfectly until the strap fell apart into a thousand pieces. I wanted to ask you what circumference (at rest) the strap has. Thank you and kind regards.
Salve. Non ho misurato la cinghia del mio, mi spiace. Su eBay si trovano le cinghie di ricambio del mangiadischi, con diametro, forma e sezione corretta. Può trovarle digitando "cinghia mangiadischi Penny".
Hello congratulations for the explanation of the operation! Difficult now I find someone who turns the knowledge of the time to others.
I also find myself having a penny to which the gap broke out. Is it possible to replace only the metal part of the same and keep the plastic pimp holder intact? To understand what you see in white in your explanations. Is it easy to replace it?
Hello! Thank you very much! I advise you to replace the whole needle, meaning all the component that includes the metal pin, the body and the back contacts. If you don't feel like doing it yourself, I can introduce you to a repairman.
What is the belt size for this Penny Record Player?
Sorry, I still didn't measure the belt. However, you can easily find a spare belt on eBay.