In today's video, here's how to expand the RAM of the Commodore PC10, taking it from 256 KB to 640 KB. I will guide you step-by-step through the process, detailing the installation of the RAM chips, setting the DIP switches and replacing the PAL with a programmed GAL.

I thank Nicola Avanzi for giving me some useful suggestions to quickly get to the result, as well as for providing me with the JED file to program the GAL chip which I will tell you about later.
Why expand the RAM of the Commodore PC10?
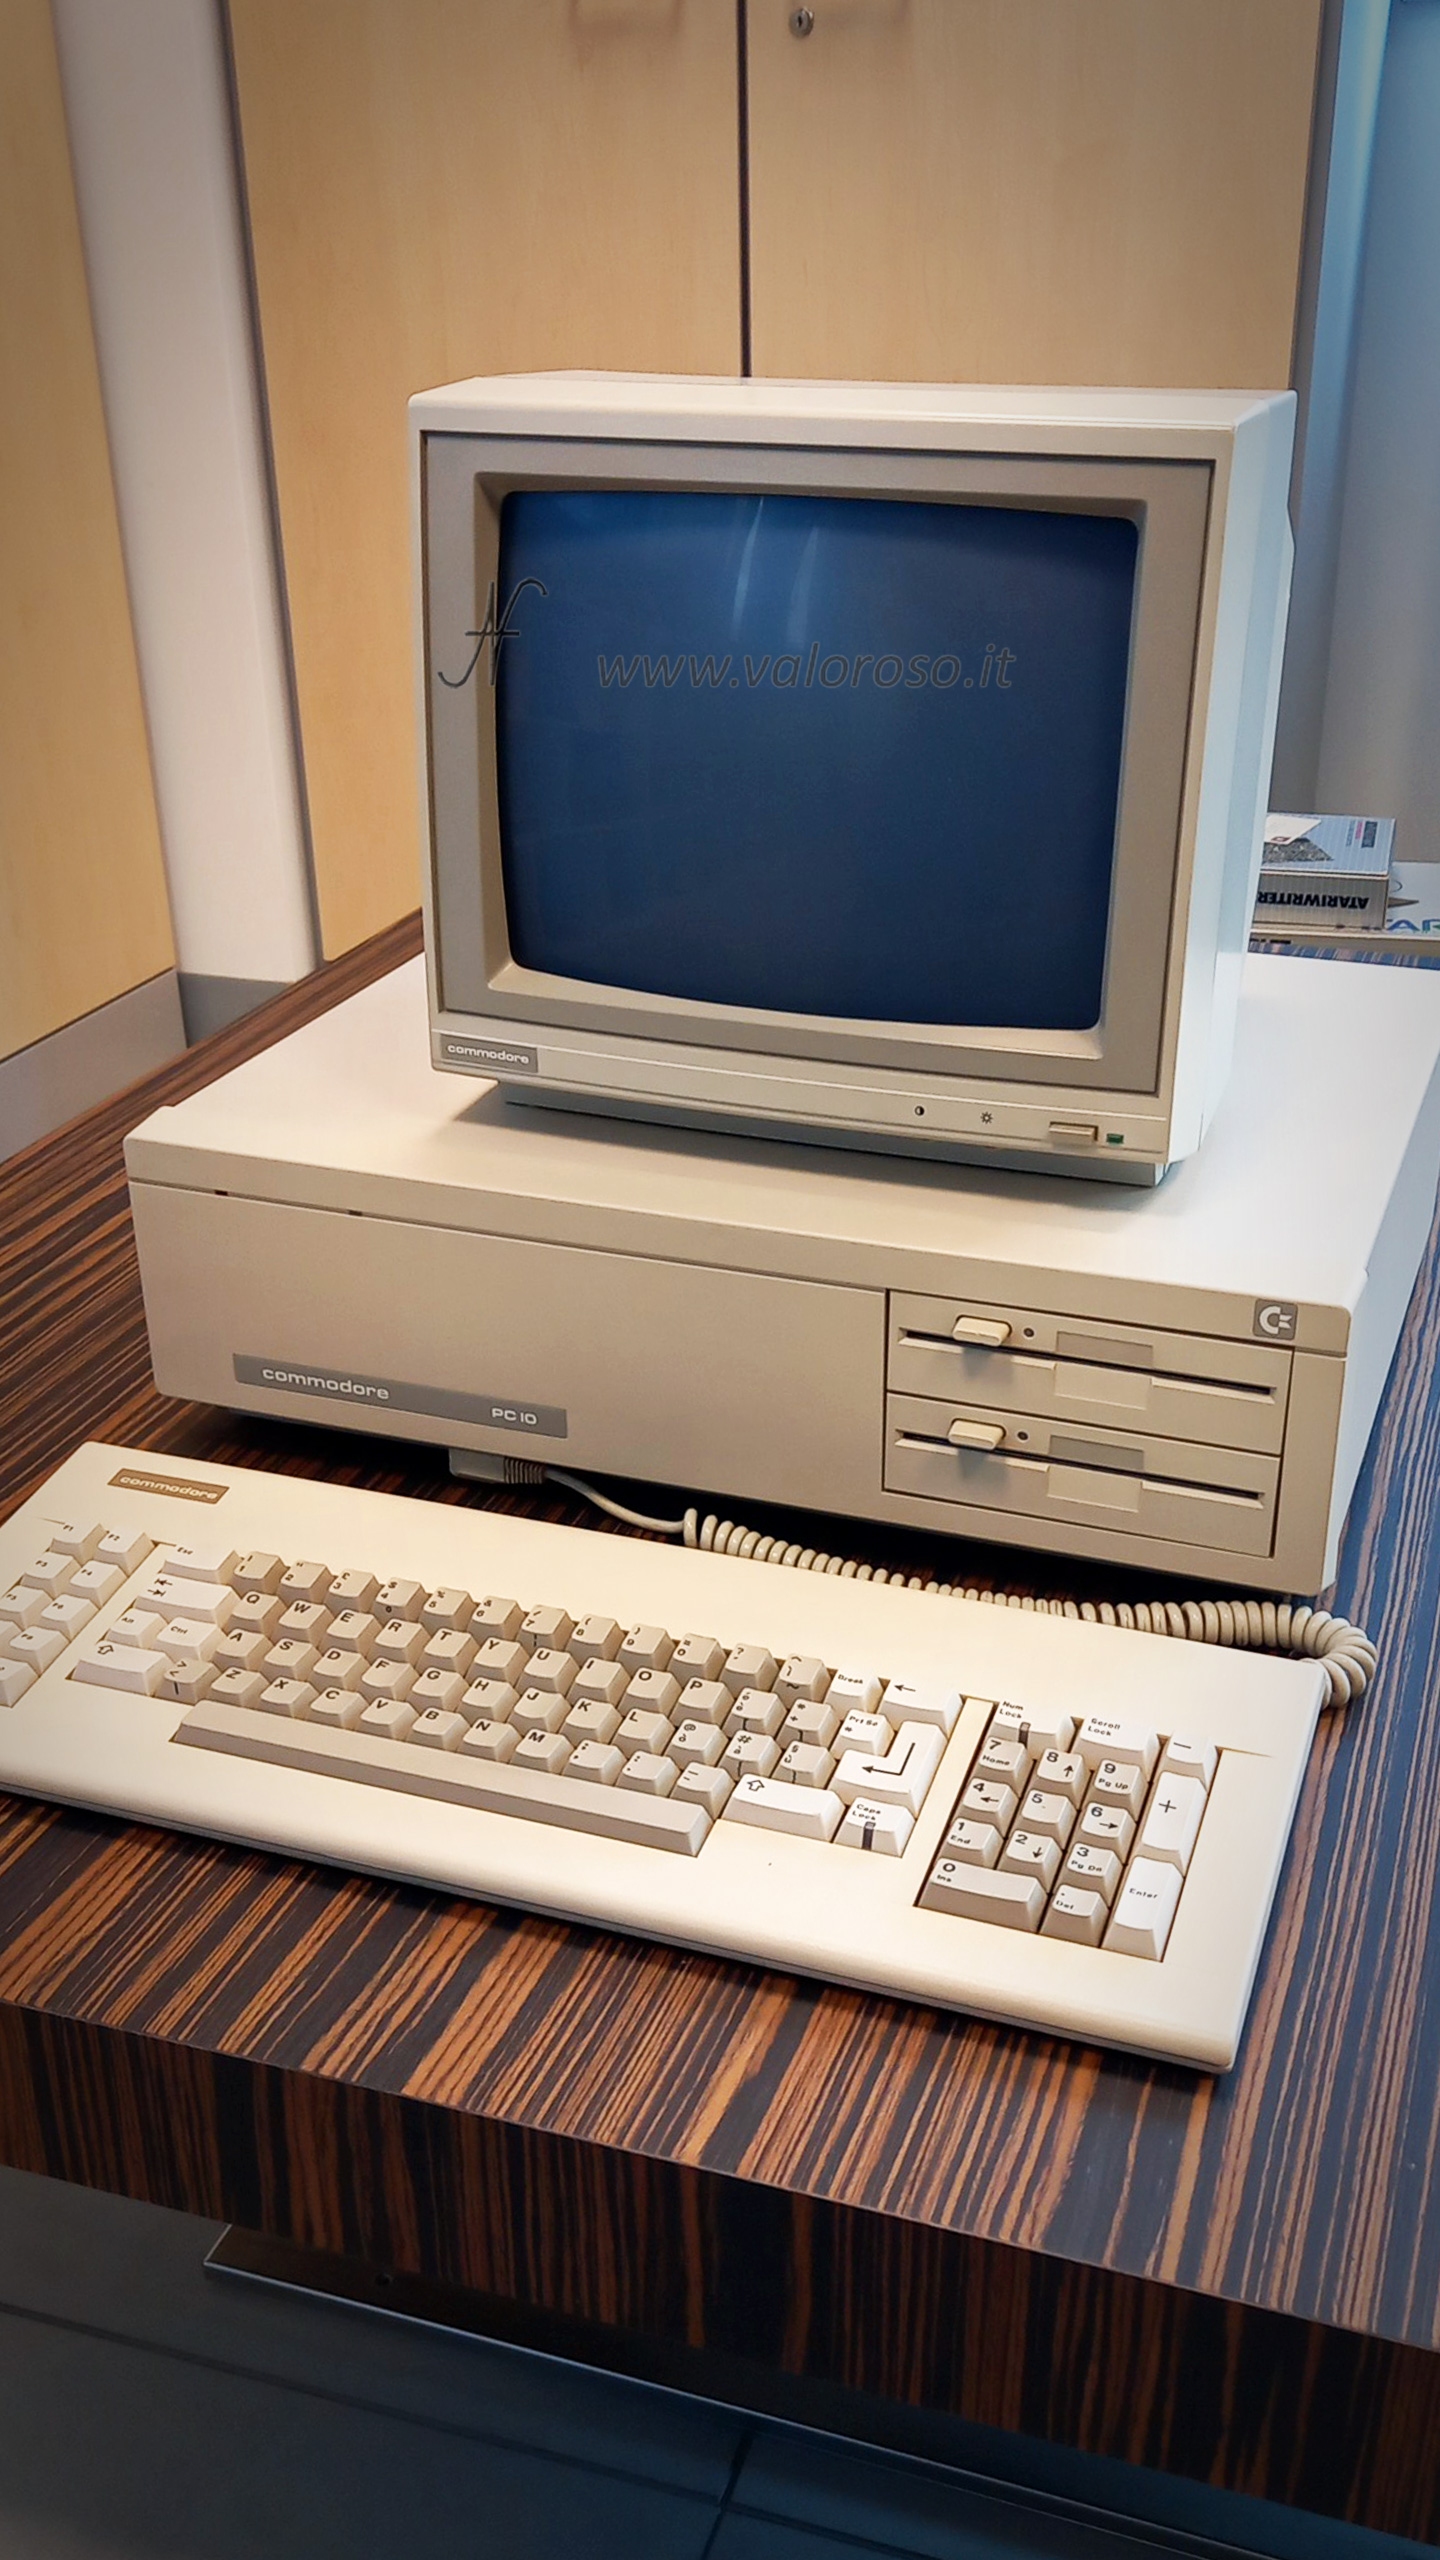
The Commodore PC10 is a 1984 vintage computer, equipped with an Intel 8088 processor and 256 KB of RAM. This amount of memory, although sufficient for many applications of the time, may be limited for running some software. Expanding the RAM to 640 KB allows you to fully exploit the potential of the PC10, allowing you to use software that requires more than the basic RAM previously installed on the computer (even if we won't be able to run Fortnite!).
The procedure described below is suitable for Commodore PC10s which have the motherboard divided into two parts. If you do not see the empty sockets to install the RAM, the procedure cannot be implemented.
Step 1: Installing RAM Chips
To expand the RAM of your Commodore PC10, you need the following components:

- to bring the RAM to 512KB: 9 RAM chips 256 Kbit per 1 bit, such as the MB81256, the TMS4256 or pin to pin compatible
- to bring the RAM to 640KB: 18 RAM chips 256 Kbit per 1 bit, such as the MB81256, the TMS4256 or pin to pin compatible
- Phillips screwdriver to open the computer case

Please, work in the absence of power! Unplug the PC and monitor.
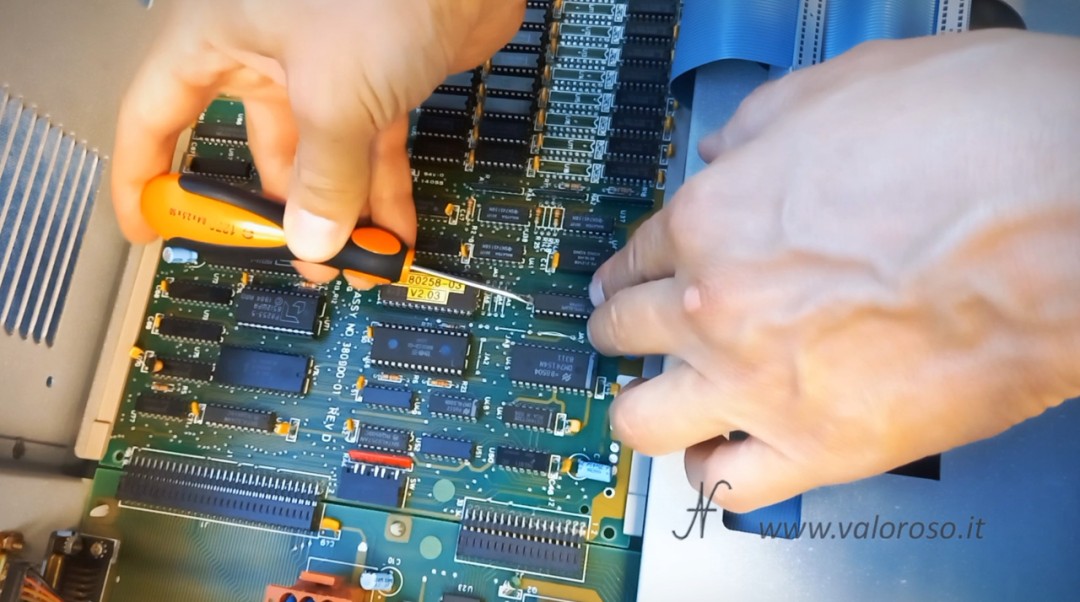
First, remove the top part of the Commodore PC10 case. If you find it difficult to work near the RAM banks, it may be necessary to remove the two floppy disk drives and the power supply.
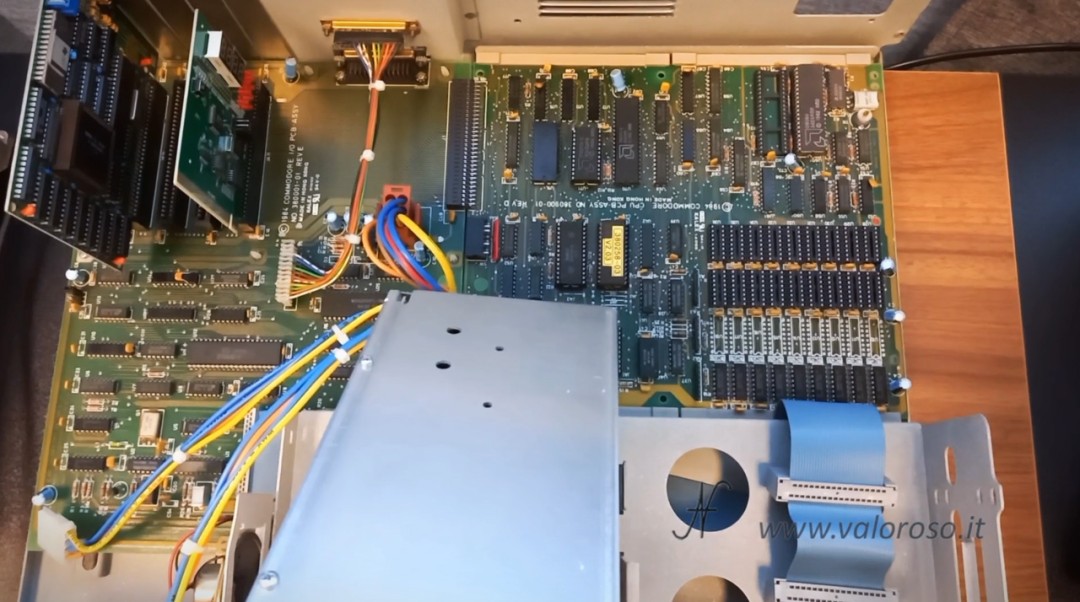
The motherboard of my Commodore PC10 is divided into two parts. Locate the empty sockets intended for RAM chips. Each bank of RAM requires 9 chips (8 bits + parity).
Insert the RAM chips into the sockets, following the correct orientation. Each chip has a reference mark that must face the correct side of the socket. Make sure all chip pins are firmly inserted before pressing, to avoid bending them.

It is possible to install 9 chips on the first available RAM bank, the one closest to the chips already present. In this case, the total RAM will become 512KB. Or, you can install 18 additional chips, 9 for each free bank. In this case, the total RAM will become 640KB (obviously, losing 128KB).

Step 2: Setting the DIP Switches
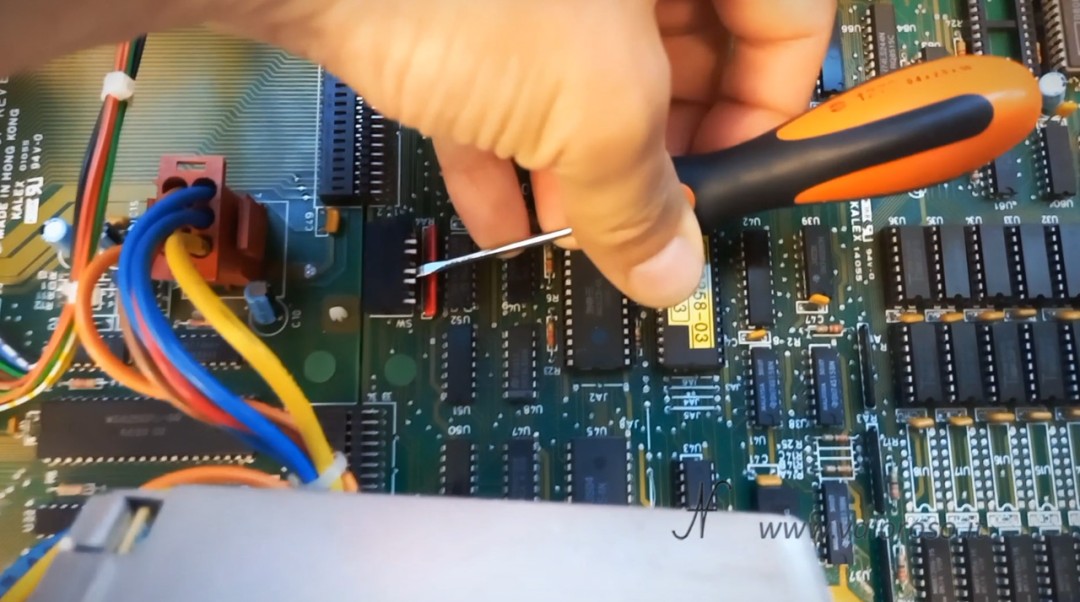
Once the RAM chips are installed, you need to configure the DIP switches on the motherboard to make the system recognize the new RAM.
DIP switches are found on the motherboard and are used to set different computer hardware configurations. In the Commodore PC10 Service Manual, you will find instructions for setting the DIP switches based on the amount of RAM installed.
To configure the system with 512 KB of RAM (9 additional chips installed), switches number 3 and 4 must be set to ON (switch 3) and OFF (switch 4). Currently, if they are set to OFF and ON, the system only recognizes 256KB of RAM.

To configure the system with 640 KB of RAM, switches number 3 and 4 must both be set to OFF.
Step 3: Replace the PAL with the programmed GAL
Before doing step 3, I would attempt to turn on the PC and see if it already recognizes the additional RAM. If you're lucky, you may have the PAL already programmed correctly.
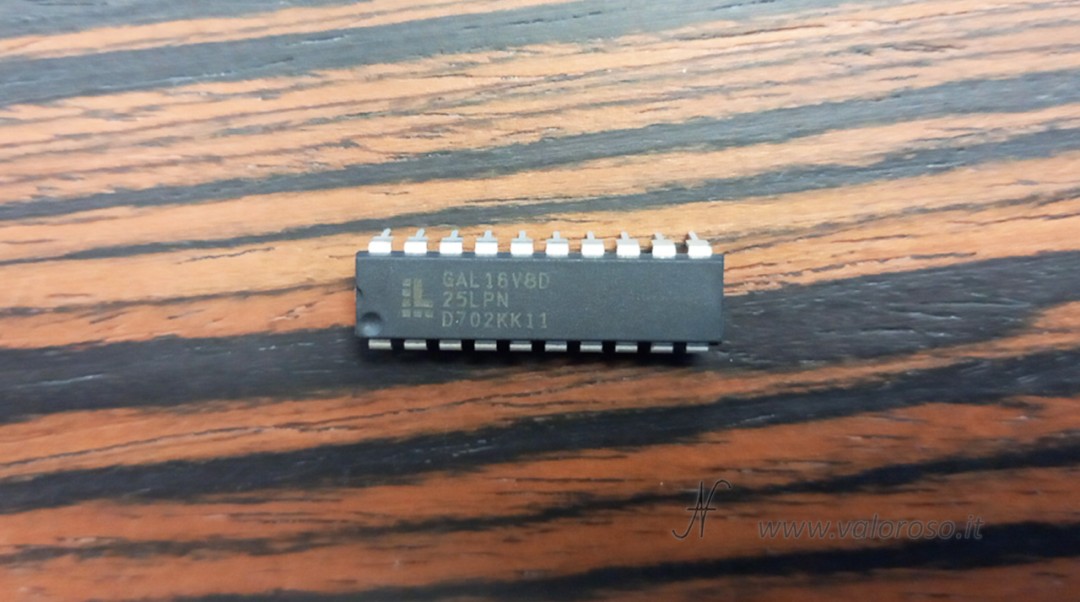
If, after following all the previous steps, the computer still does not recognize the additional RAM, the problem lies with the 16L8 Programmable Array Logic (PAL) chip. In this case, it will be necessary to replace it with a suitably programmed GAL (Generic Array Logic).
You need:
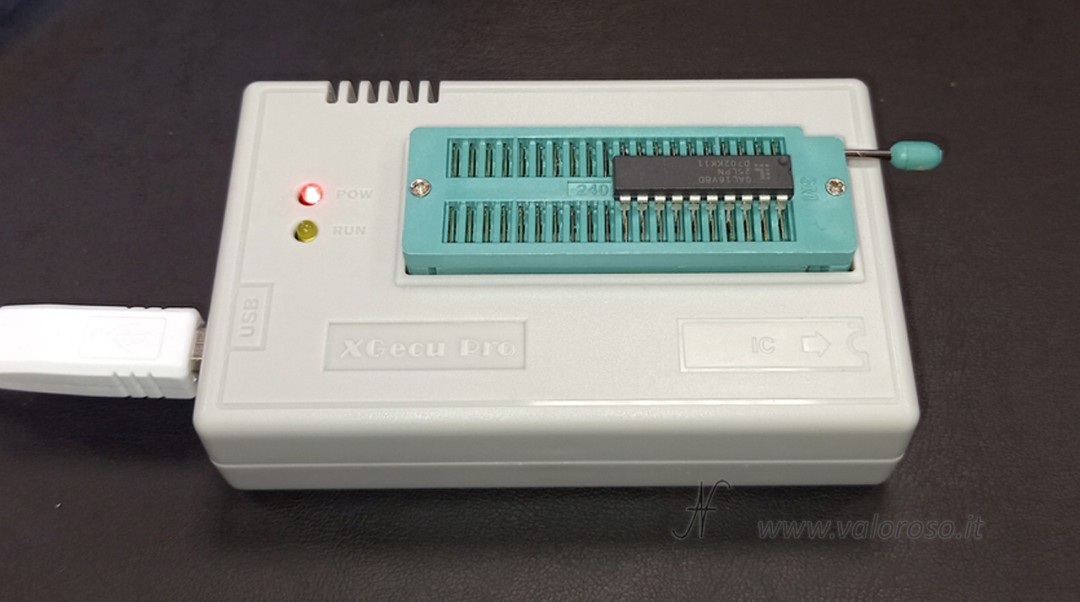
- un chip GAL 16V8D (o compatibile pin to pin)
- a programmer (for example the TL866II Plus)
- the JED programming file
In the video, I show in detail how to program the GAL 16V8D with the TL866II Plus programmer and the JED file. Find the file at the bottom of this article.
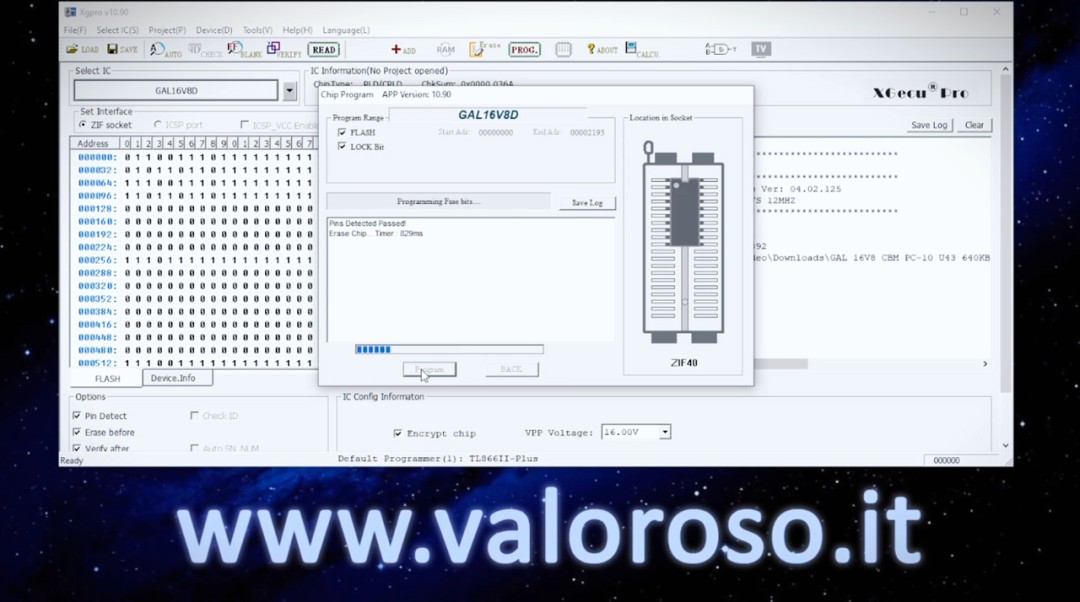
The TL866II Plus is a very versatile and economical tool, capable of programming a wide range of EPROMs, microcontrollers and GALs.
Next, remove the original PAL chip from its socket on the motherboard and replace it with the programmed GAL. The new GAL is reprogrammable, so you can use it for other applications in the future.
Final test of the Commodore PC10
This is what the motherboard looks like after completing all 3 steps to successfully expand the Commodore PC10's RAM to 640KB.

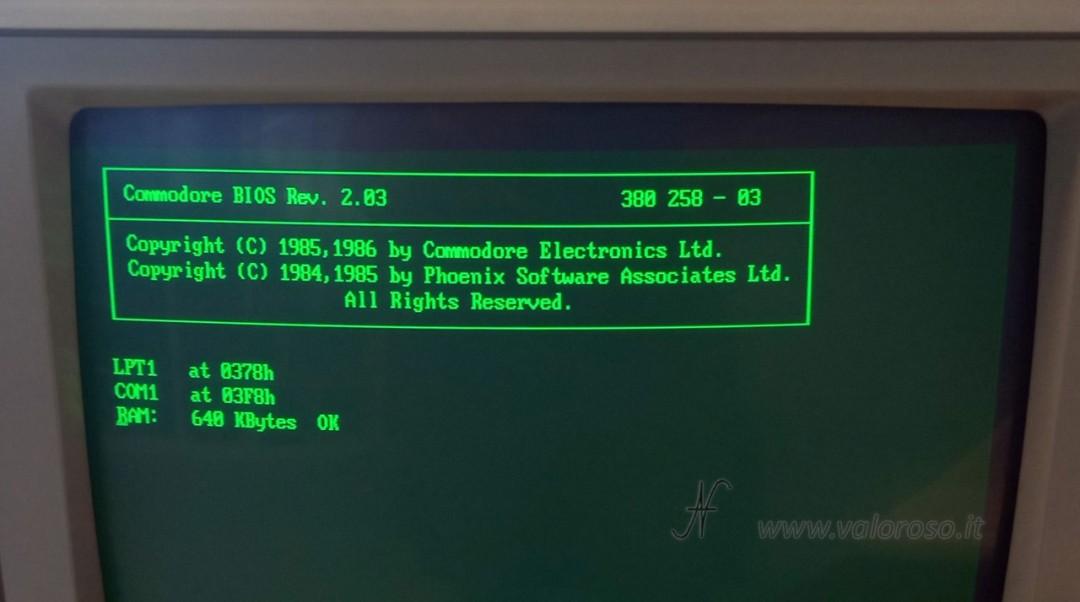
After completing all the steps, turn on your computer to check if the new RAM is recognized correctly. If everything was done correctly, the RAM count during boot will reach a whopping… 640 KB!
Papers
Here is the JED file to program the GAL16V8. There is also a PLD file in the ZIP file, but it is not to be used to program the GAL.
In this page you will find the various Commodore PC10 service manuals, the BIOS ROMs and the user manual.
Don't forget to subscribe to the YouTube channel @ValorosoIT for more content on vintage computers and tutorials like this one. Thanks for having the patience to get this far and have fun with your expanded Commodore PC10!
#CommodorePC10 #Commodore #PC10 #EspansioneRAM #RetroComputing #TechTutorials #DIY #Commodore #PC10 #Fortnite #ValorosoIT